Master Drone Navigation: Tips for Beginners
Each product is chosen independently by our editors. Purchases made through our links might earn us a commission at no extra cost to you!
Introduction
Drone navigation is the next essential skill for pilots who have mastered basic controls. While understanding throttle, yaw, pitch, and roll lays the groundwork, learning to combine these movements with effective drone navigation tips enables precise and dynamic flight. Navigation is not just about moving your drone—it’s about doing so with confidence, accuracy, and purpose.
In this guide, we’ll explore beginner-friendly drone navigation tips, including step-by-step exercises to help you practice, common mistakes to avoid, and techniques to refine your skills. Whether you’re preparing to capture smooth aerial footage or navigate challenging flight paths, mastering navigation will elevate your drone piloting to the next level.
Learn the basics in our Drone Control Techniques for Beginners before diving into navigation.
Table of Contents
Understanding Basic Drone Navigation
Drone navigation builds upon basic control techniques, combining them to create smooth, purposeful movements in three-dimensional space. Unlike simple hovering or isolated control exercises, navigation focuses on moving the drone between points or along specific paths while maintaining stability and precision.
1. Combining Controls for Movement
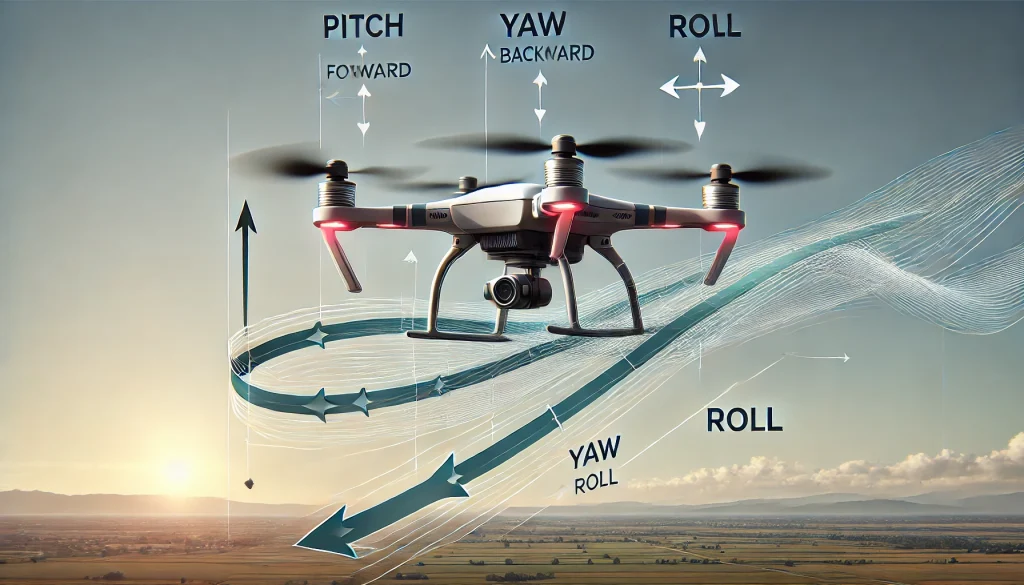
To navigate effectively, drone pilots must combine throttle, yaw, pitch, and roll in a coordinated manner. Each control contributes to a different aspect of movement, and using them together allows for smooth transitions and precise navigation.
1. Moving Forward and Maintaining Altitude
- How It Works:
- Use pitch (right joystick forward) to move the drone forward.
- Adjust throttle (left joystick up) slightly to maintain altitude.
- Example Exercise:
- Fly the drone forward 5 meters in a straight line while keeping the height consistent.
- Return to the starting point using pitch backward (right joystick pulled back).
2. Adjusting Direction While Moving Forward
- How It Works:
- Combine pitch (right joystick forward) with yaw (left joystick left or right) to change the drone’s direction while in motion.
- Example Exercise:
- Fly forward and practice slight left and right turns (using yaw) to create a gentle zigzag pattern.
3. Moving Sideways While Maintaining Direction
- How It Works:
- Use roll (right joystick left or right) to shift the drone sideways while keeping its forward-facing direction steady.
- Example Exercise:
- Position the drone in front of a line of cones. Use roll to shift it left and right, weaving between the cones without changing its orientation.
4. Combining Yaw and Roll for Smooth Turns
- How It Works:
- Combine yaw (left joystick) and roll (right joystick) to create fluid, arcing movements.
- Example Exercise:
- Fly the drone in a wide circle by rotating with yaw while simultaneously rolling in the same direction.
Pro Tips for Coordination
- Start Slow: Use minimal joystick inputs to avoid overcorrecting or destabilizing the drone.
- Practice Symmetry: Repeat each movement on both sides (e.g., yaw left and yaw right) to build balanced control.
- Use Visual Markers: Place cones or flags as waypoints to guide your movements.
Learn more about Drone Control Basics to master individual controls before combining them.
2. Spatial Awareness
Why Spatial Awareness Matters
Spatial awareness is the ability to understand your drone’s position and orientation relative to its surroundings. This skill, combined with effective drone navigation tips, is crucial for precise navigation, avoiding obstacles, and maintaining control in dynamic environments. For beginners, improving spatial awareness ensures smoother and safer flights.
Developing Spatial Awareness
Visualize the Drone’s Orientation:
- Always remember that the drone’s front-facing direction may differ from your position.
- Practice imagining how the drone “sees” its environment to align your movements with its perspective.
Use Landmarks as References:
- Choose distinct ground markers or objects (cones, trees, chalk lines) to track the drone’s position.
- Focus on maintaining a consistent distance and direction relative to these points.
Monitor Drone Altitude:
- Pay attention to the drone’s shadow or reflection on the ground as a quick altitude reference.
- Use throttle inputs to adjust altitude when navigating around obstacles.
Leverage Camera View:
- If your drone has a live camera feed, use it to supplement your visual perspective.
- Check the camera’s alignment to confirm your drone’s orientation.
Practical Exercises for Spatial Awareness
Hover with Orientation Changes:
- Hover your drone at a fixed point. Slowly rotate it using yaw while keeping it in the same position.
- This helps you get used to controlling the drone when its front-facing direction changes.
Navigate Around Markers:
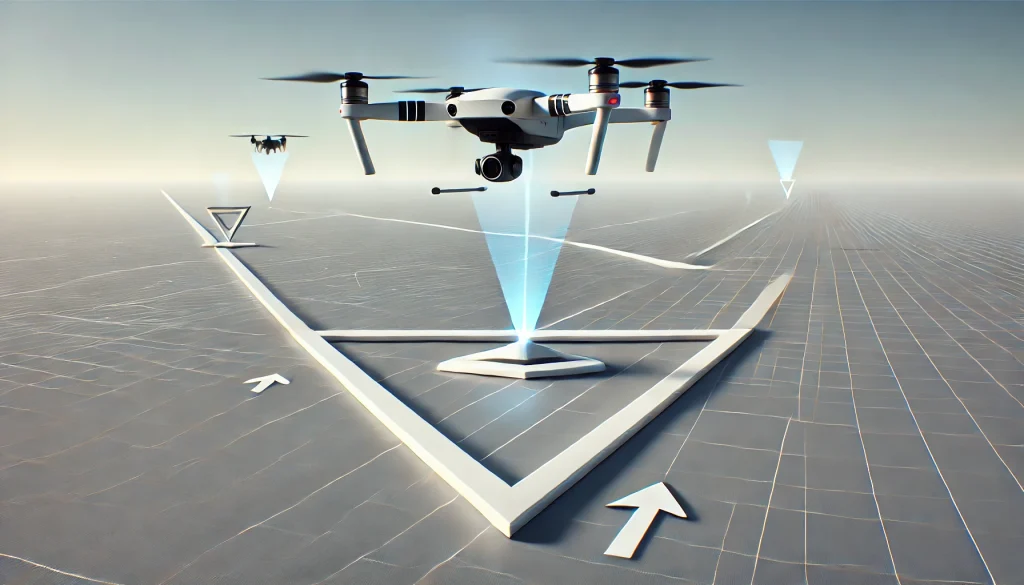
- Place three cones or objects in a triangle. Fly the drone around the markers while maintaining a constant altitude and facing direction.
Fly Backward to Your Position:
- Practice flying the drone backward toward you without turning it. This helps build awareness of reversed controls.
Pro Tips to Enhance Spatial Awareness
- Fly Low and Close at First: Practice at low altitudes and short distances to reduce the risk of losing orientation.
- Use Beginner Mode: Many drones limit speed and sensitivity in beginner mode, helping you focus on spatial awareness.
- Review Your Footage: If your drone has a camera, record your flights to analyze positioning and movement mistakes.
Explore Beginner Drone Hovering Techniques to perfect stability before practicing spatial awareness.
3. Environmental Adaptation
Why Environmental Adaptation Is Crucial
Navigating a drone effectively isn’t just about mastering controls—it’s also about adapting to the environment. Factors like wind, obstacles, lighting, and terrain can impact your drone’s performance and stability. By learning how to adjust to these conditions, you can ensure safer and more precise flights.
Key Environmental Factors and Adaptation Strategies
Wind:
- Impact: Even light wind can cause the drone to drift, requiring constant corrections. Stronger winds may exceed the drone’s stability limits.
- Adaptation:
- Practice in calm weather conditions until confident in handling drift.
- Use wind-resistant drones for outdoor flights in windy areas.
- Fly into the wind when navigating forward, as it provides better stability for corrections.
Obstacles:
- Impact: Trees, buildings, and power lines can block flight paths or GPS signals, increasing the risk of collisions.
- Adaptation:
- Practice flying in open areas free from obstacles until your skills improve.
- Use drones with obstacle avoidance systems to reduce risks in cluttered environments.
- Always maintain a visual line of sight to monitor the drone’s surroundings.
Lighting Conditions:
- Impact: Poor lighting can make it harder to judge the drone’s position and orientation, especially at greater distances.
- Adaptation:
- Fly during daylight hours with clear visibility.
- Use drones with LED lights for better visibility in low-light conditions.
- Avoid flying directly into the sun to prevent losing sight of the drone.
Altitude and Terrain:
- Impact: Uneven terrain and high altitudes can reduce propeller efficiency, affect GPS signals, and increase difficulty in maintaining stability.
- Adaptation:
- Avoid flying at extremely high altitudes unless your drone is designed for it.
- Maintain a safe distance from uneven or rocky terrain to avoid unplanned landings.
- Use barometric sensors or visual markers to track altitude changes.
Practical Tips for Environmental Adaptation
Check the Weather Before Flying:
- Use weather apps to monitor wind speed, humidity, and temperature. Ideal wind conditions for beginners are below 10 mph.
Plan Your Flight Path:
- Scout the area beforehand to identify potential hazards and obstacles.
Keep Extra Equipment Handy:
- Bring spare propellers, batteries, and tools in case of environmental damage or emergencies.
Pro Tips for Adapting Quickly
- Test Hover Stability First: Before navigating, hover the drone in place to assess how it reacts to the environment.
- Gradually Introduce Challenges: Start practicing in simple environments, then progress to areas with mild wind or minor obstacles.
- Use Beginner-Friendly Features: Leverage GPS stabilization and obstacle avoidance until you’re confident in manual navigation.
Discover Drone Weather Safety Tips to ensure safe flying in all conditions.
Step-by-Step Guide to Drone Navigation
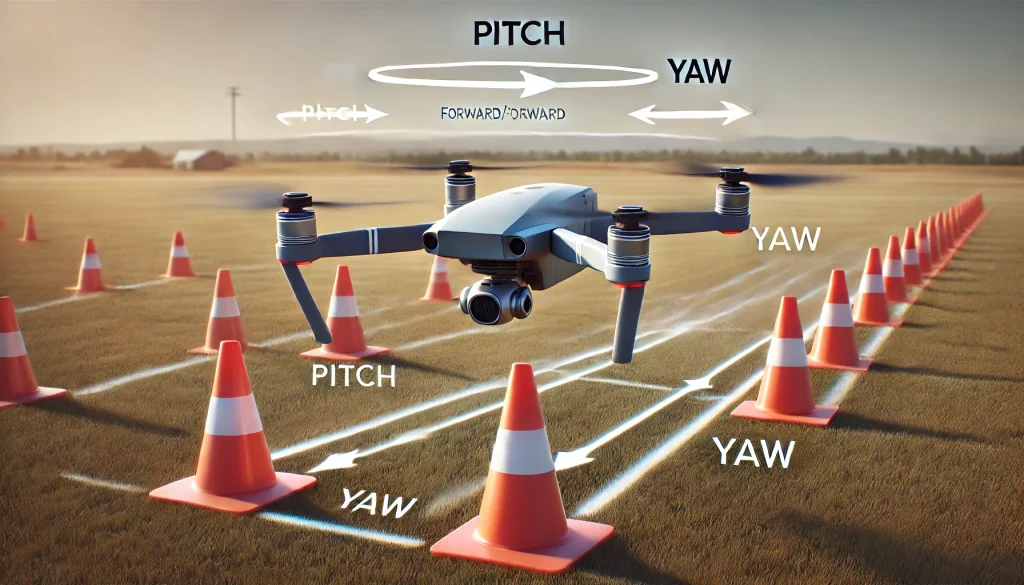
Step 1: Start with Straight Line Movements
Objective
Learning to fly the drone in a straight line is a fundamental skill that builds your confidence and control. Incorporating drone navigation tips into this practice helps you understand how pitch and throttle work together to maintain stable forward and backward movement.
How to Practice Straight Line Movements
Set Up Your Practice Area:
- Choose an open space with no obstacles.
- Place two cones or markers 5-10 meters apart in a straight line.
Take Off and Hover at a Low Altitude:
- Use throttle (left joystick up) to lift the drone to about 1-2 meters (3-6 feet).
- Stabilize the drone in a hover before starting the movement.
Fly Forward to the First Marker:
- Push the right joystick forward (pitch) gently to move the drone toward the first marker.
- Keep the left joystick steady to maintain altitude.
Pause and Stabilize:
- Once the drone reaches the first marker, stop the forward movement and stabilize the drone in a hover.
Return to the Starting Point:
- Pull the right joystick backward (reverse pitch) to fly back to the starting point.
- Maintain a steady altitude and avoid sudden joystick inputs.
Pro Tips for Straight Line Practice
- Use Visual References: Keep the drone aligned with the markers to ensure a straight path.
- Small Joystick Inputs: Avoid jerky movements by making gradual adjustments.
- Monitor Drift: If the drone drifts to the side, use roll (right joystick left/right) to correct it.
Common Mistakes and How to Avoid Them
Losing Altitude:
- Beginners often reduce throttle unintentionally, causing the drone to drop.
- Solution: Focus on keeping the throttle steady throughout the movement.
Overcompensating for Drift:
- Large roll adjustments can cause instability.
- Solution: Use minor corrections to counteract drift.
Flying Too Fast:
- Moving too quickly reduces control and precision.
- Solution: Practice at a slow, controlled pace before increasing speed.
Why This Step Is Important
Mastering straight line movements sets the stage for more complex navigation techniques, such as square patterns and figure-eight paths. It also helps you develop muscle memory for coordinated joystick use.
Learn more in our Beginner Drone Hovering Techniques to perfect your stability before advancing.
Step 2: Practice Turning with Yaw
Objective
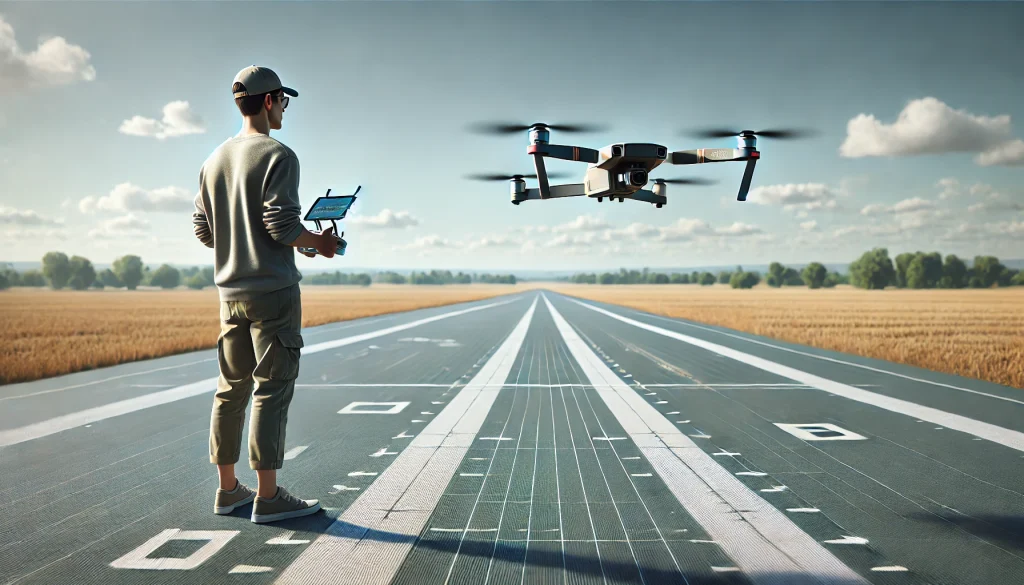
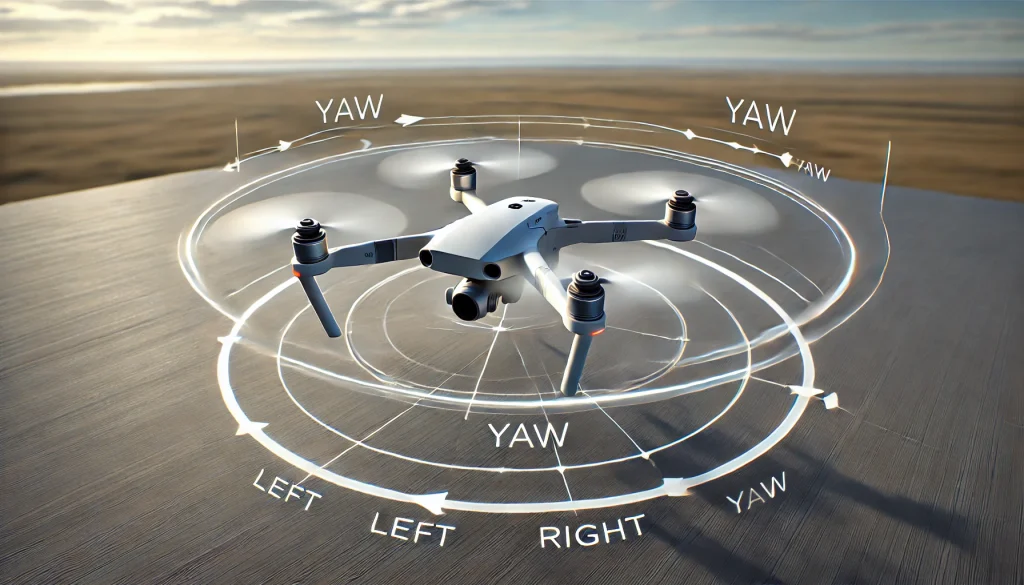
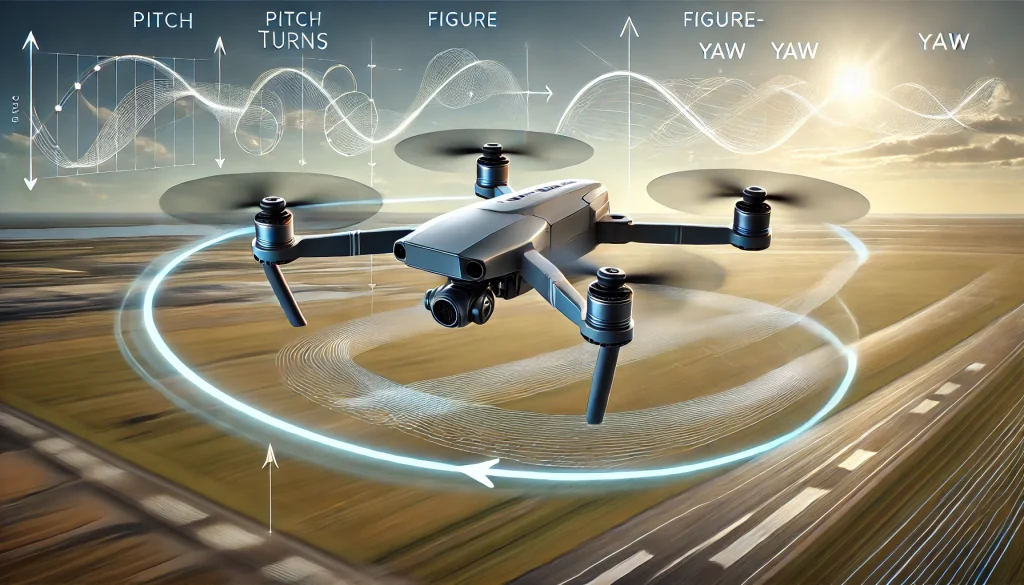
Turning with yaw is essential for directing your drone without changing its position significantly. This skill helps you adjust your drone’s orientation smoothly while maintaining stability, enabling better control during navigation.
How to Practice Yaw Movements
Set Up for Practice:
- Choose an open space free from obstacles.
- Position the drone in front of a visual marker (such as a cone or chalk mark) to monitor its direction.
Take Off and Hover:
- Use throttle (left joystick up) to lift the drone to about 1-2 meters (3-6 feet).
- Stabilize the drone in a hover before starting yaw movements.
Turn in Small Angles:
- Move the left joystick horizontally (left/right) to rotate the drone slightly (e.g., 10-20 degrees).
- Observe how the drone’s front-facing direction changes relative to the marker.
Perform a Full 360° Rotation:
- Gradually rotate the drone in a full circle using yaw (left joystick right or left).
- Keep the altitude steady and avoid drifting during the turn.
Combine Yaw with Pitch:
- Use yaw to adjust the drone’s direction and pitch (right joystick forward/backward) to move toward a new point.
- Example: Rotate 90° using yaw, then fly forward to a marker.
Pro Tips for Yaw Practice
- Slow and Steady Movements: Avoid spinning too quickly, as it can make orientation control harder.
- Use Visual References: Keep track of where the drone is pointing using ground markers or the camera feed.
- Pause Between Adjustments: Stabilize the drone after each yaw movement before proceeding.
Common Mistakes and How to Avoid Them
Over-Spinning:
- Spinning too fast can disorient you and make it harder to control the drone.
- Solution: Practice small, incremental turns before progressing to faster rotations.
Losing Altitude During Turns:
- Beginners often neglect throttle adjustments, causing the drone to drop.
- Solution: Keep the throttle steady while focusing on yaw control.
Drifting During Rotation:
- Drifting occurs when the drone moves unintentionally during yaw adjustments.
- Solution: Make minor roll or pitch corrections to counteract drifting.
Why This Step Is Important
Mastering yaw movements enables smoother navigation, especially when flying around obstacles or making directional adjustments during flight. It’s also a foundational skill for creating patterns like circles or figure-eights.
Check out our Drone Turning Techniques for Beginners to refine your yaw control.
Step 3: Fly a Square Pattern
Objective
Flying a square pattern helps you practice combining multiple controls—pitch, roll, yaw, and throttle—in a structured way. This step improves your ability to navigate through defined paths while maintaining stability and precision.
How to Practice the Square Pattern
Set Up the Practice Area:
- Place four markers (cones or small objects) in a square shape, each side measuring 5-10 meters.
- Ensure the area is obstacle-free and spacious.
Take Off and Hover:
- Use throttle (left joystick up) to lift the drone to about 1-2 meters (3-6 feet).
- Stabilize the drone in a hover at one corner of the square.
Fly the First Side (Forward):
- Push the right joystick forward (pitch) to move the drone straight to the next marker.
- Maintain a consistent altitude using throttle.
Turn 90° (Yaw):
- Rotate the drone using the left joystick (yaw) to align it with the next side of the square.
Fly the Second Side (Sideways):
- Push the right joystick to the left or right (roll) to move the drone sideways to the third marker.
- Keep the drone oriented in the same direction.
Repeat for the Remaining Sides:
- Use yaw to turn the drone at each corner and pitch or roll to navigate the next side.
- Return to the starting marker to complete the square.
Pro Tips for Flying the Square Pattern
- Pause at Each Marker: Stabilize the drone at each corner before turning to the next side.
- Start with Larger Squares: Begin with sides measuring 10 meters, then decrease the size as your control improves.
- Maintain a Steady Pace: Avoid rushing. Smooth, deliberate movements result in better accuracy.
Common Mistakes and How to Avoid Them
Inconsistent Altitude:
- Beginners often lose or gain altitude while transitioning between sides.
- Solution: Focus on steady throttle control throughout the pattern.
Over- or Under-Rotating at Corners:
- Misjudging yaw can misalign the drone with the next side.
- Solution: Rotate slowly and stop yaw movement when the drone is perfectly aligned.
Unstable Turns:
- Turning while drifting can disrupt the square pattern.
- Solution: Pause and stabilize the drone before initiating each turn.
Why This Step Is Important
Flying a square pattern develops spatial awareness, coordination, and precision. Incorporating drone navigation tips into this exercise lays the groundwork for mastering advanced patterns like figure-eights and zigzags.
Explore our Advanced Drone Navigation Drills for more challenging patterns to improve your skills.
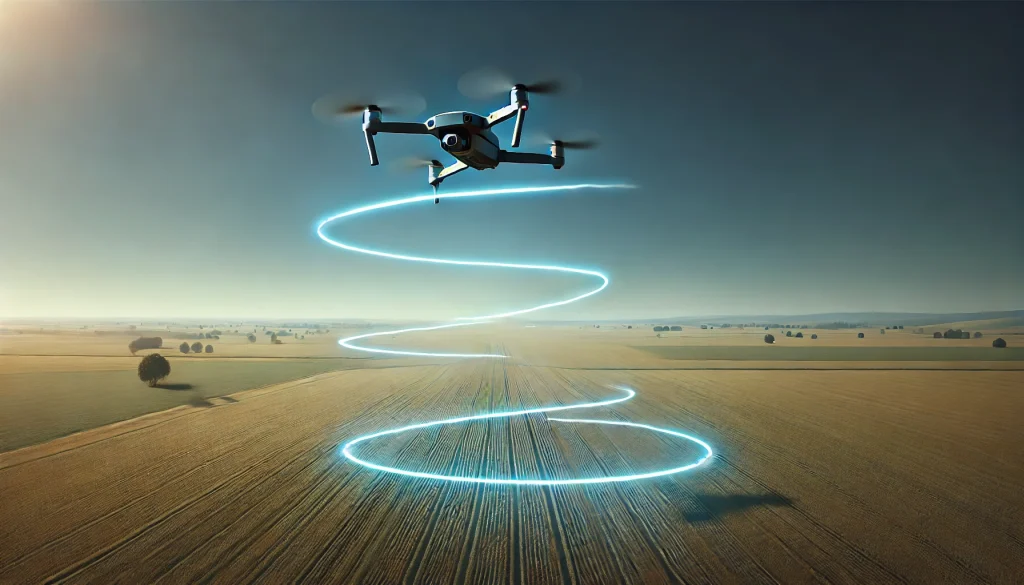
Step 4: Create a Figure-Eight Path
Objective
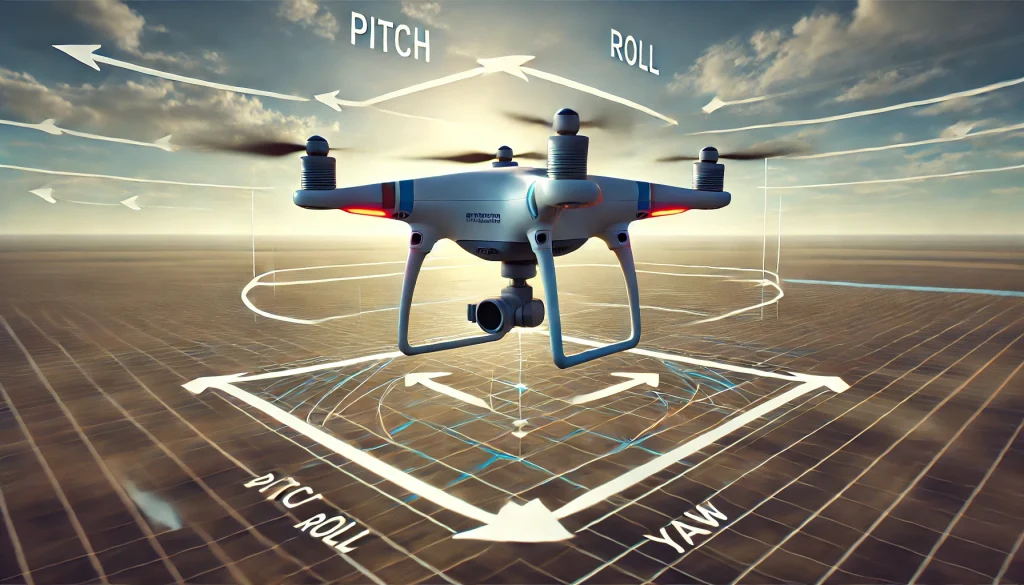
The figure-eight pattern is a versatile exercise that refines your ability to combine pitch, roll, and yaw smoothly. It helps develop fluid transitions and enhances your spatial awareness, making it ideal for advanced navigation scenarios.
How to Practice the Figure-Eight Path
Set Up the Practice Area:
- Place two markers (cones or objects) approximately 5-10 meters apart in a straight line.
- Ensure the surrounding area is obstacle-free.
Take Off and Hover at the Starting Point:
- Use throttle (left joystick up) to lift the drone to a height of 1-2 meters (3-6 feet).
- Hover the drone at one end of the line to stabilize before starting.
Fly in a Circle Around the First Marker:
- Use a combination of pitch (forward/backward) and roll (left/right) to guide the drone in a circular path around the first marker.
- Adjust yaw (left joystick left/right) slightly to keep the drone’s nose pointing toward the inside of the circle.
Transition to the Second Marker:
- Fly forward (pitch) to the second marker in a controlled, straight line.
- Stabilize briefly before continuing.
Fly a Circle Around the Second Marker:
- Repeat the circular movement using pitch, roll, and yaw, but in the opposite direction.
- Ensure the transition between the first and second circles is smooth.
Complete the Figure-Eight Path:
- After completing the circle around the second marker, return to the starting point and repeat as needed.
Pro Tips for Mastering the Figure-Eight
- Practice Symmetry: Ensure both circles are of equal size and executed with the same level of control.
- Slow and Steady Movements: Focus on precision rather than speed to maintain smooth transitions.
- Use Visual References: Keep your eyes on the markers to guide the drone’s movements accurately.
Common Mistakes and How to Avoid Them
Irregular Circles:
- Uneven joystick inputs can cause the circles to become lopsided.
- Solution: Use small, consistent adjustments for smoother curves.
Losing Control During Transitions:
- Sudden changes in pitch or roll can destabilize the drone.
- Solution: Stabilize the drone briefly at the end of each circle before moving to the next.
Altitude Variations:
- Beginners often lose or gain altitude during the exercise.
- Solution: Maintain steady throttle control throughout the pattern.
Why This Step Is Important
The figure-eight path challenges you to combine multiple controls seamlessly, building the muscle memory and coordination needed for dynamic flight paths. It’s also a practical skill for capturing complex aerial shots or navigating tight spaces.
Check out our Dynamic Drone Flying Techniques to refine your movement transitions further.
Step 5: Navigate Obstacles
Objective
Navigating around obstacles builds precision, spatial awareness, and adaptability. This skill is crucial for real-world scenarios like flying in cluttered environments or capturing detailed footage without collisions.
How to Practice Navigating Obstacles
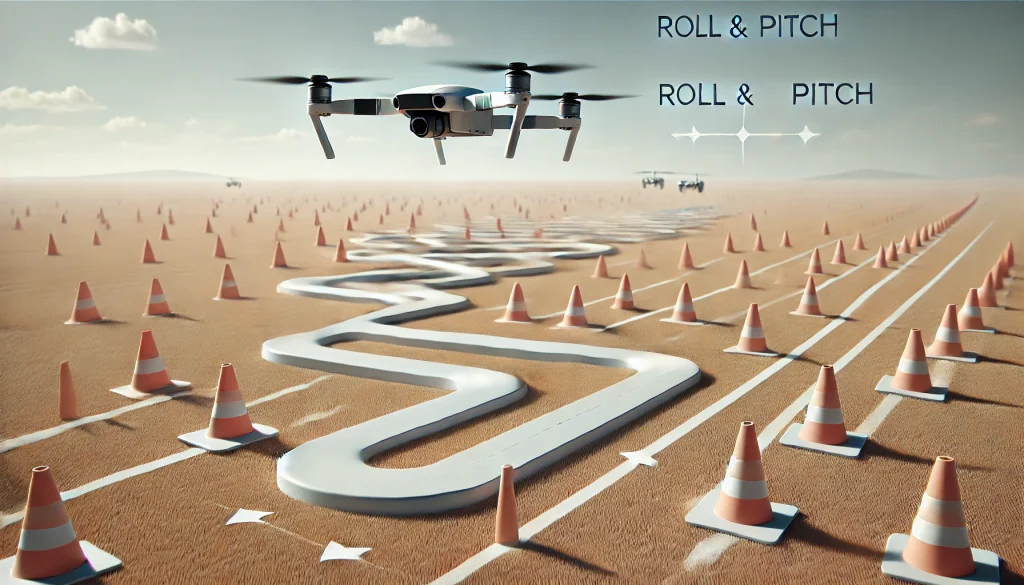
Set Up Your Obstacle Course:
- Place a series of cones, markers, or small objects in a straight or zigzag pattern, spaced 2-3 meters apart.
- Adjust the spacing based on your skill level, starting wider for beginners.
Take Off and Hover:
- Use throttle (left joystick up) to lift the drone to about 1-2 meters (3-6 feet).
- Stabilize before approaching the first obstacle.
Weave Between Obstacles:
- Use roll (right joystick left/right) to shift the drone sideways around each obstacle.
- Combine pitch (forward/backward) to progress through the course smoothly.
Adjust Yaw for Direction Changes:
- Rotate the drone slightly with yaw (left joystick left/right) to align it with the next segment of the course.
Fly Back Through the Course:
- Reverse the route to practice navigating backward. This enhances your control and spatial awareness.
Pro Tips for Obstacle Navigation
- Start Slow: Take your time to focus on precision rather than speed.
- Monitor Altitude: Use throttle to maintain a consistent height, avoiding sudden climbs or drops.
- Use a Drone with Obstacle Avoidance Features: If available, activate this mode to enhance safety during practice.
Common Mistakes and How to Avoid Them
Clipping Obstacles:
- Beginners may misjudge the drone’s position relative to the obstacles.
- Solution: Fly slightly higher or wider when unsure, and adjust with small joystick inputs.
Losing Focus on the Next Marker:
- Focusing too much on one obstacle can cause disorientation.
- Solution: Always look ahead to the next marker while navigating.
Overcorrecting Drift:
- Abrupt movements can destabilize the drone.
- Solution: Use gentle roll and pitch inputs for smooth transitions around obstacles.
Why This Step Is Important
Obstacle navigation prepares you for more challenging environments where precision is key. It also helps you build the confidence needed to fly in tight or complex spaces safely.
Explore our Obstacle Avoidance Strategies for Drones to learn advanced techniques for challenging environments.
Step 6: Combine Movements Dynamically
Objective
Combining multiple movements dynamically is the final step in mastering drone navigation. This practice enhances your ability to execute fluid transitions and adapt to changing scenarios, laying the groundwork for advanced flight patterns and real-world applications.
How to Practice Combining Movements
Set Up a Multi-Pattern Course:
- Use markers to create a complex course that includes straight lines, circles, and zigzags.
- Example layout: Start with a square, transition to a figure-eight, and end with an obstacle weave.
Transition Between Patterns Smoothly:
- Begin with a square pattern to establish control.
- Move directly into a figure-eight by seamlessly shifting from one path to the next.
- Navigate through obstacles to complete the course, combining roll, pitch, and yaw as needed.
Maintain Steady Altitude Throughout:
- Use throttle to keep the drone’s height consistent while focusing on directional movements.
Practice Directional Adjustments:
- Incorporate quick turns and directional shifts by combining yaw (to rotate) with roll and pitch (to navigate).
- For example, turn 90° using yaw, then immediately move sideways using roll.
Pro Tips for Dynamic Movements
- Visualize the Path: Plan your course mentally before starting to ensure smooth transitions.
- Combine Small Inputs: Use gentle, coordinated joystick movements to maintain stability.
- Record Your Flight: Review your practice sessions to identify areas for improvement.
Common Mistakes and How to Avoid Them
Unstable Transitions:
- Sudden movements can disrupt stability and control.
- Solution: Pause briefly between patterns to stabilize the drone before continuing.
Losing Focus on Altitude:
- Neglecting throttle adjustments can lead to unintentional climbing or descending.
- Solution: Monitor altitude consistently during transitions.
Overloading Complexity Too Soon:
- Attempting advanced patterns without mastering basics can be overwhelming.
- Solution: Start with simple combinations and increase complexity gradually.
Why This Step Is Important
Dynamic movement combinations reflect real-world scenarios where drones need to navigate complex environments. This step prepares you for tasks like capturing cinematic footage, navigating tight spaces, or performing intricate aerial maneuvers.
Learn about Advanced Drone Navigation Techniques to push your skills to the next level.
Tips for Effective Drone Navigation
1. Start with Low Altitudes
- Why It’s Important: Flying at lower altitudes reduces risks while you’re practicing, making it easier to regain control if something goes wrong.
- How to Apply:
- Keep the drone at 1-2 meters (3-6 feet) during practice sessions.
- Gradually increase the altitude as your confidence and precision improve.
- Pro Tip: Use visual cues like shadows or reflections on the ground to help monitor altitude stability.
2. Use Visual Guides
- Why It’s Important: Ground markers or cones give you clear reference points to guide your drone’s movements.
- How to Apply:
- Set up a series of cones or markers in straight lines, circles, or zigzag patterns.
- Use them to practice navigation techniques, such as flying a square or figure-eight.
- Pro Tip: Start with wide spacing between markers, then decrease the distance as you get better.
3. Practice in Open Spaces
- Why It’s Important: Open areas without obstacles allow you to focus solely on controlling the drone without distractions.
- How to Apply:
- Choose a large park, field, or other outdoor space.
- Ensure the area is free from people, trees, or power lines.
- Pro Tip: Avoid flying near large metal structures or high-power lines that could interfere with GPS signals.
4. Monitor Environmental Conditions
- Why It’s Important: Wind, lighting, and other environmental factors can affect your drone’s stability and navigation.
- How to Apply:
- Check weather forecasts for wind speeds below 10 mph when practicing.
- Fly during daylight for better visibility, and avoid low-light conditions until you’re confident.
- Pro Tip: Hover your drone for a few seconds before navigating to assess how environmental conditions affect stability.
5. Master One Skill Before Adding Complexity
- Why It’s Important: Trying to tackle too many techniques at once can overwhelm you and lead to mistakes.
- How to Apply:
- Focus on mastering one pattern or movement (e.g., straight-line navigation) before progressing to more complex patterns.
- Build gradually by combining movements like yaw and pitch after mastering them individually.
- Pro Tip: Practice each movement until it feels natural before integrating it with others.
6. Use Beginner Mode if Available
- Why It’s Important: Beginner modes on drones limit speed and sensitivity, making it easier to control movements.
- How to Apply:
- Activate beginner mode through your drone’s app or settings.
- Use this mode while practicing navigation patterns or learning to combine movements.
- Pro Tip: Transition out of beginner mode slowly as you gain confidence and precision.
7. Review and Adjust After Each Flight
- Why It’s Important: Analyzing your flights helps identify mistakes and track progress.
- How to Apply:
- Record your practice sessions with the drone’s camera or an external device.
- Review the footage to identify areas for improvement, such as inconsistent movements or drifting.
- Pro Tip: Keep a journal to log your practice routines, challenges, and progress over time.
Discover Beginner Drone Navigation Patterns to apply these tips in structured exercises.
Common Mistakes in Drone Navigation
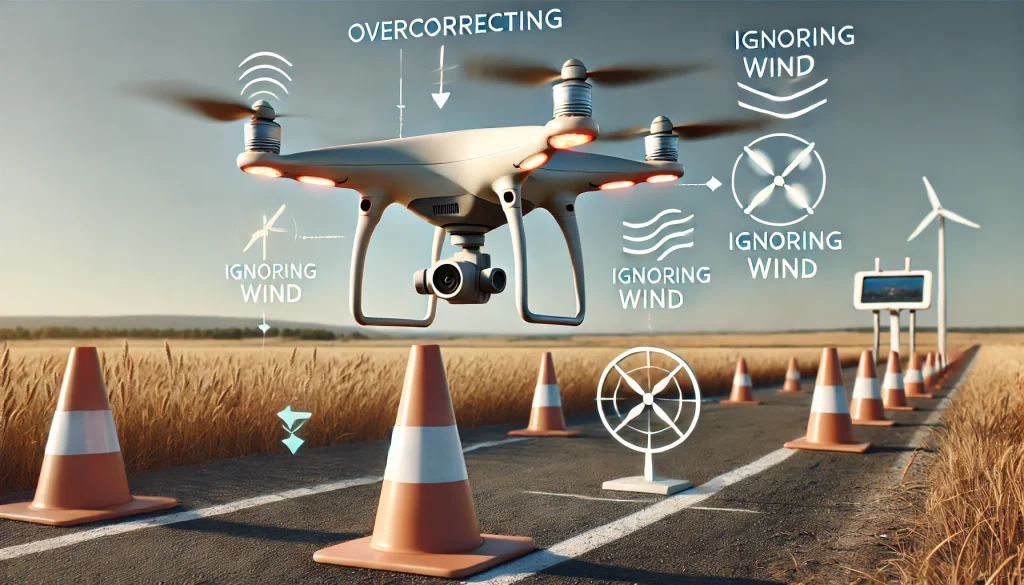
1. Overcorrecting Movements
- Why It’s a Mistake:
- Beginners often make abrupt or excessive joystick inputs to adjust the drone’s position, leading to instability and erratic flight.
- How to Avoid:
- Use small, gradual joystick movements to make corrections.
- Focus on smooth transitions between inputs instead of sharp, quick changes.
- Pro Tip: Practice hovering and making tiny directional adjustments to build control precision.
2. Neglecting Altitude Control
- Why It’s a Mistake:
- Losing focus on throttle results in unintentional climbing or descending during navigation. This can lead to crashes or unstable flight.
- How to Avoid:
- Always monitor the drone’s height visually or via the app display.
- Keep the throttle steady and adjust gradually as needed.
- Pro Tip: Use a fixed visual reference, such as a tree or building, to gauge the drone’s altitude.
3. Ignoring Wind and Environmental Factors
- Why It’s a Mistake:
- Wind can drift the drone off course, and sunlight or obstacles can obscure your line of sight.
- How to Avoid:
- Check the weather before flying, ensuring wind speeds are below 10 mph.
- Choose open, obstacle-free spaces with even lighting for practice.
- Pro Tip: Practice hovering in windy conditions to learn how to compensate for drift.
4. Focusing Too Much on One Marker
- Why It’s a Mistake:
- Over-focusing on a single point can make you lose track of the drone’s overall position or the next part of the path.
- How to Avoid:
- Look ahead to the next marker or movement while navigating.
- Use peripheral vision to keep track of the current marker and the drone.
- Pro Tip: Practice navigating multi-marker courses to develop spatial awareness.
5. Flying Too Fast
- Why It’s a Mistake:
- Speeding reduces control precision and increases the likelihood of errors or crashes.
- How to Avoid:
- Practice at a slow, controlled pace before gradually increasing speed.
- Limit joystick inputs to small movements until you’re confident in your control.
- Pro Tip: Set speed limits in the drone’s app or use beginner mode for controlled flight.
6. Skipping Pre-Flight Calibration
- Why It’s a Mistake:
- Uncalibrated gyroscopes or compasses can cause drifting, unstable navigation, or GPS errors.
- How to Avoid:
- Calibrate the drone’s sensors (gyroscope, accelerometer, compass) before every flight.
- Place the drone on a flat surface during calibration for accurate readings.
- Pro Tip: Regularly update your drone’s firmware to ensure optimal sensor performance.
7. Ignoring Battery Life and Signal Strength
- Why It’s a Mistake:
- Running out of battery or losing signal mid-flight can lead to crashes or emergency landings.
- How to Avoid:
- Always check battery levels and signal strength before flying.
- Land the drone immediately if the battery warning appears.
- Pro Tip: Carry spare batteries to extend practice sessions and avoid rushing due to low power.
Why Addressing These Mistakes Is Important
Avoiding these common errors ensures safer, smoother flights and accelerates your learning process. By practicing with intention and awareness, you’ll develop the confidence and precision needed for advanced drone navigation.
Read more in our Drone Flight Safety Guide to minimize risks during practice.
FAQs
1. How long does it take to master drone navigation?
Most beginners can learn basic navigation in 1-2 hours of focused practice. However, mastering advanced patterns like figure-eights or obstacle courses may take several weeks of regular practice.
- Tip: Set incremental goals and practice consistently to build muscle memory.
2. Can I practice navigation indoors?
Yes, but only under certain conditions. Indoor navigation is best suited for small or lightweight drones in spacious, obstacle-free areas.
- Tip: Use drones with propeller guards to minimize risks, and keep your flight at low altitudes.
3. What’s the best environment for practicing navigation?
Beginner pilots should practice in large, open spaces like parks or fields without trees, power lines, or other obstacles.
- Tip: Avoid windy or low-light conditions until you’re more confident with your skills.
4. How can I improve my navigation precision?
Improving precision requires a combination of steady practice, environmental awareness, and focus on smooth joystick inputs.
- Tip: Use visual markers like cones or chalk to guide your flight path and review your sessions for feedback.
5. Do I need GPS for navigation?
GPS is not necessary for basic navigation, but it can make flying easier by stabilizing the drone’s position and orientation.
- Tip: Practice without GPS to strengthen your manual control skills and prepare for low-signal environments.
6. How can I transition from beginner mode to manual navigation?
Beginner mode limits speed and sensitivity, making it easier to learn. Transition to manual navigation by gradually increasing sensitivity and removing restrictions as your confidence grows.
- Tip: Start with simple patterns like straight lines or squares in manual mode before attempting complex movements.
7. Why does my drone drift during navigation?
Drifting can result from uncalibrated sensors, environmental factors like wind, or inconsistent joystick inputs.
- Solution:
- Calibrate your drone’s gyroscope, compass, and accelerometer before each flight.
- Practice hover stability exercises to refine your control.
8. How can I safely navigate around obstacles?
Use slow, deliberate movements and monitor your surroundings carefully when flying near obstacles.
- Tip: Start with wide spacing between obstacles and reduce the gap as you improve. Drones with obstacle avoidance features are especially helpful for beginners.
Visit our Beginner Drone FAQ Guide for additional insights into common piloting questions.
Conclusion
Mastering drone navigation tips is a critical step in becoming a confident and skilled pilot. By understanding the basics, practicing structured patterns, and avoiding common mistakes, you’ll gain the precision needed to navigate in diverse environments. Navigation isn’t just about control—it’s about combining movements fluidly, adapting to surroundings, and executing complex paths with ease.
Remember, patience and consistency are key. Start with simple exercises like straight-line movements and progress to advanced patterns like figure-eights and obstacle courses. Regular practice not only builds your skills but also ensures safer and more enjoyable flights.
Ready to elevate your drone skills further? Check out our Advanced Drone Navigation Patterns for more challenging drills and techniques.
Have tips or questions about drone navigation? Share your thoughts in the comments below or join our community to connect with fellow drone enthusiasts. Let’s navigate the skies together! 🚁


