Master Drone Landing: Tips for Safe and Precise Touchdowns
Each product is chosen independently by our editors. Purchases made through our links might earn us a commission at no extra cost to you!
Introduction
Landing a drone may seem simple at first, but it’s one of the most crucial skills every pilot needs to master. A poorly executed landing can result in damage to your drone, accidents, or even injury. Whether you’re relying on manual techniques or using advanced automated systems, understanding drone landing tips is essential for safe and precise touchdowns.
In this guide, we’ll take you through everything you need to know about drone landing—from preparing for a safe descent to avoiding common mistakes and mastering advanced techniques. No matter your skill level, these tips will help you land your drone confidently every time.
Check out our Beginner Drone Control Techniques to improve your piloting foundation.
Table of Contents
Understanding the Basics of Drone Landing
Drone landing can be divided into two primary approaches: manual landing and assisted landing. Each method has its own set of challenges and advantages, and understanding them is the first step to becoming a confident pilot.
Manual Landing: A Core Skill for Drone Pilots
Manual landing is the process of controlling your drone’s descent and touchdown entirely by hand, using the remote controller. Unlike automated systems, manual landing requires focus, precision, and practice. However, it’s a skill that every pilot should master for better confidence and control.
Key Features of Manual Landing
Full Control:
- You are responsible for adjusting throttle, pitch, and roll to ensure a safe descent.
- Ideal for learning how your drone reacts to inputs during critical moments.
Flexibility:
- Allows you to land on uneven or unconventional surfaces, such as rocky terrains or small platforms.
- Especially useful in emergency situations when automation might fail.
Challenges for Beginners:
- Requires steady hands and precise inputs to avoid hard landings or drift.
- Mistakes like sudden throttle reductions can cause crashes.
When to Use Manual Landing
- For Practice:
- Helps new pilots build muscle memory and better control over their drones.
- In Unpredictable Environments:
- Manual landing is essential when GPS signals are weak, or when landing in a restricted area.
- To Avoid Automation Failures:
- Situations like low battery or technical glitches may require immediate manual control.
Tips for Beginners
- Practice Hovering: Before attempting manual landing, practice stabilizing your drone in a hover to improve control.
- Start with Flat Surfaces: Choose open, flat areas for initial practice to minimize risks.
- Take It Slow: Reduce altitude gradually with small throttle adjustments for a smooth descent.
Explore Drone Safety Guides for essential piloting practices.
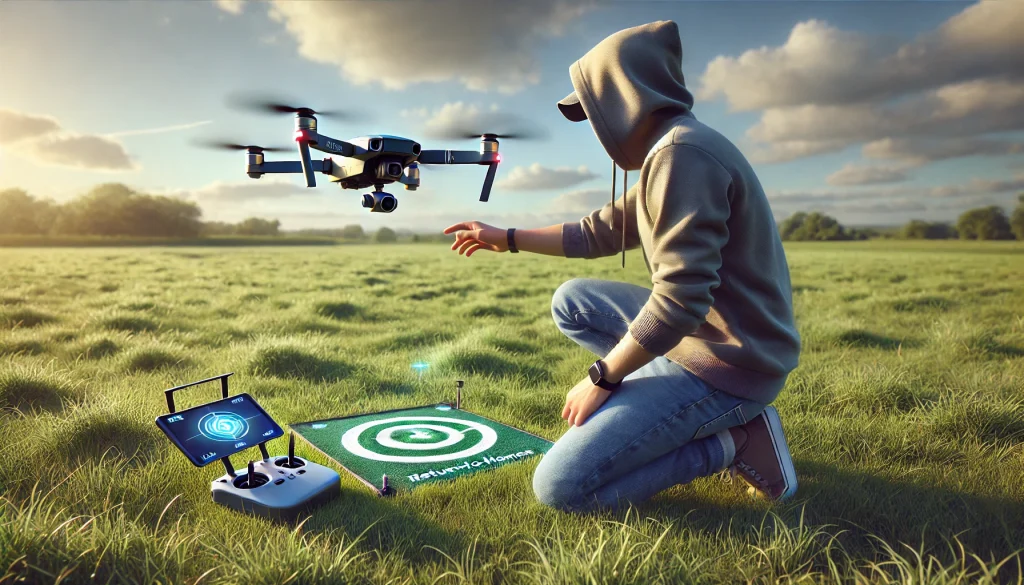
Assisted Landing: Simplifying the Process
Assisted landing uses your drone’s advanced technologies, such as GPS positioning and automated descent systems, to make landing easier and safer. It’s especially useful for beginners or in challenging conditions where manual control might be difficult.
Key Features of Assisted Landing
Automation with Precision:
- Assisted landing leverages technologies like GPS-based Return-to-Home (RTH) and auto-landing modes.
- The drone automatically stabilizes itself and descends to the designated home point or a pre-selected landing spot.
Ease of Use for Beginners:
- Requires minimal input, reducing stress during critical phases of flight.
- Ideal for those still mastering manual techniques.
Dependence on Pre-Set Parameters:
- Assisted landing works best when GPS signals are strong, and the home point is accurately recorded.
- May struggle on uneven terrain or in areas with obstructions.
How Assisted Landing Works
GPS Positioning:
- Your drone uses satellite data to calculate its location and align with the pre-set landing point.
Altitude Sensors:
- Built-in sensors monitor the drone’s descent and ensure smooth touchdown.
Obstacle Detection:
- Some drones are equipped with downward-facing sensors to detect and avoid obstacles during landing.
When to Use Assisted Landing
During Long Flights:
- Activate Return-to-Home when the battery is running low or weather conditions change unexpectedly.
In Open Areas:
- Best suited for obstacle-free environments where automated systems can operate without interference.
For Quick Landings:
- Ideal when you need to land immediately and don’t have time to manually guide the drone.
Limitations of Assisted Landing
Terrain Challenges:
- Assisted systems may not perform well on uneven or sloped surfaces.
Signal Dependency:
- Weak GPS or sensor interference can lead to inaccurate landings.
Lack of Control:
- In critical scenarios, reliance on automation might result in suboptimal decisions.
Pro Tips for Using Assisted Landing
Set the Home Point Correctly:
- Ensure the drone records the takeoff location accurately before flying.
Monitor Descent:
- Stay alert and be ready to take manual control if the drone encounters unexpected obstacles.
Practice in Open Areas:
- Get comfortable with assisted landing features in large, clear spaces before relying on them in complex environments.
Check out Drone Technology Insights for an overview of assisted systems.
Step-by-Step Guide to Manual Landing
Mastering manual landing is an essential skill for drone pilots. It ensures you can safely land your drone even in situations where automated systems are unavailable or unreliable. Follow these detailed steps to perform a smooth and controlled manual landing.
Step 1: Position Your Drone Above the Landing Spot
Objective
Ensure your drone is aligned directly above the designated landing area to create a stable starting point for a smooth descent. Proper positioning minimizes drift and ensures a controlled landing process.
How to Position Your Drone
Identify the Landing Spot:
- Choose a flat, obstacle-free surface as your target.
- Use a landing pad or visual marker to clearly define the area.
Hover at a Safe Altitude:
- Bring your drone to a low hover, around 1-2 meters (3-6 feet) above the ground.
- Ensure the drone remains stable and does not drift laterally.
Center the Drone:
- Use the right joystick (pitch and roll) to adjust the drone’s position until it is centered above the landing spot.
- Avoid overcorrecting—make small, deliberate inputs.
Pause and Stabilize:
- Once aligned, pause for a few seconds to ensure the drone is stable before beginning the descent.
- Check that the drone is not tilting or swaying.
Pro Tips for Accurate Positioning
- Use Visual Cues: Rely on the landing pad or ground features to visually confirm alignment.
- Practice Hovering: Stability during hover is critical for precise positioning.
- Mind the Wind: In windy conditions, use slight joystick inputs to counteract drift and maintain alignment.
Common Mistakes to Avoid
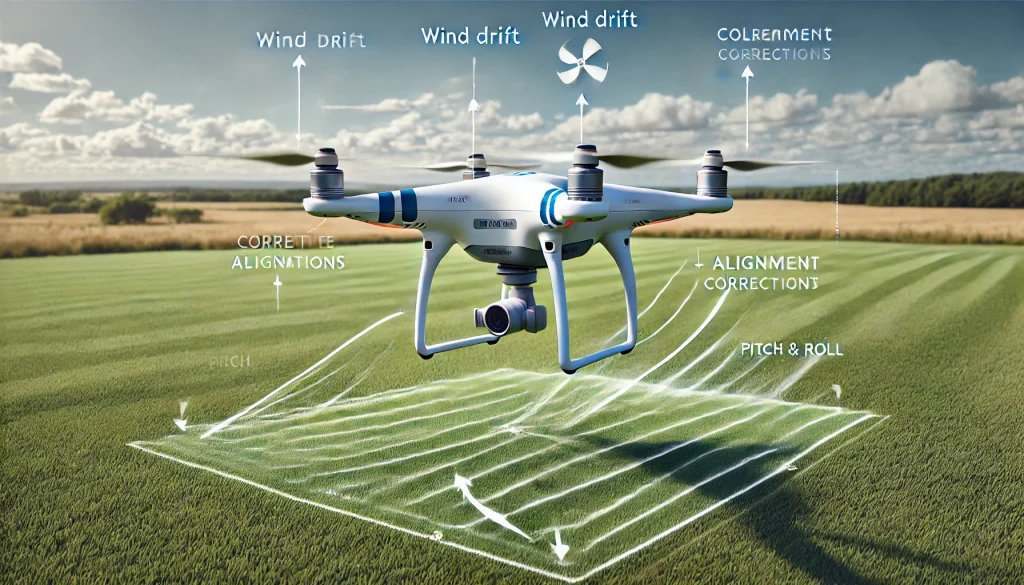
Ignoring Wind Drift:
- Wind can push the drone off-course, making alignment difficult.
- Solution: Continuously monitor and correct for drift with gentle roll and pitch adjustments.
Overcompensating:
- Large or jerky joystick movements can destabilize the drone.
- Solution: Use subtle inputs and allow the drone to respond before making further adjustments.
Misjudging Altitude:
- Hovering too high may make alignment harder, while hovering too low increases the risk of premature contact.
- Solution: Maintain a consistent height of 1-2 meters for optimal control.
Why This Step Is Crucial
Positioning the drone above the landing spot ensures a stable starting point for the descent, reducing the likelihood of errors during landing. Proper alignment also helps protect the drone from damage by minimizing unwanted lateral movement.
Practice your Drone Hovering Skills to improve stability and alignment before landing.
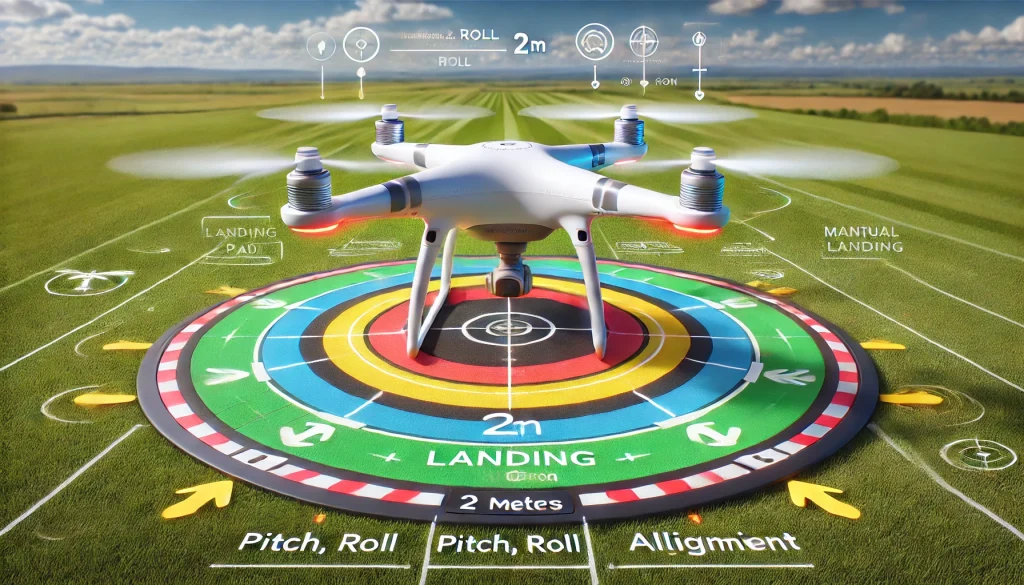
Step 2: Gradually Lower the Altitude
Objective
Descend your drone smoothly and steadily to maintain control and avoid abrupt movements that could lead to instability or hard landings.
How to Gradually Lower the Altitude
Reduce Throttle Smoothly:
- Use the left joystick and gently push it downward to decrease altitude.
- Avoid sudden or excessive throttle inputs to ensure a controlled descent.
Maintain Stability:
- Focus on keeping the drone balanced while it descends.
- Monitor for drift and correct it using slight pitch (forward/backward) and roll (left/right) adjustments.
Observe Descent Speed:
- Adjust the throttle incrementally to control the rate of descent.
- Slow the descent further as the drone gets closer to the ground.
Pause If Necessary:
- If the drone starts to wobble or drift, pause the descent and hover momentarily to stabilize.
- Reposition the drone if it veers off course.
Pro Tips for Controlled Descent
- Use Small Adjustments: Make gradual changes to throttle rather than large, abrupt inputs.
- Stay Focused: Continuously observe the drone’s altitude and alignment during the descent.
- Practice with a Landing Pad: Aim for the pad as a target to refine precision.
Common Mistakes and Solutions
Descending Too Quickly:
- Sudden drops can destabilize the drone or cause a hard landing.
- Solution: Gradually reduce throttle in small increments and monitor the drone’s behavior.
Neglecting Drift:
- Ignoring lateral movement during descent may cause the drone to miss the landing spot.
- Solution: Continuously correct drift with subtle pitch and roll inputs.
Underestimating Wind Effects:
- Wind can push the drone off course as it descends.
- Solution: Adjust for wind direction and speed with minor joystick inputs.
Why This Step Is Crucial
A gradual descent ensures the drone maintains balance and stability while reducing the risk of damage to sensitive components. This step is essential for achieving smooth and precise landings, especially in manual mode.
Explore Drone Throttle Control Tips for mastering gradual altitude adjustments.
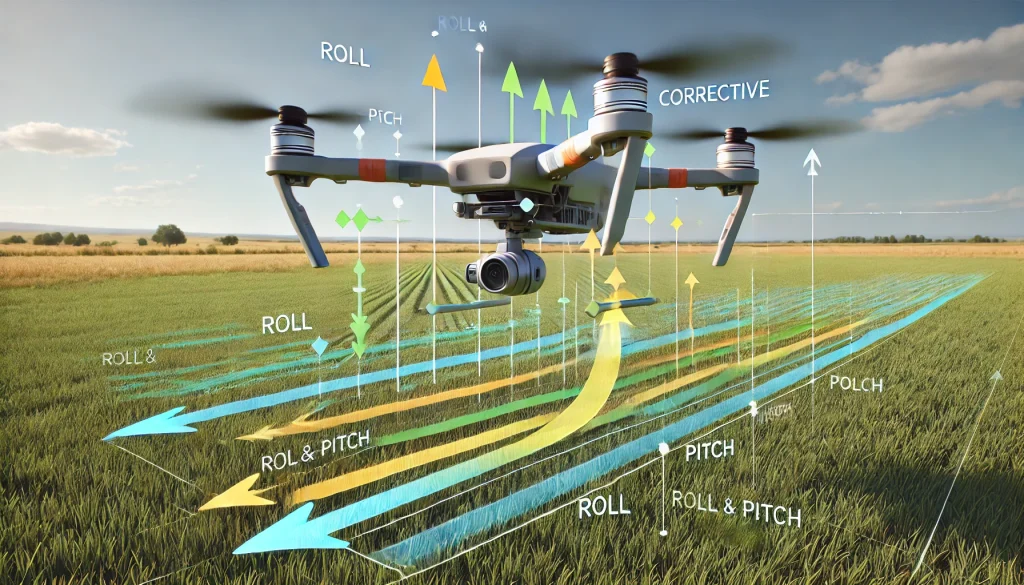
Step 3: Correct for Drift
Objective
Ensure your drone remains aligned with the landing spot by making small adjustments to counteract drift caused by wind, uneven joystick inputs, or other factors.
How to Correct Drift
Monitor the Drone’s Movement:
- Keep your eyes on the drone as it descends, watching for any lateral (sideways) or forward/backward drift.
- Observe visual cues such as the landing pad or markers to detect misalignment.
Use Roll and Pitch Controls:
- Adjust the right joystick (roll and pitch) to counteract drift:
- Roll (left/right): Moves the drone sideways.
- Pitch (forward/backward): Moves the drone toward or away from you.
- Make small, controlled inputs to avoid overcorrection.
- Adjust the right joystick (roll and pitch) to counteract drift:
Pause to Stabilize if Needed:
- If the drone becomes unstable or drifts significantly, stop descending and hover to regain control.
- Reposition the drone above the landing spot before resuming the descent.
Compensate for Environmental Factors:
- In windy conditions, anticipate the direction of drift and make preemptive adjustments.
- Reduce throttle slightly during corrections to maintain balance and avoid jerky movements.
Pro Tips for Correcting Drift
- Stay Calm: Panicking and overcompensating can worsen drift. Focus on making small, deliberate movements.
- Use Ground Markers: Align the drone with visible landmarks or a landing pad to guide corrections.
- Anticipate Wind: If you notice a consistent wind direction, adjust slightly against it to maintain alignment.
Common Mistakes and Solutions
Overcorrecting:
- Large joystick inputs can destabilize the drone and cause erratic movements.
- Solution: Use subtle inputs and wait for the drone to respond before making further adjustments.
Ignoring Drift:
- Failing to correct drift early can result in a missed landing spot.
- Solution: Continuously monitor the drone’s alignment and make small corrections as needed.
Losing Focus:
- Shifting attention away from the drone can lead to misalignment.
- Solution: Keep your eyes on the drone and use peripheral vision to monitor the landing pad.
Why This Step Is Crucial
Drift correction is essential for precise landings, especially on small or confined landing spots. Practicing this step improves your ability to maintain control in dynamic conditions and prepares you for more challenging scenarios.
Learn about Drone Stability Techniques to master alignment and balance.
Step 4: Approach the Ground Slowly
Objective
Achieve a smooth and gentle touchdown by carefully controlling the drone’s descent as it nears the ground. This minimizes impact and protects sensitive components like the camera and landing gear.
How to Approach the Ground
Reduce Descent Speed Gradually:
- Use the throttle (left joystick down) to slow the descent further as the drone approaches 10-15 cm (4-6 inches) above the ground.
- Keep movements subtle to avoid sudden drops or jerky motions.
Monitor Stability:
- Continuously check for any wobbling or drift.
- Make minor pitch and roll corrections to maintain alignment with the landing spot.
Prepare for Touchdown:
- As the drone gets very close to the ground, reduce throttle input to its lowest point without powering off the motors.
- Keep the drone level to ensure an even landing.
Pro Tips for a Gentle Approach
- Hover Briefly if Needed: If the drone becomes unstable, hover just above the ground to stabilize before continuing the descent.
- Choose a Smooth Surface: Landing on uneven or rocky terrain increases the risk of tipping over. Use a flat area or landing pad whenever possible.
- Practice on Soft Surfaces: For beginners, practice landing on grass or foam pads to reduce the risk of damage during hard landings.
Common Mistakes and How to Avoid Them
Landing Too Quickly:
- Sudden descents can lead to hard landings and damage to the drone.
- Solution: Always reduce throttle incrementally as you approach the ground.
Tilting on Touchdown:
- Uneven drone alignment causes one side to touch down first, potentially tipping over.
- Solution: Keep the drone level by carefully monitoring its roll and pitch.
Ignoring Ground Effect:
- The cushion of air created by the propellers near the ground can cause instability.
- Solution: Compensate for slight wobbling by maintaining a steady throttle and stabilizing inputs.
Why This Step Is Crucial
Approaching the ground slowly ensures a safe and controlled landing, preventing damage to your drone’s components. This step is especially important for beginners, as rushing can result in costly mistakes.
Check Drone Maintenance Essentials for tips on protecting your equipment during repeated landings.
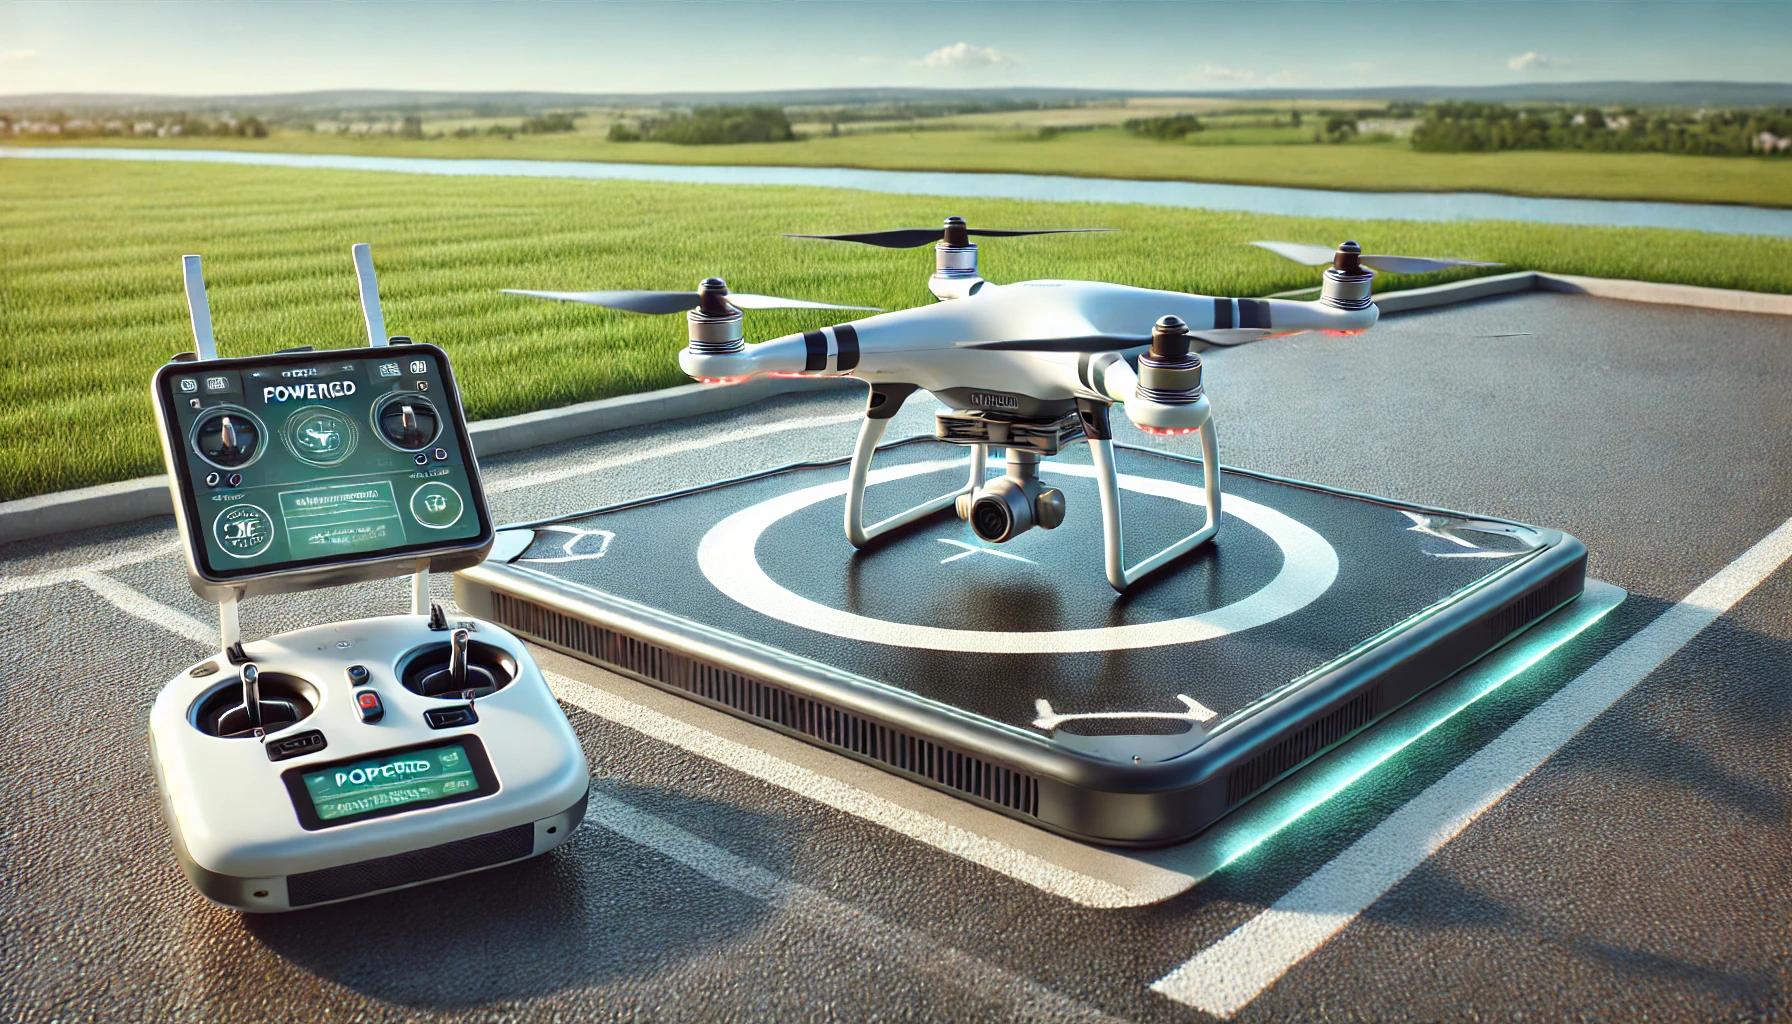
Step 5: Power Down Safely
Objective
Ensure your drone’s motors stop completely and securely after touchdown to prevent accidental damage or instability.
How to Power Down Safely
Complete the Touchdown:
- Gradually lower the throttle (left joystick down) until the drone’s landing gear fully contacts the ground.
- Ensure the drone remains level and stable during touchdown.
Reduce Throttle to Minimum:
- Push the throttle completely down and hold it for a few seconds.
- This action signals the motors to stop spinning while keeping the drone secure on the ground.
Observe Stability Before Shutting Off:
- Check for any movement or tilting before turning off the power.
- If the drone starts to wobble, adjust its position slightly by reactivating the throttle.
Turn Off the Power:
- Once the motors have stopped spinning, power off the drone completely using the control app or onboard switch.
- Disconnect the battery if necessary to prevent accidental activation.
Pro Tips for Safe Power Down
- Avoid Premature Shutdown: Never power off the drone before it has landed completely, as this can cause a crash.
- Secure the Area: Ensure the landing zone is clear of obstacles or moving objects that could destabilize the drone during power down.
- Inspect After Landing: Check for any damage to the landing gear or drone body, especially if the landing was uneven.
Common Mistakes and How to Avoid Them
Cutting Throttle Too Early:
- Prematurely stopping the motors can cause the drone to drop suddenly.
- Solution: Ensure the drone is fully on the ground before reducing throttle to zero.
Powering Off with Tilt:
- Turning off the power while the drone is unstable increases the risk of tipping over.
- Solution: Stabilize the drone completely before shutting off the motors.
Forgetting to Disconnect the Battery:
- Leaving the battery connected may lead to overheating or accidental reactivation.
- Solution: Disconnect the battery immediately after powering down.
Why This Step Is Crucial
A proper power-down sequence ensures the drone remains stable and prevents unnecessary wear or damage to the motors and landing gear. This step also protects the pilot and surrounding environment from accidental injuries caused by spinning propellers.
Visit Drone Safety Guidelines to learn best practices for secure drone operation.
Assisted and Automatic Landings
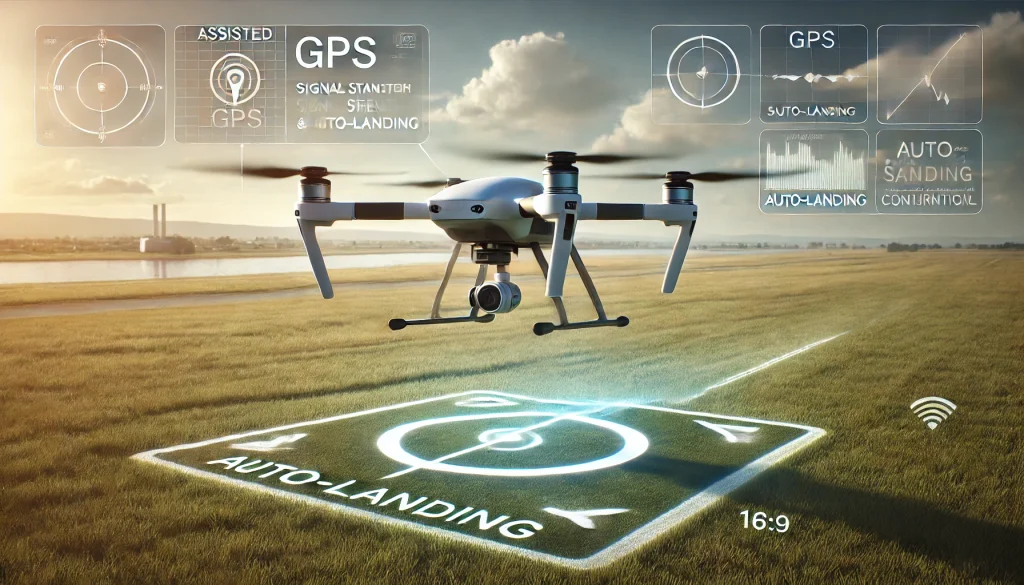
Assisted and automatic landings are lifesavers for drone pilots, especially beginners. These methods leverage advanced features like GPS, sensors, and Return-to-Home (RTH) to simplify and secure the landing process. While manual landings require precision and experience, automated systems take much of the guesswork out of bringing your drone safely back to the ground.
How Assisted and Automatic Landings Work
Return-to-Home (RTH):
- This feature guides your drone back to a pre-set home point using GPS.
- Once activated, the drone calculates the safest route back and begins its descent automatically.
Auto-Landing Features:
- These features allow the drone to land with minimal pilot input.
- Sensors scan the ground, adjusting the drone’s descent for a smooth touchdown.
Safety Enhancements:
- Many modern drones include obstacle detection to avoid collisions during descent.
- Some drones also use altitude sensors to stabilize the landing process.
Steps to Use Assisted and Automatic Landings
Activate the Feature:
- For RTH: Press the designated button on your controller or app.
- For auto-landing: Choose the landing option in the drone’s app or control interface.
Monitor the Drone’s Descent:
- Keep an eye on the drone as it approaches the landing spot.
- Be ready to override the system if it deviates from the intended path.
Verify the Landing Spot:
- Make sure the drone aligns accurately with the pre-set home point.
- Adjust the home point manually before takeoff for greater precision.
When to Use Assisted and Automatic Landings
For Beginners:
- Helps reduce the stress of landing and ensures a safe touchdown.
In Low-Battery Situations:
- RTH is particularly useful when battery levels are critically low, ensuring the drone doesn’t crash mid-flight.
In Challenging Conditions:
- Assisted landings are ideal when wind or environmental factors make manual control difficult.
Advantages of Assisted and Automatic Landings
Ease of Use:
- Automates the most challenging part of drone operation, making it beginner-friendly.
Accuracy:
- Uses GPS and sensors to guide the drone to its exact starting point.
Safety:
- Minimizes pilot errors and protects the drone from common landing risks.
Limitations of Assisted and Automatic Landings
GPS Dependency:
- Weak or blocked GPS signals can disrupt the process, leading to misaligned landings.
Terrain Sensitivity:
- Automated systems may not perform well on sloped or uneven ground.
Automation Blind Spots:
- Obstacle sensors may fail to detect small objects like rocks or tall grass.
Pro Tips for Successful Assisted Landings
Update the Home Point:
- Always update the home point after takeoff to ensure the drone returns to the correct location.
Choose Open Areas:
- Practice in clear, obstacle-free spaces to maximize the efficiency of automated systems.
Combine Automation with Manual Skills:
- While assisted landings are convenient, knowing manual techniques ensures you can handle emergencies confidently.
Explore Drone Flight Automation Tools for advanced insights into assisted technology.
Common Mistakes During Landing and How to Avoid Them
Landing a drone may seem straightforward, but even experienced pilots can make mistakes that lead to crashes, instability, or damage. Recognizing and avoiding these common errors is crucial to ensuring safe and smooth touchdowns.
1. Descending Too Quickly
- Why It’s a Mistake:
- A sudden drop in altitude can destabilize the drone and cause a hard landing, potentially damaging the landing gear or camera.
- How to Avoid:
- Reduce throttle incrementally and maintain a slow, controlled descent.
- Practice gradual altitude adjustments during manual landings.
- Pro Tip: Always slow the descent further as the drone approaches the ground to minimize impact.
2. Overcorrecting Drift
- Why It’s a Mistake:
- Excessive joystick inputs can destabilize the drone, causing it to move erratically or tip over during landing.
- How to Avoid:
- Use small, subtle roll and pitch adjustments to align the drone with the landing spot.
- Focus on stability and let the drone respond before making additional inputs.
- Pro Tip: Practice hovering in place to build control precision.
3. Ignoring Wind Conditions
- Why It’s a Mistake:
- Wind can push the drone off course during descent, especially at low altitudes.
- How to Avoid:
- Fly in calm weather whenever possible.
- Use pitch and roll adjustments to compensate for wind drift during landing.
- Pro Tip: Test your drone’s stability in windy conditions by hovering at a low altitude before landing.
4. Misaligned Home Point (Assisted Landings)
- Why It’s a Mistake:
- If the home point is set incorrectly, the drone may attempt to land in an unsafe location.
- How to Avoid:
- Always update the GPS home point before takeoff.
- Confirm the home point location via your drone’s app.
- Pro Tip: Use visual landmarks to verify the home point accuracy during setup.
5. Selecting an Unsafe Landing Area
- Why It’s a Mistake:
- Choosing a landing spot with uneven terrain, debris, or obstacles can cause tipping or damage.
- How to Avoid:
- Select flat, clear areas free of rocks, grass, or other obstructions.
- Use a landing pad to provide a stable and protective surface.
- Pro Tip: Carry a portable landing pad for consistency, especially in outdoor environments.
6. Forgetting to Monitor Battery Levels
- Why It’s a Mistake:
- Running out of battery mid-descent can cause a forced emergency landing, increasing the risk of damage.
- How to Avoid:
- Begin landing procedures when the battery reaches 20%.
- Avoid flying too far from the landing area to conserve battery life.
- Pro Tip: Use your drone’s app to monitor battery levels in real-time during flight.
7. Relying Too Much on Automation
- Why It’s a Mistake:
- Assisted systems may struggle in complex environments or with weak GPS signals, leading to misaligned or unsafe landings.
- How to Avoid:
- Stay ready to take manual control during assisted landings.
- Familiarize yourself with manual landing techniques for emergencies.
- Pro Tip: Practice manual landings regularly to build confidence and prepare for unexpected scenarios.
Why Avoiding These Mistakes Is Important
Preventing these errors ensures the safety of your drone, extends its lifespan, and builds your confidence as a pilot. By practicing proper landing techniques and staying vigilant, you can minimize risks and improve your overall piloting skills.
Visit Drone Safety Tips for Beginners for more advice on preventing accidents.
Advanced Landing Techniques
Mastering basic landing skills is just the beginning. Advanced landing techniques help pilots handle challenging environments, perform precision touchdowns, and manage dynamic situations like landing on moving platforms. These techniques are crucial for professional drone pilots or those flying in unpredictable conditions.
1. Landing on Uneven Terrain
Landing on slopes, rocky surfaces, or uneven ground requires extra care and control.
Steps to Execute:
- Survey the Terrain:
- Identify the flattest section of the area for landing.
- Avoid sharp rocks or unstable surfaces.
- Hover Above the Landing Spot:
- Hold the drone steady 1-2 meters above the chosen point.
- Adjust pitch and roll to stabilize the drone before descent.
- Descend Slowly:
- Use minimal throttle adjustments to reduce altitude gradually.
- Touch down gently to prevent tipping over.
- Survey the Terrain:
Pro Tip: Carry a portable landing pad to create a stable surface on uneven terrain.
2. Precision Landings
This technique involves landing on small, predefined spots like a marked pad or charging station.
Steps to Execute:
- Mark the Spot:
- Use a visible target, such as a brightly colored landing pad or marker.
- Align with the Marker:
- Hover directly above the marker and use pitch/roll adjustments to center the drone.
- Descend with Precision:
- Keep the drone aligned during descent, making small corrections as needed.
- Mark the Spot:
Pro Tip: Practice using visual cues and gradually reduce the size of the target area to improve accuracy.
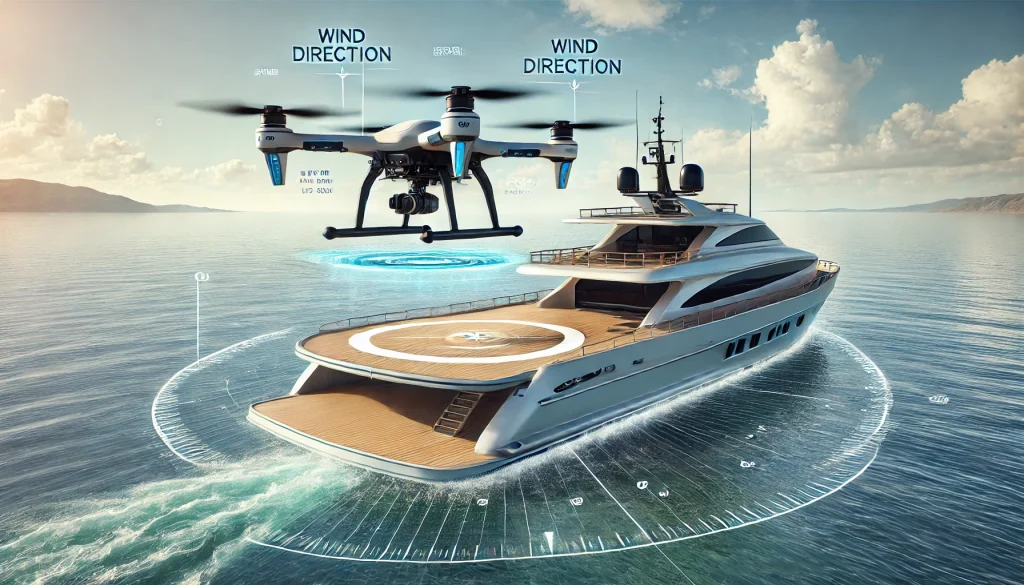
3. Landing on Moving Platforms
This technique is used for landing on boats, vehicles, or other moving surfaces.
Steps to Execute:
- Sync with the Movement:
- Match the drone’s speed and direction with the moving platform.
- Stabilize Above the Platform:
- Hover steadily 1-2 meters above the moving surface.
- Make continuous pitch and roll adjustments to maintain position.
- Descend Carefully:
- Slowly lower the drone while compensating for platform motion.
- Sync with the Movement:
Pro Tip: Use obstacle avoidance sensors if available to avoid collisions with the platform edges.
4. High-Wind Landings
Flying in windy conditions increases the difficulty of landing due to constant drift.
Steps to Execute:
- Assess the Wind Direction:
- Position the drone to descend against the wind for added stability.
- Hover at Low Altitude:
- Hover just above the landing spot to stabilize the drone against gusts.
- Descend Gradually:
- Use small throttle adjustments to reduce altitude while maintaining alignment.
- Assess the Wind Direction:
Pro Tip: Avoid flying in winds over 15 mph unless absolutely necessary.
5. Assisted Precision Landings
Some advanced drones offer features like visual markers or advanced GPS for precision-assisted landings.
Steps to Execute:
- Enable Assisted Landing Mode:
- Activate features such as Precision Landing or Vision Positioning in the drone’s app.
- Align with the Marker:
- Use visual markers like landing pads with patterns that the drone’s camera can detect.
- Monitor the Descent:
- Let the drone auto-align and land, but be ready to override if necessary.
- Enable Assisted Landing Mode:
Pro Tip: Keep the marker clean and well-lit to ensure the sensors can detect it accurately.
Common Mistakes in Advanced Landings and How to Avoid Them
Underestimating Environmental Challenges:
- Not preparing for factors like wind, waves, or uneven ground.
- Solution: Always survey the landing area and adjust techniques accordingly.
Over-Reliance on Automation:
- Expecting the drone to handle all conditions flawlessly.
- Solution: Practice manual overrides to handle unexpected situations.
Misjudging Distance or Speed:
- Landing on moving platforms too quickly or at the wrong angle.
- Solution: Use slow, deliberate movements and practice with stationary platforms first.
Why Learn Advanced Techniques?
Advanced landing techniques are essential for navigating complex environments, performing high-stakes operations, and improving your overall piloting skill set. Mastering these techniques prepares you for real-world challenges where precision and control are critical.
Explore Drone Obstacle Navigation Techniques for enhanced control in dynamic environments.
FAQs About Drone Landing
1. What is the safest way to land a drone?
The safest method depends on your skill level and the environment. Beginners should use assisted landing features like Return-to-Home (RTH), while experienced pilots may prefer manual landings for precision in challenging conditions.
- Pro Tip: Always ensure the landing area is flat and clear of obstacles.
2. When should I use manual landing instead of automated systems?
Manual landing is ideal when:
- The terrain is uneven or obstructed.
- GPS signals are weak, leading to unreliable automated landings.
- Practicing to improve piloting skills.
- Pro Tip: Practice manual landings in open spaces to prepare for emergencies.
3. How do I prevent my drone from drifting during landing?
Drifting is often caused by wind or incorrect joystick inputs. To prevent this:
- Hover the drone over the landing spot before descending.
- Use slight roll and pitch adjustments to correct drift.
- Avoid overcorrecting, as it can destabilize the drone.
4. Can I land my drone on uneven surfaces?
Yes, but it requires extra care:
- Choose the flattest possible section of the surface.
- Hover just above the ground to stabilize before descending.
- Use a portable landing pad for better stability.
- Pro Tip: Avoid rocky or slippery areas to reduce the risk of tipping.
5. How does wind affect drone landing?
Wind can push the drone off course during descent, making it harder to land accurately. To counteract wind:
- Descend against the wind for added stability.
- Make small joystick inputs to maintain alignment.
- Avoid flying in winds above 15 mph if possible.
6. What should I do if my drone’s battery is critically low during landing?
If the battery is critically low:
- Activate Return-to-Home immediately to initiate an automatic landing.
- If manual landing is necessary, reduce altitude quickly but carefully.
- Land on the closest safe surface to avoid a crash.
7. Are there tools to improve drone landing accuracy?
Yes, tools like landing pads, visual markers, and drones with Precision Landing features can improve accuracy. These tools help the drone align correctly and protect its sensors during touchdown.
- Pro Tip: Choose a landing pad with a high-contrast pattern for better detection by the drone’s sensors.
8. How can I practice advanced landing techniques safely?
To practice advanced techniques like landing on moving platforms or uneven terrain:
- Start with stationary targets like landing pads.
- Gradually introduce dynamic elements, such as a slow-moving vehicle or slight slopes.
- Use calm weather conditions to minimize environmental challenges.
9. What are the risks of relying too much on assisted landing features?
Assisted features can fail in certain conditions, such as:
- Weak GPS signals.
- Obstructions or uneven terrain.
- Technical malfunctions.
- Pro Tip: Always be prepared to take manual control in case the automated system fails.
10. How often should I calibrate my drone for accurate landings?
Calibrate your drone’s GPS, compass, and sensors:
- Before every flight in a new location.
- After firmware updates.
- If you notice issues like drift or inaccurate landings.
- Pro Tip: Follow your drone manufacturer’s guidelines for calibration to ensure precision.
Check out Drone Safety and Flight Regulations for more landing guidelines.
Conclusion
Landing a drone is more than just a routine operation; it’s a critical skill that ensures the safety of your equipment and surroundings. Whether you’re mastering manual landing techniques, using assisted landing features, or tackling advanced scenarios like uneven terrain or moving platforms, a proper landing sets the stage for a successful flight experience.
Key Takeaways:
- Always prepare for your landing by assessing the environment, wind conditions, and battery levels.
- Practice both manual and assisted landing methods to handle diverse situations with confidence.
- Avoid common mistakes like rushing the descent, overcorrecting drift, or misaligning with the landing spot.
- Explore advanced techniques to improve precision and adaptability in challenging conditions.
Are you ready to take your drone piloting skills to the next level? Check out our Drone Navigation Techniques for Advanced Pilots and enhance your flying precision today!
If you found this guide helpful, don’t forget to share your feedback or ask any additional questions in the comments below. Let’s help you perfect your drone landings! 🚁


