How to Use Mini Projector: A Step-by-Step Guide
Each product is chosen independently by our editors. Purchases made through our links might earn us a commission at no extra cost to you!
Introduction
Mini projectors have revolutionized how we consume media and conduct presentations. These compact devices are perfect for creating a home cinema experience, enhancing work presentations, or even hosting outdoor movie nights. Whether you’re using one for leisure or productivity, learning how to set up and use a mini projector correctly ensures you get the best performance out of your device.
In this guide, we’ll walk you through the essential steps, from unboxing to advanced tips, making it easy even for beginners. If you’re unsure which mini projector is right for you, check out our Top Mini Projector Recommendations to find the perfect match for your needs.
Why Use a Mini Projector?
Mini projectors are popular because of their portability, versatility, and affordability. You can connect them to various devices such as laptops, smartphones, and gaming consoles, making them a multi-purpose tool. Plus, their ability to project large, high-quality visuals onto any surface makes them ideal for small spaces and outdoor settings.
If you’re setting up a home cinema, you might also find our Guide to Setting Up a Home Theater helpful for creating the ultimate entertainment experience.
Table of Contents
Requirements for Using a Mini Projector
Before you can fully enjoy the benefits of your mini projector, ensure you have all the necessary tools and conditions prepared. This will save time and help avoid common setup issues.
1. A Mini Projector
The first essential item is, of course, a reliable mini projector. Choose one that fits your needs, whether for home cinema, business presentations, or gaming. If you’re still deciding, check out our Top Mini Projector Recommendations for expert advice.
2. Power Source
Mini projectors often rely on either:
- Built-in Rechargeable Batteries: Ideal for portability.
- AC Power Adapters: Required for longer sessions.
Ensure your projector is fully charged or connected to a stable power outlet.
3. Connecting Cables
You’ll need the right cables to connect your source device to the projector. The most common options are:
- HDMI Cables (for laptops, gaming consoles, and media players).
- USB-C or Lightning Adapters (for smartphones or tablets).
- VGA Cables (for older laptops).
Tip: Not sure which cable to use? Refer to your projector’s User Manual or this comprehensive cable guide for clarity.
4. Projection Surface
For the best image quality, a smooth and light-colored surface is essential. You can use:
- A dedicated projector screen for professional results.
- A blank wall for casual use.
If you’re setting up a home theater, learn more in our Home Theater Setup Guide for screen selection tips.
5. Source Device
A mini projector works with various devices:
- Laptops for presentations or movies.
- Smartphones/Tablets for streaming content.
- Gaming Consoles for an immersive gaming experience.
Check your projector’s compatibility with your devices. For example, some projectors require additional apps or drivers for wireless connections.
6. Optional Accessories
While not mandatory, these accessories can enhance your experience:
- Tripod or Stand: For better projector positioning.
- External Speakers: If the built-in audio doesn’t meet your expectations.
- Remote Control: For easy operation from a distance.
7. Ambient Conditions
The environment plays a key role in image clarity and sound quality. Ensure:
- Low Ambient Light: Darker settings improve the projection.
- Adequate Space: Make sure there’s enough distance between the projector and the screen.
- Stable Placement: Use a flat surface to prevent image distortion.
Step-by-Step: How to Use a Mini Projector
Step 1: Unbox and Prepare Your Projector
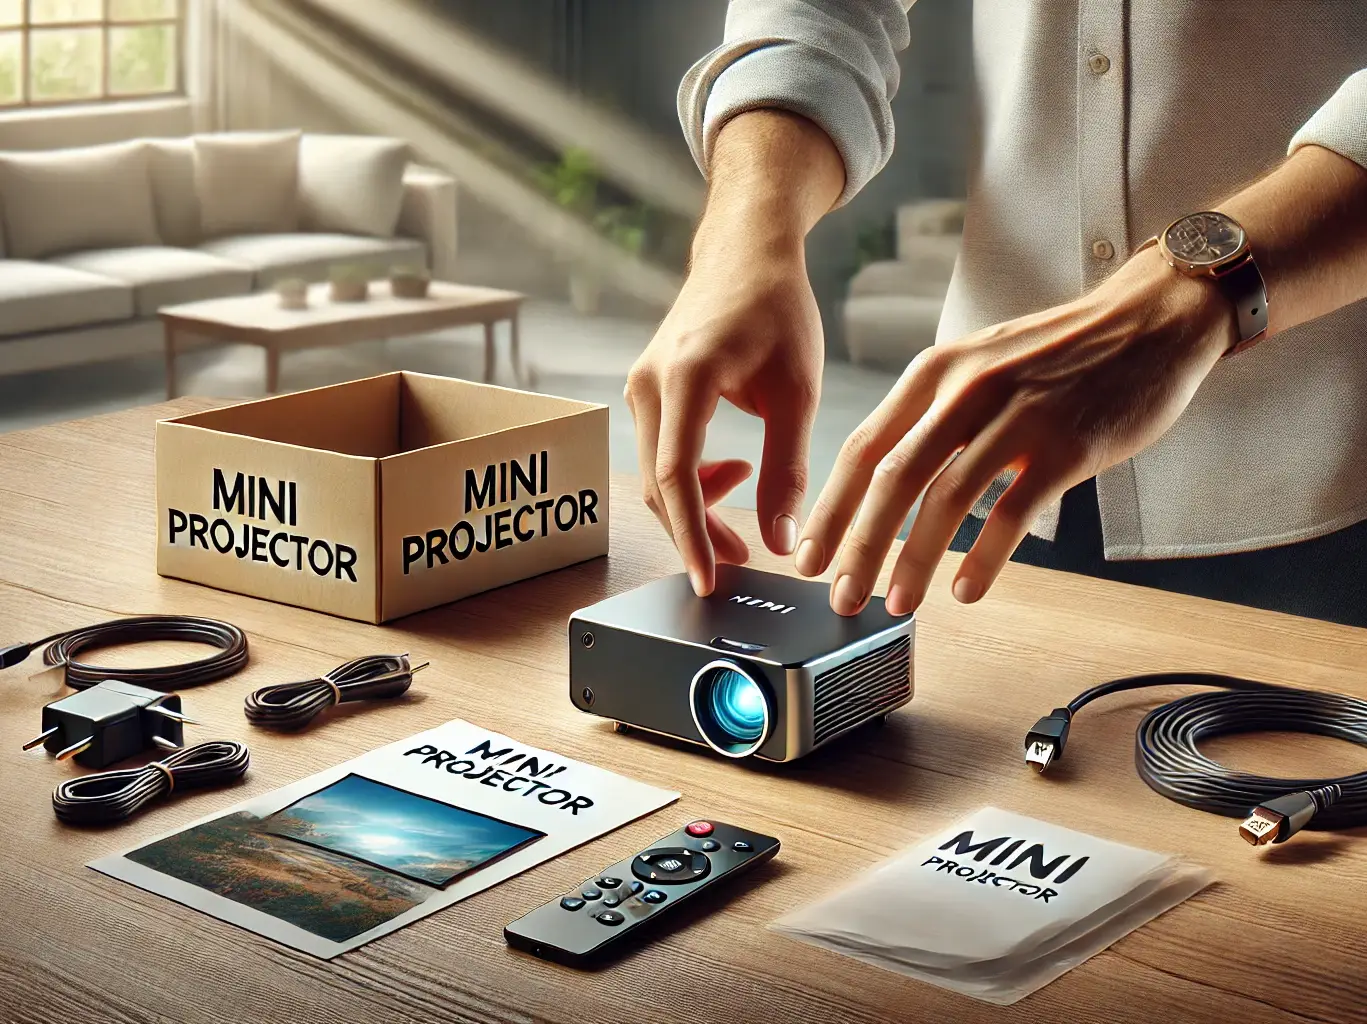
The first step to getting started with your mini projector is to unbox and prepare it for use. Proper preparation ensures everything is in working order and sets you up for a seamless setup experience.
1. Unbox Your Mini Projector
Carefully unpack the projector and its included accessories. Standard items in the box often include:
- Power cable or adapter.
- Remote control.
- HDMI, USB, or VGA cables.
- User manual and warranty card.
Inspect the components for any visible damage during shipping. If you notice any issues, contact the seller or refer to your Mini Projector Warranty Guide for next steps.
2. Inspect and Charge Your Projector
Power Source Check:
- For rechargeable models: Plug in your projector using the provided adapter and allow it to fully charge.
- For wired models: Connect the power cable to a reliable power outlet.
Ensure the power indicator lights up, signaling that the device is charging or ready to use.
Tip: If you’re unsure about the charging status, consult the User Manual for model-specific instructions.
3. Familiarize Yourself with the Controls
Take a moment to explore the buttons, ports, and features of your projector:
- Buttons: Identify the power button, menu navigation buttons, and input selection.
- Ports: Check for HDMI, USB, VGA, or SD card slots for connectivity options.
- Remote Control: Insert batteries into the remote, if included, and test its functionality.
4. Clean and Position the Projector
- Use a microfiber cloth to wipe the projector lens and remove any dust or smudges that could distort the image.
- Place the projector on a flat and stable surface or attach it to a tripod/stand for better projection angles.
- Ensure proper ventilation by keeping the vents unblocked to avoid overheating.
Step 2: Set Up the Mini Projector
Once you’ve unboxed and prepared your mini projector, it’s time to set it up. A proper setup ensures you get the best performance and image quality for your projection needs.
1. Position the Projector
- Place your projector on a flat, stable surface. If you’re using a tripod or stand, ensure it’s securely attached and leveled.
- Adjust the angle of the projector so it aligns with the screen or projection surface. Use the projector’s tilt adjustment feature if available.
- Projection Distance: Refer to your projector’s user manual for the optimal distance between the projector and the screen. Most mini projectors work best at a distance of 3–10 feet.
Tip: If you’re unsure about placement, explore our Projector Placement Guide for more detailed tips.
2. Connect to a Power Source
- Plug in the projector using the power cable if it’s not battery-operated.
- For rechargeable projectors, confirm that the battery is charged enough for your session.
Warning: Avoid using extension cords that aren’t surge-protected to prevent damage to your projector.
3. Turn on the Projector
- Locate the power button on the device or remote control and press it.
- Wait for the projector to power up; this may take a few seconds as the bulb warms up.
- You’ll typically see a startup screen or menu once it’s ready.
4. Align the Projection
- Adjust the Focus: Rotate the focus wheel to sharpen the image. Ensure the picture is clear and easy to view.
- Keystone Correction: If the image looks distorted (e.g., wider at the top or bottom), use the keystone adjustment feature to correct it.
Tip: Modern mini projectors often include automatic keystone correction for convenience. Learn more in our Keystone Adjustment Guide.
5. Set the Projection Mode
Depending on your setup, you may need to adjust the projection mode:
- Front Projection: Standard mode where the projector is placed in front of the screen.
- Rear Projection: For setups where the projector is placed behind the screen.
- Ceiling Mount: If you’re mounting the projector on the ceiling, switch to inverted mode via the projector settings.
Check the User Manual for instructions specific to your projector model.
6. Connect External Devices
Now that your projector is running, connect it to your source device. Common options include:
- HDMI Cables: For laptops, gaming consoles, or streaming devices like Fire TV Stick or Roku.
- Wireless Connections: Use Bluetooth or Wi-Fi for streaming from smartphones or tablets.
- USB/SD Cards: Insert USB drives or SD cards with preloaded content.
Tip: If your projector supports wireless screen mirroring, ensure both devices are on the same network. Need help? Check out this guide to screen mirroring.
Step 3: Connect Your Device
Connecting your mini projector to a source device is a crucial step for sharing media, presentations, or gaming. Follow these simple instructions to ensure seamless connectivity and start projecting your favorite content.
1. Identify Your Device Type
Mini projectors are versatile and can connect to a range of devices, such as:
- Laptops and PCs for presentations or streaming videos.
- Smartphones and Tablets for portability and ease of use.
- Gaming Consoles for immersive gaming experiences.
- Streaming Devices like Fire TV Stick, Roku, or Chromecast.
Choose the device you’ll use and gather the necessary cables or adapters. If you’re not sure what’s compatible, check your projector’s User Manual for supported inputs.
2. Wired Connection Options
Wired connections offer reliable performance and are easy to set up. Here are the most common methods:
HDMI Connection:
- Use an HDMI cable to connect your laptop, PC, or streaming device to the projector.
- Select the correct HDMI input on the projector menu.
Tip: If your laptop doesn’t have an HDMI port, use an adapter (e.g., USB-C to HDMI).
USB Connection:
- Plug your USB flash drive into the projector’s USB port to play preloaded content.
- For smartphones, use a USB-to-HDMI adapter.
VGA Connection:
- Ideal for older laptops or PCs. Use a VGA cable to connect the device and select the VGA input on the projector.
Note: HDMI is recommended for the best video and audio quality.
3. Wireless Connection Options
If your mini projector supports wireless features like Bluetooth or Wi-Fi, you can connect devices without cables:
Screen Mirroring:
- For smartphones or tablets, enable screen mirroring or casting (e.g., AirPlay for iOS or Miracast for Android).
- Pair the device with the projector’s wireless display feature.
Wi-Fi Streaming:
- Use apps like YouTube or Netflix directly on smart projectors that support Wi-Fi.
- Ensure both devices are on the same Wi-Fi network.
Bluetooth Audio:
- Pair external speakers via Bluetooth for better sound quality.
Tip: Read our Guide to Wireless Projector Setup for step-by-step instructions.
4. Test the Connection
After connecting your device, test the connection to ensure it’s working:
- Select the correct input source (e.g., HDMI, USB, or Wireless) in the projector menu.
- Play a video, presentation, or game to verify that the image and sound are displayed correctly.
- Adjust the volume or resolution as needed for optimal performance.
5. Troubleshooting Common Issues
If your device doesn’t connect, try these tips:
No Signal on Projector:
- Ensure cables are securely plugged in.
- Check the input source on the projector menu.
Wireless Connection Fails:
- Restart both the projector and your device.
- Ensure both devices are on the same Wi-Fi network.
Blurry Image:
- Adjust the focus or move the projector closer to the screen.
For more help, explore this Projector Troubleshooting Guide or your projector’s FAQ Section.
Step 4: Adjust Settings for Optimal Display
To get the best visual experience from your mini projector, adjusting the settings is essential. This step ensures the picture is sharp, colors are vibrant, and the display is perfectly aligned with your screen.
1. Focus the Image
- Use the focus wheel or focus adjustment knob on your projector to make the image clear.
- Slowly rotate the wheel until the edges of the projection become sharp and readable.
Tip: If the image remains blurry, check the projector’s distance from the screen. Refer to the Projection Distance Guide for ideal placement.
2. Correct Keystone Distortion
Keystone distortion occurs when the projected image is not perfectly rectangular. Most mini projectors come with keystone correction to fix this issue:
- Manual Keystone Correction: Use the keystone adjustment wheel or buttons to align the image.
- Automatic Keystone Correction: If your projector supports this feature, it will automatically adjust the image.
Tip: Learn more about keystone adjustment in our Keystone Correction Guide.
3. Adjust Brightness and Contrast
- Brightness: Increase the brightness for well-lit rooms or decrease it for dark environments to enhance contrast.
- Contrast: Adjust contrast levels to bring out the details in both dark and bright areas of the image.
Tip: For the best results, test your settings with a high-quality video. You can find more tips in our Home Theater Optimization Guide.
4. Customize Picture Modes
Most mini projectors include predefined picture modes to suit different scenarios:
- Cinema Mode: Ideal for movies with rich colors and deeper blacks.
- Presentation Mode: Optimized for text clarity in slides and documents.
- Game Mode: Enhances response time and vibrant colors for gaming.
Select the mode that best suits your current activity. Check your projector’s User Manual for instructions on switching modes.
5. Align the Projection
- If the image is off-center, physically adjust the projector or use the lens shift feature (if available).
- Use the projector’s on-screen grid (if supported) to fine-tune the alignment.
6. Configure Sound Settings
Mini projectors often come with built-in speakers, but their quality may vary. To enhance the audio experience:
- External Speakers: Connect Bluetooth or wired speakers for better sound.
- Volume Adjustment: Set an appropriate volume level to avoid distortion.
For advanced audio setup, read our Guide to Projector Audio Setup.
Step 5: Start Watching or Presenting
After setting up your mini projector and adjusting the settings, it’s time to enjoy your content. Whether you’re hosting a movie night, giving a business presentation, or gaming on the big screen, this final step ensures a smooth experience.
1. Select the Input Source
Most projectors support multiple input sources. Use the projector’s remote control or on-device buttons to choose the correct input:
- HDMI: For laptops, gaming consoles, or streaming devices.
- USB or SD Card: If you’re playing content directly from a drive.
- Wireless: For screen mirroring or streaming apps.
Tip: If your projector shows a “No Signal” message, verify that the correct input source is selected. Check out our Projector Troubleshooting Guide for more help.
2. Play Your Content
- For Movies or Videos: Open your media player or streaming app, and start the playback.
- For Presentations: Use software like PowerPoint or Google Slides. Ensure your laptop or device is in presentation mode.
- For Gaming: Launch your favorite game and adjust the resolution settings to match the projector’s capabilities.
3. Optimize the Viewing Experience
To enhance your watching or presenting session:
- Adjust Lighting: Turn off unnecessary lights or close curtains to improve contrast.
- Seating Arrangement: Arrange chairs for an unobstructed view of the screen.
- Sound System: Use external speakers for an immersive audio experience.
Tip: For outdoor use, consider adding a portable speaker and power bank for uninterrupted entertainment. Learn more in our Guide to Outdoor Movie Nights.
4. Control the Projector During Use
- Use the remote control or on-device buttons to pause, adjust the volume, or change input sources.
- Monitor the projector’s temperature to prevent overheating, especially during long sessions.
Warning: Avoid blocking the projector’s ventilation to ensure consistent performance.
5. Wrap Up Your Session
Once you’re done:
- Turn off the projector and allow it to cool down before unplugging.
- Clean the lens gently with a microfiber cloth to maintain image clarity.
- Store the projector in a safe place, preferably in its original case, for future use.
For long-term care, refer to our Mini Projector Maintenance Guide.
Maintenance and Troubleshooting
Proper maintenance ensures the longevity of your mini projector, while troubleshooting common issues guarantees uninterrupted use. Follow these tips and solutions to keep your device in top condition.
1. Maintenance Tips for Your Mini Projector
Clean the Projector Regularly
- Lens Cleaning: Use a microfiber cloth to gently clean the lens and remove dust or smudges. Avoid using abrasive materials or liquids.
- Ventilation Cleaning: Check the air vents for dust buildup. Use a small brush or compressed air to clean them and ensure proper airflow.
Warning: Never use water or harsh cleaning agents, as they may damage internal components.
Keep the Projector in a Safe Environment
- Store the projector in a protective case when not in use to prevent scratches or dust.
- Avoid placing the projector in high-humidity areas, which can cause internal damage.
Tip: If you frequently transport the projector, consider investing in a padded carrying case for added protection. Check out our Mini Projector Accessories Guide for recommendations.
Update Firmware Regularly
Some modern projectors support firmware updates to improve performance or fix bugs. Visit the manufacturer’s website or consult the User Manual to check for updates.
Monitor Usage Time
- Mini projectors with LED or lamp-based light sources have a limited lifespan.
- Refer to your projector’s manual to track lamp hours and replace the lamp if necessary.
Tip: Extend lamp life by using eco-mode (if available). Learn more in our Lamp Replacement Guide.
2. Common Troubleshooting Issues
No Signal Detected
- Check Connections: Ensure all cables are properly plugged in.
- Select Correct Input Source: Use the remote control or menu to select HDMI, USB, or the appropriate input.
- Device Compatibility: Confirm that your source device is compatible with the projector.
Blurry Image
- Adjust the focus wheel until the image is sharp.
- Verify that the projector is positioned at the correct distance from the screen (refer to the Projection Distance Guide).
- Clean the lens to remove any dust or fingerprints.
Overheating Issues
- Ensure the air vents are not blocked and the projector is placed on a flat surface.
- Avoid using the projector in hot or poorly ventilated areas.
- Clean the ventilation system to improve airflow.
Tip: If the projector shuts down due to overheating, wait for it to cool completely before turning it on again.
Audio Problems
- Check that the volume is turned up on both the projector and the connected device.
- If using external speakers, ensure they are properly connected.
- For wireless audio, confirm that the Bluetooth connection is active.
Advanced Tips for Mini Projector Use
Once you’ve mastered the basics, it’s time to unlock the full potential of your mini projector. These advanced tips will enhance your viewing experience, optimize projector performance, and introduce creative ways to use your device.
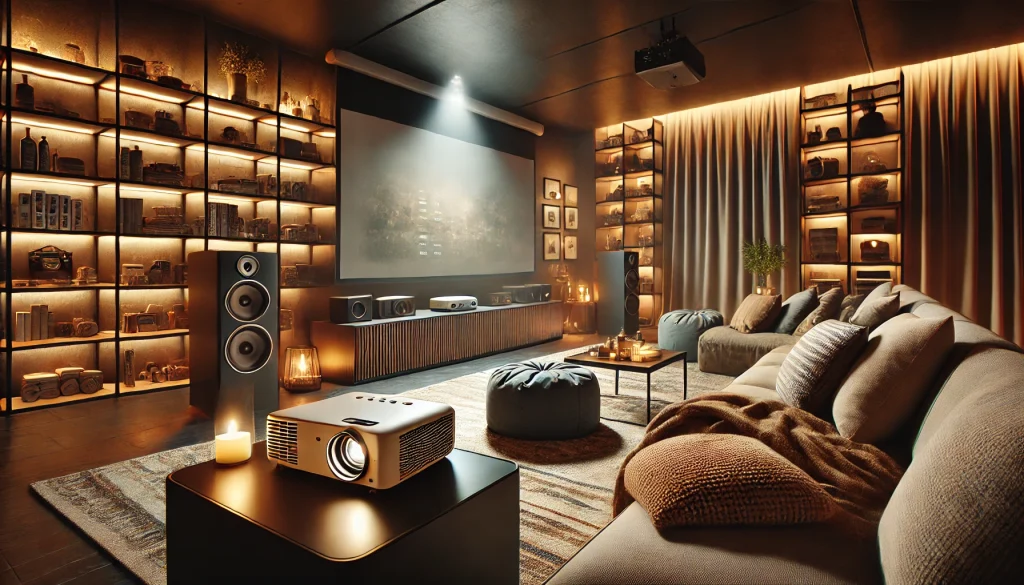
1. Create a Perfect Home Theater Experience
Transform your living room into a cinema by following these steps:
- Invest in a Projector Screen: A high-quality screen offers better picture clarity and color accuracy compared to a plain wall.
- External Audio Setup: Pair your projector with a soundbar or surround sound system for immersive audio.
- Ambient Lighting Control: Use blackout curtains or dimmable lights to improve contrast and brightness.
Learn more in our Guide to Setting Up a Home Theater for detailed home cinema tips.
2. Take Your Projector Outdoors
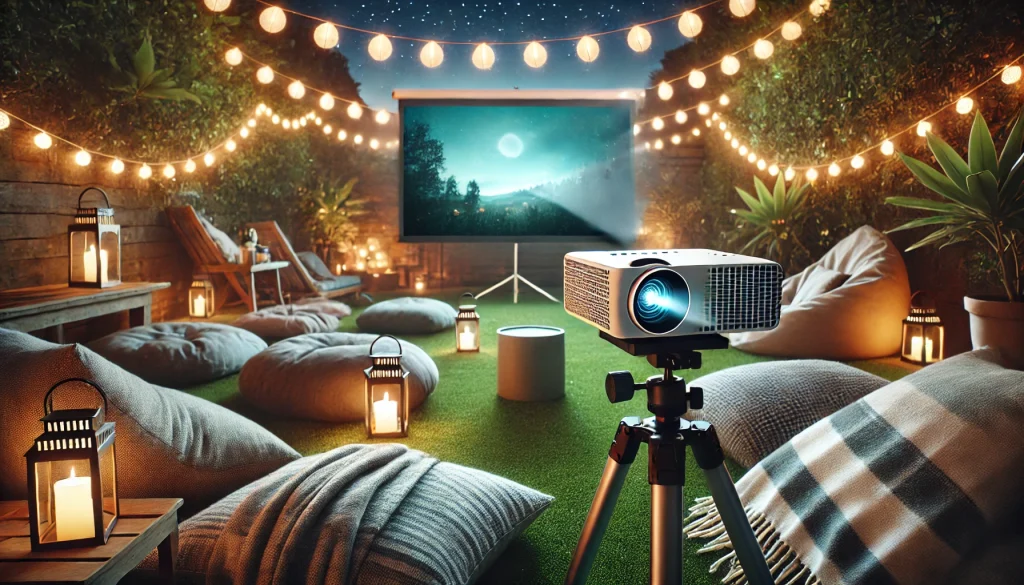
Use your mini projector for outdoor movie nights, gaming sessions, or sports watch parties:
- Portable Power Source: Use a power bank or portable generator to keep the projector running.
- Weatherproofing: Protect the projector with a waterproof cover or canopy in case of unexpected weather changes.
- Foldable Screens: Lightweight, portable screens make outdoor setups easier.
Tip: Position the projector on a tripod to ensure stable projection on uneven surfaces. Check out our Outdoor Movie Night Essentials Guide for more advice.
3. Use Wireless Casting for Seamless Streaming
Many modern mini projectors support wireless casting, allowing you to project content from your smartphone, tablet, or laptop without cables.
- Enable Miracast or AirPlay: Use the built-in screen mirroring features on your device.
- Streaming Apps: Install apps like Netflix, Hulu, or YouTube directly onto smart projectors for convenience.
- Optimize Wi-Fi Connection: Place the projector near the router for a stable connection during wireless streaming.
4. Improve Image Quality with Calibration
Proper calibration ensures your projector delivers the best visuals:
- Color Temperature Adjustment: Warm tones are ideal for movies, while cooler tones work better for presentations.
- Brightness and Contrast: Fine-tune these settings based on the room’s lighting conditions.
- Test Patterns: Use built-in calibration tools or downloadable test patterns to align the image perfectly.
Explore our Advanced Projector Calibration Guide for step-by-step instructions.
5. Optimize for Gaming
A mini projector can be a great choice for gaming, provided you tweak it for performance:
- Game Mode: Enable game mode to reduce input lag and enhance response time.
- High Refresh Rate: Some projectors support refresh rates above 60Hz, which is ideal for action-packed games.
- HDMI 2.1 Support: If your gaming console supports it, look for projectors with HDMI 2.1 for 4K gaming.
Tip: Connect a gaming headset or external speakers for the ultimate gaming experience.
6. Use a Mini Projector for Creative Applications
Beyond movies and presentations, a mini projector can be used creatively:
- Art Tracing: Project images onto a canvas or wall to trace and create art.
- Decorations: Use it to project seasonal decorations, such as holiday animations on walls or windows.
- Workout Sessions: Stream workout videos onto a large screen to follow along easily.
Tip: Experiment with different projection surfaces like textured walls or ceiling projections for unique effects.
7. Extend Projector Lifespan with Proactive Care
To ensure long-term use, adopt these advanced maintenance practices:
- Use Eco Mode: Reduces brightness to extend lamp life and save power.
- Regular Firmware Updates: Keeps your projector compatible with the latest features and devices.
- Cooling Periods: After extended use, let the projector cool down before packing or storing.
FAQs
1. How do I connect my mini projector to a laptop?
To connect your mini projector to a laptop:
- Use an HDMI cable to connect the projector’s HDMI port to your laptop.
- Select the correct HDMI input source on the projector.
- If your laptop doesn’t have an HDMI port, use a USB-C to HDMI adapter.
2. Can I use a mini projector without Wi-Fi?
Yes, most mini projectors can work without Wi-Fi. You can connect your device using:
- HDMI or VGA cables for laptops and PCs.
- USB drives or SD cards for preloaded content.
- Adapters for smartphones.
Tip: If you want wireless functionality, check whether your projector supports screen mirroring or Wi-Fi casting.
3. What is the best distance to place my mini projector from the screen?
The ideal distance depends on your projector’s throw ratio, but most mini projectors work well between 3 to 10 feet. Check your projector’s user manual for specific recommendations.
Read our Projection Distance Guide for detailed advice.
4. Why is my mini projector showing a blurry image?
A blurry image may be caused by:
- Incorrect focus: Adjust the focus wheel to sharpen the picture.
- Distance issues: Ensure the projector is placed at the correct distance from the screen.
- Dirty lens: Clean the lens with a microfiber cloth.
5. Can I use a mini projector outdoors?
Yes, mini projectors are perfect for outdoor use. However, you’ll need:
- A portable power source like a power bank.
- A foldable screen or a flat, light-colored wall.
- Proper weatherproofing to protect the device.
6. How can I improve the sound quality of my mini projector?
Mini projectors often have built-in speakers, but external audio solutions can improve sound quality:
- Use Bluetooth to connect external speakers.
- Plug in wired speakers via the projector’s audio output.
7. What should I do if my mini projector overheats?
Overheating can occur if:
- The air vents are blocked. Clean them regularly to ensure airflow.
- The projector runs for extended periods. Allow it to cool after long sessions.
- It’s used in a hot or poorly ventilated environment.
Tip: Use the projector in eco-mode to reduce power consumption and heat generation.
8. Can I connect my smartphone to a mini projector?
Yes, you can connect your smartphone using:
- Cables: HDMI or USB-C to HDMI adapters for a wired connection.
- Wireless: Screen mirroring via AirPlay (iOS) or Miracast (Android).
Tip: Ensure both devices are on the same Wi-Fi network for wireless casting.
9. How do I clean my mini projector?
Regular cleaning ensures optimal performance:
- Lens: Wipe gently with a microfiber cloth to remove dust.
- Air Vents: Use compressed air or a soft brush to clear dust buildup.
- Exterior: Clean with a damp cloth, but avoid water near the vents or lens.
See our Mini Projector Maintenance Guide for detailed steps.
10. How long does a mini projector lamp last?
The lifespan of a mini projector lamp depends on the light source:
- LED projectors: Last between 20,000 and 30,000 hours.
- Traditional lamp projectors: Last 2,000 to 5,000 hours.
Tip: Using eco-mode can extend the lifespan of your lamp. When the lamp needs replacement, follow our Lamp Replacement Guide.
Benefits and Important Notes
Using a mini projector offers a range of advantages for both personal and professional use. However, there are key points to keep in mind to maximize its potential and avoid common pitfalls.
Benefits of Using a Mini Projector
1. Portability and Convenience
- Mini projectors are lightweight and compact, making them ideal for travel, outdoor use, or small spaces.
- Many models come with built-in batteries, allowing you to use them anywhere without needing a power outlet.
Tip: Pair your projector with a portable tripod for added flexibility.
2. Versatile Connectivity
- Mini projectors support multiple input options, including HDMI, USB, and wireless casting.
- They are compatible with a wide range of devices, such as laptops, smartphones, gaming consoles, and streaming devices.
3. Large Screen Projection
- Mini projectors can create a cinematic experience by projecting large, high-quality visuals onto a screen or wall.
- Depending on the model, you can achieve screen sizes of up to 150 inches, perfect for movies, presentations, or gaming.
Tip: Use a dedicated projector screen for the best results. Check out our Home Theater Setup Guide for recommendations.
4. Energy Efficiency and Long Lifespan
- Most mini projectors use LED lamps, which are energy-efficient and can last up to 30,000 hours.
- Eco-mode further reduces power consumption and extends the lifespan of the lamp.
5. Cost-Effective Solution
- Mini projectors are a budget-friendly alternative to large TVs or professional-grade projectors.
- Their affordability makes them accessible for home use, small businesses, and educators.
Important Notes for Mini Projector Use
1. Optimal Environment Matters
- Lighting Conditions: Mini projectors perform best in dimly lit or dark rooms. High ambient light can reduce image clarity.
- Surface Quality: Always use a flat, light-colored surface or a projector screen for a sharper image.
2. Be Mindful of Ventilation
- Ensure the projector’s air vents are not blocked to avoid overheating.
- Regularly clean the vents to maintain proper airflow.
Warning: Overheating can lead to reduced performance or permanent damage to the device.
3. Manage Audio Quality
- While built-in speakers are convenient, they may not deliver the best sound quality.
- Connect external speakers via Bluetooth or audio-out ports for an enhanced experience.
Tip: If you’re using the projector for presentations, test the audio setup beforehand to avoid interruptions.
4. Understand Limitations
- Brightness Levels: Mini projectors typically have lower brightness (measured in lumens) than full-sized projectors, which may impact performance in well-lit spaces.
- Resolution: Many mini projectors support HD resolution, but some may not natively support 1080p or higher. Choose a model that meets your specific needs.
Refer to this Projector Buying Guide to understand specifications like resolution and brightness.
5. Regular Maintenance is Essential
- Clean the lens and air vents regularly to ensure consistent performance.
- Check for firmware updates to access new features or bug fixes.
Conclusion
Mini projectors have revolutionized how we enjoy media, conduct presentations, and even game. By following this step-by-step guide, you can easily set up and maximize the performance of your mini projector. From unboxing and connecting devices to optimizing settings and troubleshooting, every step contributes to a seamless and enjoyable experience.
Ready to elevate your viewing experience? Here’s what you can do next:
- Explore Top Mini Projector Options: Discover the best projectors for every need in our Mini Projector Buying Guide.
- Set Up Your Home Theater: Learn how to create the ultimate entertainment space with our Home Theater Setup Guide.
- Upgrade Your Accessories: Check out our Mini Projector Accessories Guide for tools to enhance your experience.
Don’t miss out! Transform your home, office, or outdoor space into a visual haven. If you found this guide helpful, share it with others or drop a comment below with your questions—we’d love to help!


