How to Use a Drone for Beginners: A Complete Guide
Each product is chosen independently by our editors. Purchases made through our links might earn us a commission at no extra cost to you!
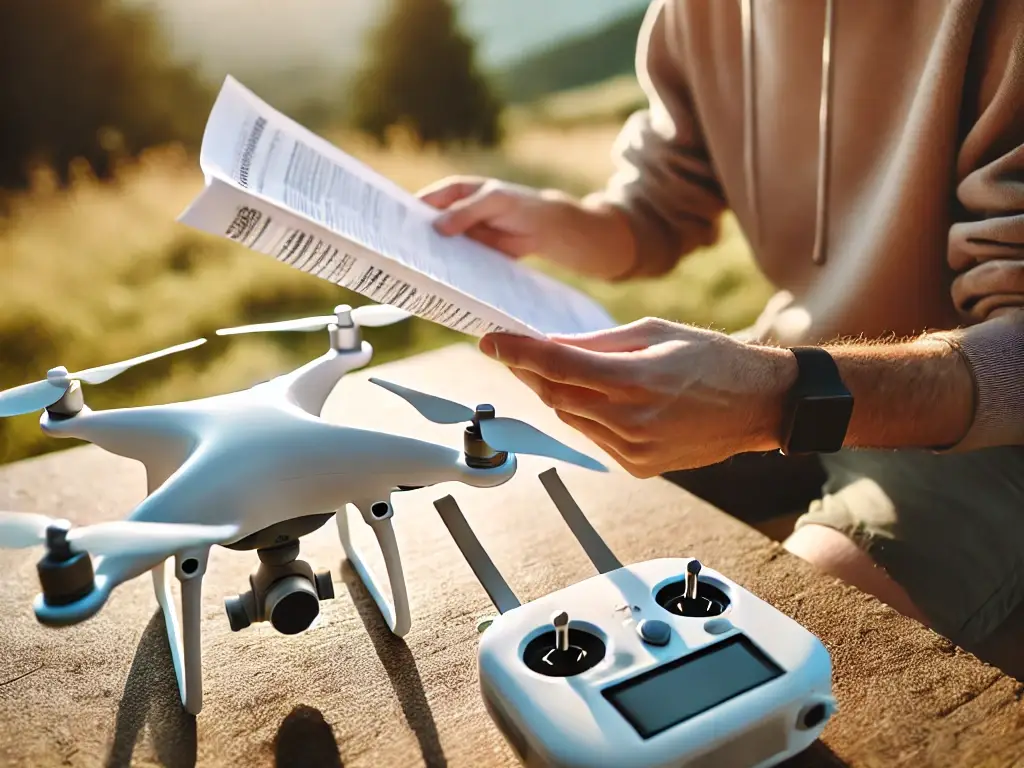
Flying a drone can be an exciting and rewarding experience, but for beginners, it may feel a bit daunting. This guide will walk you through everything you need to know to get started, from preparing your drone to mastering its controls and maintaining it for long-term use.
Table of Contents
Introduction
Whether you’re a first-time flyer or just looking to refine your skills, learning how to use a drone is an essential step toward enjoying this innovative technology. With drones becoming more accessible, they are perfect for exploring photography, enjoying outdoor adventures, or simply having fun. This guide is tailored for beginners and focuses on safety, ease of use, and maximizing your drone’s potential.
Why Read This Guide?
- Avoid costly mistakes during your first flights.
- Learn the step-by-step process to operate drones safely and effectively.
- Discover tips for maximizing your drone’s potential, even as a beginner.
Common Problems for Beginners
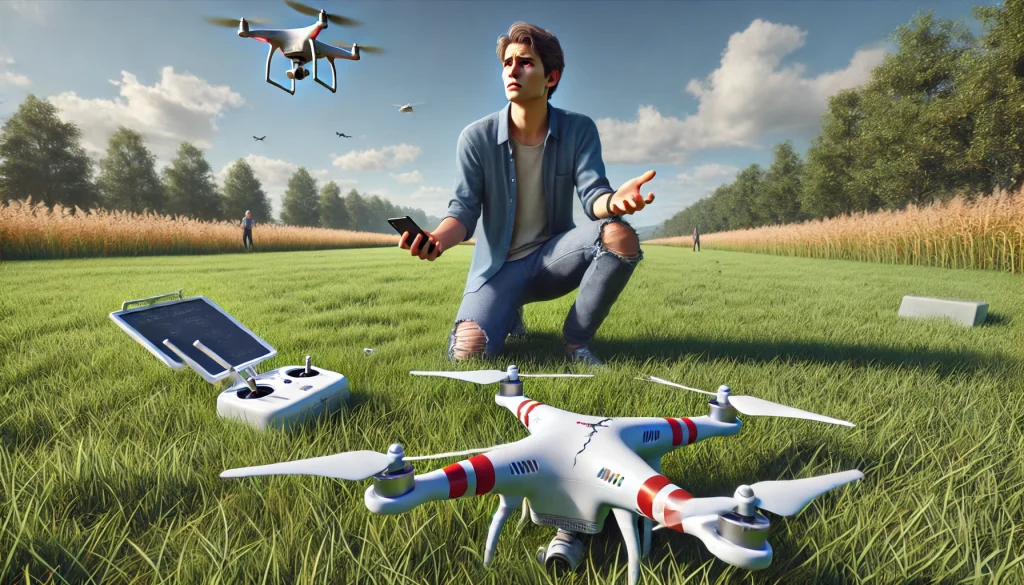
When starting with drones, beginners often encounter challenges that can lead to frustration or even damage to their equipment. Understanding these common problems and their causes can help you avoid mistakes and build confidence in your flying skills. For additional tips, check out our Beginner’s Guide to Flying Drones.
1. Losing Control of the Drone
Problem: Many beginners find it difficult to maintain control, especially during their first flights.
Causes:
- Unfamiliarity with the controls and how the drone responds.
- Failure to calibrate the drone before takeoff.
- Flying in windy conditions or near obstacles.
Impact: Loss of control can result in crashes, losing the drone, or damage to nearby objects.
For advice on mastering basic drone controls, refer to our detailed guide on Drone Flying Tips for Beginners. You may also want to check this tutorial on drone calibration from DJI.
2. Crashing the Drone
Problem: Accidental crashes are common due to poor navigation or loss of balance.
Causes:
- Flying too fast without mastering basic controls.
- Attempting advanced maneuvers (e.g., flips, sharp turns) without sufficient practice.
- Ignoring safety features like Auto Hovering or Headless Mode.
Impact: Crashes can lead to expensive repairs or permanent damage to the drone.
Avoid crashes by exploring our step-by-step tutorial on How to Use Drone Safety Features. Additionally, this article on Beginner Drone Maneuvers provides actionable insights.
3. Short Flight Times
Problem: Beginners often underestimate battery life, leading to abrupt landings when batteries drain.
Causes:
- Failing to fully charge batteries before flying.
- Using power-intensive features like cameras or flips.
- Flying in cold weather, which reduces battery performance.
Impact: Short flight times limit practice sessions and overall enjoyment.
Learn how to extend battery life in our guide: Drone Battery Care Tips. For a deeper understanding of drone batteries, you can visit this guide on LiPo batteries.
4. Poor Image or Video Quality
Problem: Captured images or videos may appear shaky or blurry.
Causes:
- Unstable hovering causing a lack of stabilization.
- Low-quality camera settings or incorrect angles.
- Not utilizing features like Optical Flow Positioning.
Impact: Unsatisfactory media that doesn’t capture desired moments effectively.
If you’re looking to improve your drone photography skills, check out our Guide to Drone Photography for Beginners. For professional tips, you can explore this article on camera stabilization.
5. Misunderstanding Drone Features
Problem: Beginners may overlook or misuse features such as GPS Return Home, Gesture Control, or Waypoint Fly.
Causes:
- Skipping the user manual or neglecting to explore the drone’s app.
- Misunderstanding how features operate in different conditions.
Impact: Missing opportunities to enhance the experience or prevent accidents.
To better understand these features, explore our comprehensive guide on Drone Feature Tutorials. Additionally, the DJI Official Knowledge Hub provides video demonstrations of advanced features.
6. Flying in Restricted Areas
Problem: Beginners may unknowingly fly in restricted zones, such as near airports or crowded spaces.
Causes:
- Failing to check local drone regulations.
- Ignoring notifications from the drone’s app.
Impact: Violating regulations can result in fines or even confiscation of your drone.
Always check local drone regulations before flying. For region-specific flying restrictions, you can also use this free airspace map tool.
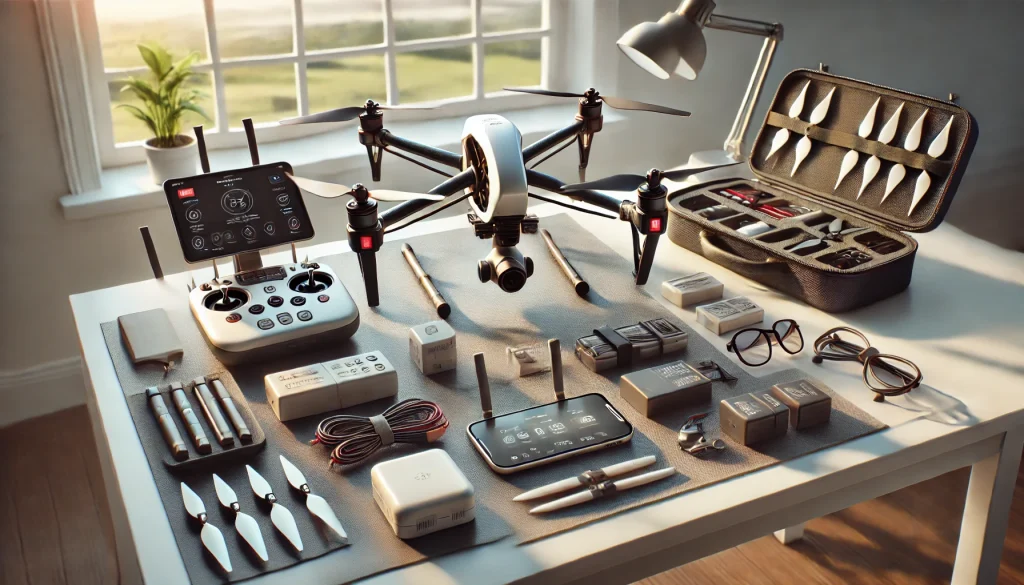
What You’ll Need to Get Started with a Drone
Buying a drone can be an exciting yet overwhelming experience, especially if you’re new to this technology. From understanding different models and features to considering your budget and intended use, there’s a lot to think about. To help you make an informed decision, check out our comprehensive guide on How to Buy a Drone, where we cover everything you need to know before making your purchase.
1. A Beginner-Friendly Drone
Choose a drone that suits your skill level and purpose. Beginner-friendly drones often come with safety features like Auto Hovering and Headless Mode. Some great options include:
- Holy Stone Mini Drone – Compact and perfect for indoor practice.
- DroneDJI NEO Mini Drone – Ideal for outdoor flying and beginners interested in photography.
2. Fully Charged Batteries
Battery preparation is crucial for uninterrupted flying.
- Primary Battery: Ensure the drone’s main battery is fully charged before the flight.
- Spare Batteries: Always carry spare batteries, especially for drones with shorter flight times like the DJI Neo Mini Drone (~28 minutes).
Pro Tip: Avoid overcharging batteries, as it can reduce their lifespan.
3. A Reliable Controller or Smartphone App
Most drones come with a physical controller, while some require pairing with a smartphone app.
- Controllers: Familiarize yourself with the buttons and joystick.
- Apps: Install the corresponding app (e.g., DJI Fly, Holy Stone app) for advanced features like Waypoint Fly or Gesture Control.
4. Open and Safe Flying Space
Safety starts with choosing the right environment:
- Indoors: Use lightweight drones like the x1 HoverAIR for small, obstacle-free spaces.
- Outdoors: Select open areas like parks, avoiding power lines, trees, and crowded locations.
Pro Tip: Avoid flying in bad weather, especially strong winds or rain.
5. Propeller Guards and Safety Gear
Protective gear minimizes damage and ensures safety:
- Propeller Guards: Prevent injuries and protect the drone during crashes.
- VR Goggles (Optional): Enhance your experience with an immersive First-Person View (FPV).
6. Understanding Local Regulations
Research local drone laws and regulations to avoid fines or penalties:
- No-Fly Zones: Check if there are restricted areas near you, such as airports or military zones.
- Registration: In some countries, drones over 250 grams must be registered with aviation authorities.
7. Additional Accessories
Depending on your drone model, you may also need:
- MicroSD Card: For saving high-quality photos and videos.
- Carrying Case: Protect your drone during transport.
- Toolkit: Basic tools for repairs and adjustments, such as replacing propellers.
Step-by-Step Instructions
Step 1: Setting Up Your Drone
Proper setup is the foundation for a smooth and enjoyable flying experience. Follow these steps to prepare your drone for its first flight:
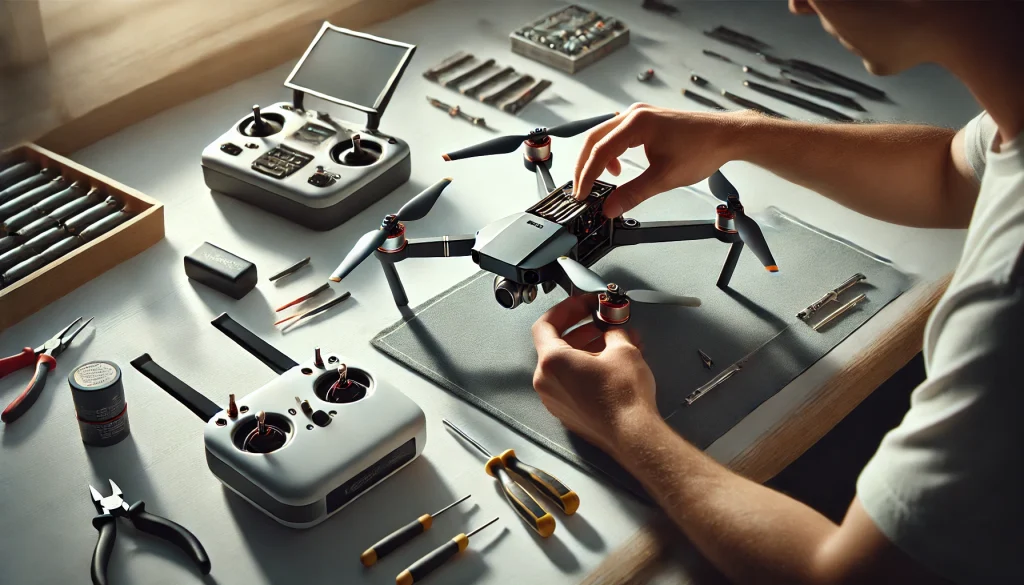
1. Unpack and Assemble
The first step is to unbox your drone and make sure it’s properly assembled. If the drone isn’t pre-assembled, follow these steps:
Attach the Propellers: If the propellers aren’t installed yet, attach them securely to the drone. Propellers are usually color-coded or have distinct shapes to help you identify where each should go (front vs. rear propellers).
Pro Tip: Double-check the propellers to ensure they’re fastened tightly. Loose propellers can cause instability during flight.
Insert the Battery: Place the battery into the designated slot and ensure it’s connected properly. Make sure the battery is fully charged before starting.
Pro Tip: Always charge the battery fully before flying, as low battery levels can result in unexpected power loss mid-flight.
Check for Damaged Parts: Inspect the drone for any visible damage. Look for cracks, loose parts, or any unusual sounds that may indicate damage.
Why It’s Important: Proper assembly ensures that all components are functioning well and that your drone is ready for its first flight without any issues.
2. Pair Your Drone
Once your drone is assembled, the next step is to pair it with the remote controller or mobile app. Here’s how:
Turn On the Drone and Controller: Power on both your drone and the remote control. You’ll typically see blinking lights on the drone when it’s powered on.
Pair the Devices: Follow the pairing instructions provided by the manufacturer. This usually involves pressing a combination of buttons on the controller or scanning a QR code with your phone through the drone’s app.
Pro Tip: If pairing fails, restart both the drone and the controller, and try again. Sometimes a fresh start can resolve connection issues.
Test the Connection: Once paired, check if the connection is stable. You can test it by gently moving the joysticks on the controller and observing the drone’s response.
Why It’s Important: A stable connection between your drone and controller is crucial for effective control and smooth flying.
3. Calibrate Sensors
Calibration ensures that your drone remains stable during flight, especially when flying in unfamiliar areas. Here’s how to calibrate the sensors:
Place the Drone on a Flat Surface: Put your drone on a flat and stable surface to avoid interference during calibration.
Access Calibration Mode: Using the controller or app, enter the calibration mode. Follow the on-screen instructions to calibrate the essential sensors like the gyroscope and compass.
Pro Tip: Always calibrate your drone before flying in new locations to avoid issues like drifting or instability.
Why It’s Important: Without proper calibration, your drone might drift or behave erratically in the air, leading to a potentially unsafe flight.
4. Check Firmware Updates
Firmware updates often include performance improvements, bug fixes, and new features. It’s important to check for updates before flying your drone:
Connect the Drone to the App or Controller: Make sure your drone is connected to the app or controller.
Check for Available Updates: Go into the settings menu on the app or controller to check for any available firmware updates.
Install the Updates: If updates are available, follow the on-screen prompts to install them. This may take a few minutes.
Why It’s Important: Firmware updates can fix known bugs and improve the stability and performance of your drone, preventing issues during flight.
Check Beginner Drones Setup Guide for more details on drone preparation.
Step 2: Familiarize Yourself with the Controls
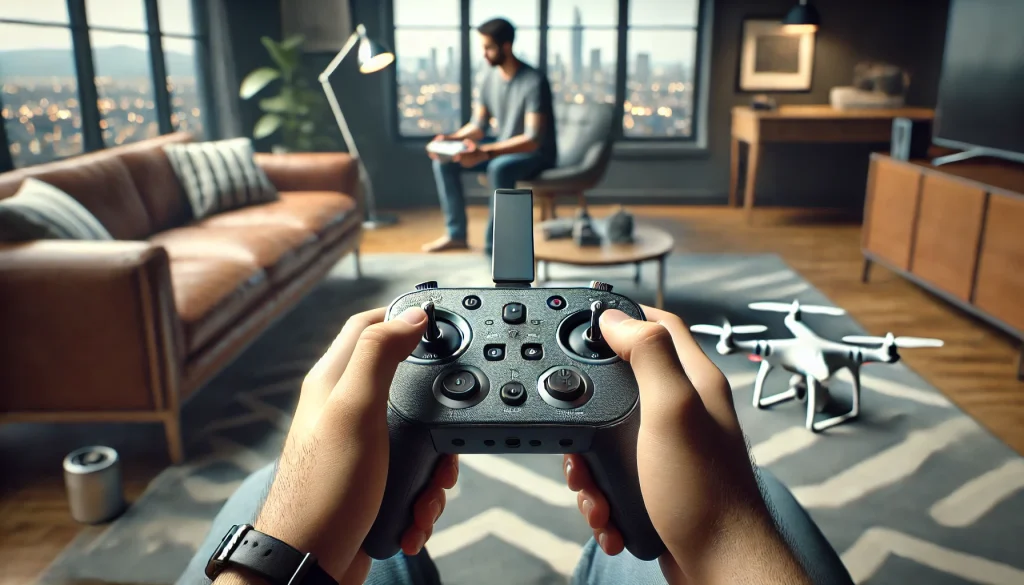
Understanding your drone’s controls is crucial for a smooth flying experience. Take time to learn how each function works before attempting your first flight.
1. Throttle Stick: Adjust Altitude
The Throttle Stick controls the drone’s altitude (how high or low it flies):
- Push Up: Increases altitude, causing the drone to rise.
- Pull Down: Decreases altitude, bringing the drone closer to the ground.
Pro Tip: Make slow, gradual adjustments to the throttle. Quick, jerky movements can cause instability, especially for beginners.
When to Use It:
- Push up when you want to fly higher to avoid obstacles or to get a better view from above.
- Pull down when you want to bring the drone closer to the ground or prepare for landing.
2. Direction Stick: Move Forward, Backward, and Sideways
The Direction Stick controls the drone’s horizontal movements (moving forward, backward, and side to side):
- Push Forward: Moves the drone forward.
- Pull Backward: Moves the drone backward.
- Push Left or Right: Moves the drone sideways in the direction you push.
Pro Tip: Practice moving in a straight line first to get comfortable with controlling direction. Avoid sharp movements when you’re new to flying.
When to Use It:
- Push forward to move the drone toward a target or to navigate through a space.
- Pull backward when you need to move the drone away from an obstacle or return to a starting position.
- Push left or right to avoid obstacles or change direction smoothly.
3. Takeoff/Landing Button: Simplifies Starting and Landing
Many beginner drones, like the Holy Stone Mini Drone, come with a One-Key Takeoff/Landing button for ease of use:
- Takeoff: Press this button to make the drone automatically lift off and hover at a safe altitude.
- Landing: Press the button again to bring the drone back down gently.
Pro Tip: Always use this feature, especially when flying for the first time, to avoid hard landings or loss of control.
When to Use It:
- Press takeoff when you’re ready to start flying. The drone will automatically lift off and hover in place.
- Press landing when you want to safely bring the drone back to the ground.
4. Trim Buttons: Adjust Stability
Trim Buttons help you fine-tune the drone’s stability if it drifts or tilts during flight:
- Left/Right Trim: Adjusts the drone’s horizontal movement to correct any drifting left or right.
- Forward/Backward Trim: Adjusts the drone’s movement to correct unwanted drifting forward or backward.
Pro Tip: Test the trim buttons indoors in a controlled environment (such as a living room or large indoor space) before flying outside, especially if it’s windy.
When to Use It:
- Left/Right Trim: Use this if the drone drifts to the left or right unexpectedly, helping it fly straight.
- Forward/Backward Trim: Use if the drone moves too quickly forward or backward or tilts during flight.
Practice Makes Perfect
Spend time practicing with the controls in an open, safe area like a park or a spacious field. Start with simple movements to get a feel for how the drone responds. As you gain confidence, try more complex maneuvers such as flying in circles or maintaining a steady hover.
Pro Tip: Start slow and easy. It’s better to practice small, controlled movements before attempting advanced tricks. With enough practice, you’ll gain better control and confidence.
You can check Beginner Drone Controls Guide for deeper insights into mastering controls.
Step 3: Take Off and Hover
Taking off and hovering are fundamental skills that every beginner should master. This step focuses on helping you get your drone safely into the air and keeping it steady.
1. Place the Drone on a Flat Surface
Before taking off, it’s essential to ensure your drone is positioned correctly:
- Choose a Flat, Open Surface: Find a stable, level area with no obstacles or debris. Avoid areas with tall grass, loose gravel, or uneven ground.
- Check the Propeller Clearance: Ensure the drone’s propellers have enough space to rotate freely without hitting the ground or nearby objects.
- Verify the Drone’s Orientation: Position the drone so that the front faces away from you. This makes it easier to control as you fly, especially when using the directional controls.
Pro Tip: Always double-check the orientation before takeoff. Most drones have a marked front (indicated by a logo or different-colored propellers) to make this easier.
2. Use the One-Key Takeoff Feature or Throttle Stick
There are two common methods for taking off, depending on your drone model and controller:
Option 1: One-Key Takeoff (Recommended for Beginners)
- Press the One-Key Takeoff Button: This is the simplest way to start flying, especially for beginners. When you press this button (typically marked with a “Takeoff” icon), the drone will automatically ascend to a safe height, usually between 3 to 5 feet.
- Automatic Hovering: Once it reaches the designated height, the drone will automatically hover in place, allowing you to get familiar with the controls.
Option 2: Manual Takeoff
- Gradually Increase the Throttle: Instead of using the one-key takeoff, gently push the throttle stick upward.
- Control the Altitude: Slowly increase altitude until the drone hovers at a safe height (around 3–5 feet). Don’t rush the process; gradual movements help maintain stability.
Pro Tip: If you notice any instability during takeoff, immediately bring the drone back down and check for any issues such as low battery or uncalibrated sensors. Recalibrate the drone if necessary before trying again.
3. Practice Hovering
Hovering is the key to mastering drone control, and it’s an essential step before attempting more complex movements:
- Start Low: Begin by keeping the drone at a low altitude (about 3–5 feet) to make corrections easier and safer.
- Use Small Adjustments: Fine-tune your throttle and direction sticks to keep the drone stable in place. Small, subtle movements will help you maintain a consistent hover.
- Observe the Drone’s Response: Pay attention to how the drone reacts to your inputs. If it drifts or tilts in any direction, it may require trim adjustments, which we’ll cover in later steps.
Pro Tip: Hovering is not just about holding the drone still—it’s about learning how the drone reacts to your control inputs. Practice hovering in place until you can maintain stability for several minutes.
4. Focus on Stability Before Moving
Mastering stability is crucial before progressing to other maneuvers:
- Concentrate on Hovering: Spend time getting comfortable with hovering before attempting to move the drone forward, backward, or sideways. Perfecting your hover ensures you can maintain control during movements.
- Stay Calm and Steady: Avoid sudden or jerky inputs. Gradually adjust the throttle and direction sticks to move the drone. Sudden movements can lead to instability or crashing.
- Keep the Drone in Sight: Always keep the drone within your line of sight, especially when you are still learning. This makes it easier to make corrections if something goes wrong.
Pro Tip: It’s okay to practice hovering for several minutes at a time. The more comfortable you get with the controls, the easier it will be to transition to basic movements.
Learn more about how to master drone hovering for additional tips and tricks.
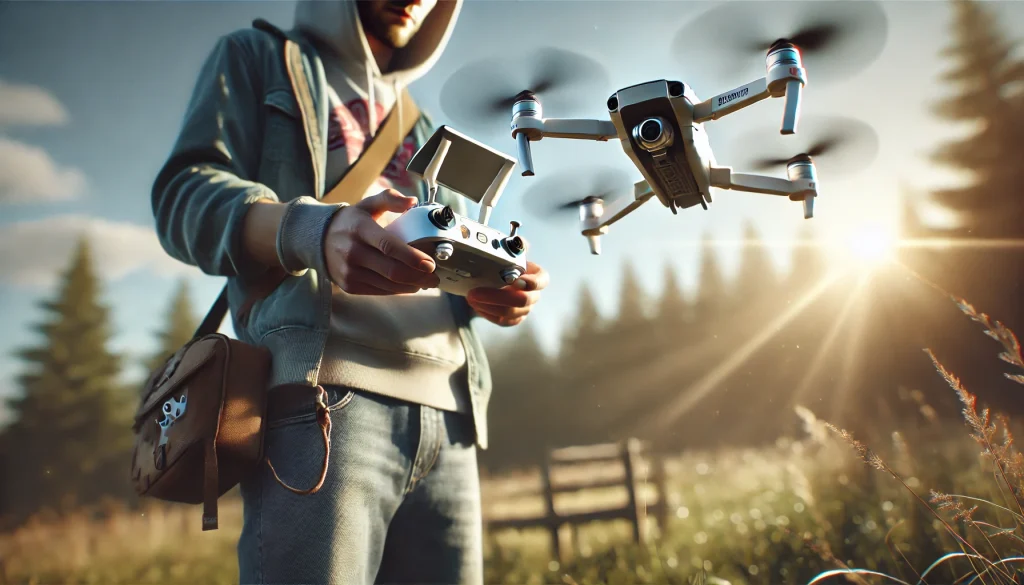
Step 4: Practice Basic Movements
Now that you’ve mastered taking off and hovering, it’s time to move on to more dynamic controls. Practicing basic movements will help you build confidence in your flying abilities and prepare you for more advanced maneuvers. Mastering how to move your drone in different directions will enhance your overall control and make it easier to navigate around obstacles.
1. Move Forward and Backward Using the Direction Stick
Controlling the forward and backward movement is fundamental for navigating your drone:
- Push Forward: Pushing the direction stick forward will move the drone in the direction it’s facing.
- Pull Backward: Pulling the direction stick backward will move the drone toward you.
Practice Tip: Start by moving the drone forward and backward in small, controlled steps. Avoid sudden jerks to prevent the drone from losing balance or crashing.
Pro Tip: Always make sure the front of the drone is facing away from you when controlling its direction. This will help you get familiar with the control layout and avoid confusing forward with backward movements.
2. Practice Turns and Sideways Movement
Turns and sideways movements allow you to change direction quickly and smoothly. Mastering these skills will give you more control, especially in tight spaces or when navigating around obstacles.
- Left Turn: Push the yaw stick (usually the left stick) to the left to rotate the drone counterclockwise. This will change the drone’s orientation without changing its position.
- Right Turn: Push the yaw stick to the right to rotate the drone clockwise.
- Sideways Movement: Use the direction stick (typically the right stick) to move the drone left or right horizontally. This will shift the drone sideways while maintaining its altitude.
Practice Tip: Try combining turns with forward or backward movement to get a feel for more complex flying scenarios. For example, practice a left turn while moving forward, which is a common maneuver when navigating through tight spaces.
Pro Tip: Don’t rush the turns. Focus on smooth, controlled yaw movements and adjust the throttle to keep your drone stable while rotating. Practice makes perfect!
3. Gradually Increase Altitude and Explore
Once you’re comfortable with basic movements, it’s time to explore the drone’s vertical mobility:
- Increase Altitude: Gradually push the throttle stick upward to make the drone rise. Start low and slowly increase altitude to get comfortable with controlling the height.
- Move at Different Heights: As you practice moving the drone forward and backward, try doing so at different altitudes. This will help you build spatial awareness and develop the skill to control your drone in various environments.
Practice Tip: Begin by flying low and gradually increase your altitude in stages. Keep the movements smooth and steady to avoid the drone becoming too unstable at higher heights.
Pro Tip: It’s essential to stay within a comfortable altitude range while you’re still learning. Don’t fly too high until you’re confident in your control at lower levels, as higher altitudes make it harder to recover from mistakes.
4. Keep the Drone Within Visible Range
Visibility is crucial for both safety and control. Keeping the drone within your line of sight ensures that you can react quickly if something goes wrong.
- Stay in View: Always ensure that the drone remains within your direct line of sight while flying. This allows you to monitor its movements and make adjustments when necessary.
- Avoid Obstacles: Avoid flying the drone behind objects, like trees or buildings, where you may lose sight of it. This can lead to collisions and loss of control.
Practice Tip: If you’re flying in an open space, keep your eyes on the drone at all times, especially when it’s moving away from you. If you start to lose sight of it, lower the altitude to make it easier to track.
Pro Tip: If you lose sight of your drone, immediately reduce the throttle to lower it back into view. Don’t panic; gradually bring the drone back to a safe height, and reorient it toward you.
Next Steps
By practicing these basic movements, you’ll gain the skills needed to navigate your drone effectively. Once you’re confident, move on to Step 5: Landing Safely, where you’ll learn to bring your drone back down with precision and care.
You can read this detailed article Beginner Drone Navigation Techniques for further practice ideas.
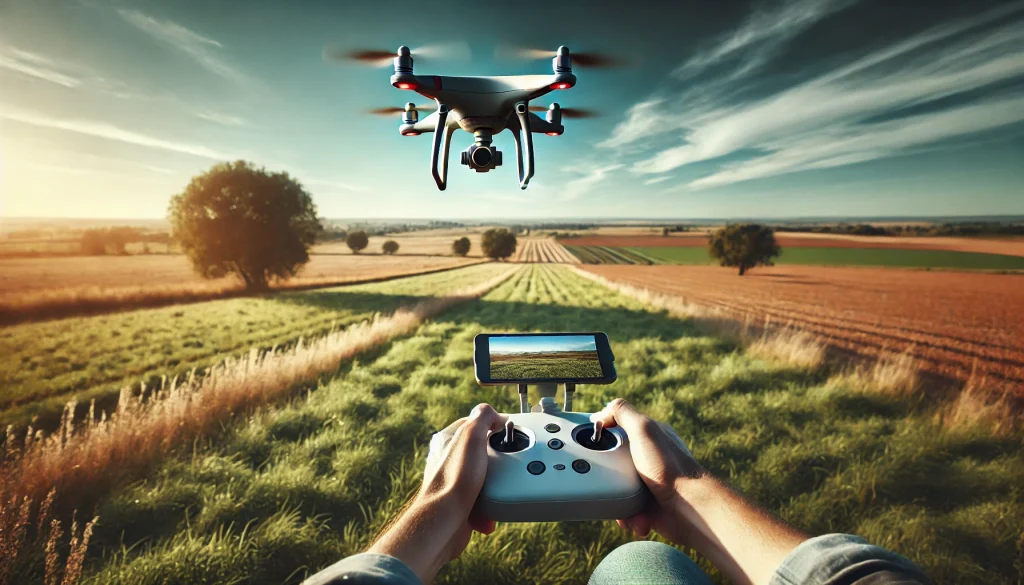
Step 5: Land Safely
Landing your drone safely is just as crucial as taking off. A controlled, smooth landing not only prevents damage to your drone but also ensures a successful end to your flight. The skills you’ve learned in takeoff, hovering, and maneuvering will help make your landings safer and more controlled.
1. Use the One-Key Landing Feature
Most modern, beginner-friendly drones, like the Holy Stone Mini Drone, come equipped with a One-Key Landing button for easy and reliable descents. This feature is particularly useful for beginners, as it simplifies the process of landing the drone safely.
How to Use:
Simply press the One-Key Landing button on your controller or app. This will automatically activate the landing sequence, causing the drone to descend slowly and gently.- The drone will descend in a controlled manner and land softly on the ground.
Pro Tip: Always rely on this automatic landing feature during your first few flights to ensure the drone lands safely without the risk of a hard or uneven landing.
2. Gently Lower the Throttle Stick
If your drone does not have a one-touch landing feature, you can manually land the drone using the throttle stick. Manual landing requires more control and precision to avoid sudden drops or instability.
- Step-by-Step:
- Slowly pull the throttle stick downward to begin the descent. Start with gradual, small movements to lower the drone’s altitude.
- Gradually decrease altitude until the drone is about a foot above the ground. At this point, the drone should be descending steadily.
- Once the drone is very close to the ground, reduce the throttle completely to allow the drone to land softly.
Practice Tip: Avoid sudden, rapid downward movements. Quick, harsh descents can destabilize the drone, leading to rough landings or even crashes.
Pro Tip: If you notice the drone becoming unstable during the descent, increase the throttle slightly to regain control before continuing to lower the altitude.
3. Ensure a Safe Landing Area
To ensure a smooth landing, always land your drone on a flat, stable surface. This will help avoid accidents or damage to the drone.
Check for Debris: Before landing, ensure that the surface is free from any obstacles, such as rocks, sticks, or dirt. Any debris can interfere with the landing process and cause the drone to tip over.
Avoid Uneven Surfaces: Make sure the landing area is level. Uneven surfaces, such as hills or slopes, can cause the drone to land at an angle, increasing the likelihood of a crash or damage.
Clear the Area: If possible, land in an area free from foot traffic, pets, or other potential obstacles that may distract you during the landing process.
Pro Tip: Consider using a drone landing pad if you’re flying outdoors. Landing pads not only provide a flat and stable surface but also help protect your drone’s sensors and propellers from dirt and debris.
Final Check
Once your drone has successfully landed, it’s important to conduct a quick inspection to ensure everything is in good condition and to avoid any potential issues for future flights.
Power Off: First, power off the drone and the controller to prevent unnecessary battery drain or overheating.
Remove the Battery: Always remove the battery after landing, especially if the drone has been in operation for a while. This helps to prevent overheating and preserves the battery life.
Inspect the Drone:
- Propellers: Check for any damage to the propellers, such as cracks or chips, as these can affect performance in future flights.
- Drone Body: Examine the body for any signs of stress or damage from impact, which can sometimes occur during landings, especially if the drone was not perfectly stable.
Pro Tip: After each flight, take a few moments to reflect on your experience and identify areas for improvement. Whether it’s adjusting your throttle control or learning to land in different conditions, continual practice is key to improving your drone skills.
Landing safely is the final step in mastering the basics of how to use a drone. Once you’re comfortable with takeoffs, hovering, basic movements, and safe landings, you’ll be ready to explore advanced features and techniques!
Learn more about Advanced Drone Landing Techniques for further learning in our detail guide.
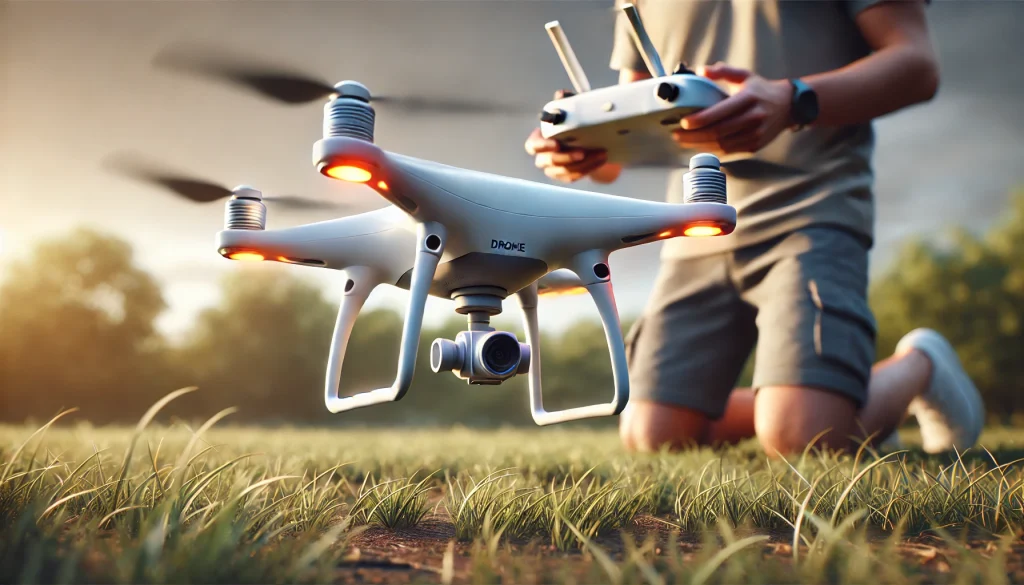
Important Notes & Tips for Flying a Drone
Mastering how to use a drone involves more than just learning the controls. These important notes and tips will help you fly safely, avoid common mistakes, and get the most out of your drone.
1. Start Slow and Steady
- Tip: Avoid rushing into advanced maneuvers. Spend time mastering basic skills like hovering and directional movements before attempting tricks or flying at high altitudes.
- Why It’s Important: Building confidence with basic skills reduces the likelihood of crashes and ensures better control.
2. Fly in Safe Conditions
- Tip: Choose calm weather conditions with minimal wind and no rain for your flights.
- Why It’s Important: Strong winds can destabilize lightweight drones, while rain can damage sensitive electronics.
Pro Tip: Use indoor-friendly drones like the Holy Stone Mini Drone for practice when outdoor conditions aren’t ideal.
3. Respect Local Regulations
- Tip: Check local drone laws before flying, including no-fly zones and altitude restrictions.
- Why It’s Important: Violating airspace regulations can result in fines or legal issues.
- Example: Many countries require drones over 250 grams to be registered with aviation authorities.
4. Keep the Drone Within Line of Sight
- Tip: Always keep the drone in your line of sight during flight. Avoid flying behind obstacles or too far away.
- Why It’s Important: Losing sight of the drone increases the risk of losing control or crashing.
Pro Tip: Use features like GPS Return Home on models such as the FREEforEXCHANGE GPS Drone to ensure the drone returns safely if it strays too far.
5. Monitor Battery Life
- Tip: Regularly check the drone’s battery level during flights and land before it depletes completely.
- Why It’s Important: Running out of battery mid-flight can result in abrupt landings or crashes.
Pro Tip: Carry spare batteries for drones with shorter flight times, like the Foldable 1080P Drone.
6. Protect Your Drone
- Tip: Use propeller guards to minimize damage during crashes and protect people nearby.
- Why It’s Important: Propeller guards are especially helpful for beginners or when flying indoors.
7. Practice Calibration Regularly
- Tip: Calibrate the gyroscope and compass before each flight, especially if flying in a new location.
- Why It’s Important: Proper calibration ensures stable hovering and precise movements.
8. Avoid Overconfidence
- Tip: Don’t attempt advanced maneuvers like flips, high-speed turns, or complex tricks until you’ve mastered basic controls.
- Why It’s Important: Overconfidence can lead to mistakes, crashes, and potential damage to your drone.
9. Maintain Your Drone
- Tip: After every flight, inspect the propellers, clean off dirt or debris, and charge the batteries fully.
- Why It’s Important: Regular maintenance prolongs the lifespan of your drone and ensures consistent performance.
10. Be Mindful of Your Surroundings
- Tip: Avoid flying near people, animals, or sensitive areas like schools and hospitals.
- Why It’s Important: Flying responsibly ensures safety for everyone and prevents unnecessary accidents.
By keeping these tips in mind, you’ll enjoy a safer and more fulfilling experience while learning how to use a drone. Ready to take your skills further? Continue to explore advanced techniques and maximize the potential of your drone!
Lean more about Drone Safety Tips for Beginners for additional guidance.
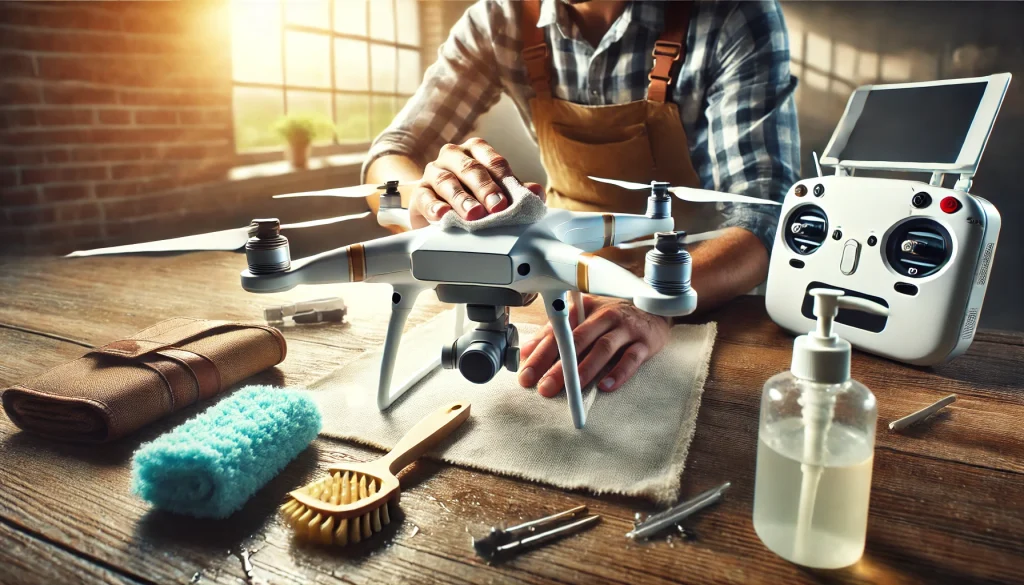
Maintenance and Troubleshooting
Proper maintenance and knowing how to troubleshoot common issues are key to keeping your drone in excellent condition and ensuring a smooth flying experience. Here’s how to take care of your drone and address potential problems.
Maintenance: Keeping Your Drone in Top Shape
1. Clean the Propellers Regularly
- Why: Dirt and debris on propellers can cause instability during flight.
- How:
- Use a soft cloth or brush to gently clean the propellers.
- Avoid using water; instead, use compressed air to remove stubborn dirt.
2. Inspect the Drone After Each Flight
- Why: Early detection of damages prevents further issues.
- How:
- Check for cracks in the propellers or body.
- Look for loose screws or damaged sensors.
Pro Tip: Replace worn or broken parts immediately to avoid flight interruptions.
3. Charge and Store Batteries Properly
- Why: Proper battery care extends their lifespan.
- How:
- Fully charge batteries before each flight.
- Avoid overcharging or exposing batteries to extreme heat or cold.
- Store batteries in a cool, dry place.
4. Update Firmware Regularly
- Why: Firmware updates improve performance and fix software bugs.
- How:
- Connect your drone to its app or controller.
- Check for updates in the settings menu and install them before flying.
5. Use a Carrying Case
- Why: Protecting your drone during transportation prevents physical damage.
- How: Invest in a padded carrying case, especially for foldable models like the Foldable 1080P Drone.
Troubleshooting: Fixing Common Drone Problems
1. Drone Won’t Connect to Controller
- Possible Causes:
- Pairing process wasn’t completed correctly.
- Interference from other devices.
- Solutions:
- Restart both the drone and the controller.
- Follow the pairing instructions in the manual.
2. Drone Drifts or Is Unstable During Flight
- Possible Causes:
- Improper calibration.
- Uneven surface during takeoff.
- Solutions:
- Recalibrate the gyroscope and compass.
- Ensure the drone takes off from a flat, stable surface.
Pro Tip: Always recalibrate when flying in a new location.
3. Short Flight Time
- Possible Causes:
- Low battery or overuse of advanced features.
- Cold weather reducing battery efficiency.
- Solutions:
- Fully charge the battery before flight.
- Carry spare batteries for extended sessions.
4. Poor Image or Video Quality
- Possible Causes:
- Unstable hovering.
- Dirty camera lens.
- Solutions:
- Practice hovering to stabilize the drone before taking photos.
- Clean the lens with a soft, lint-free cloth.
5. Drone Doesn’t Respond to Commands
- Possible Causes:
- Signal interference or low battery.
- Solutions:
- Fly in an open area with minimal interference.
- Replace the batteries in the controller and the drone.
Final Maintenance Tips
- Perform a full inspection of your drone monthly if you use it frequently.
- Keep spare propellers, screws, and tools handy for quick fixes.
- Document recurring issues and consult the manufacturer if problems persist.
By maintaining your drone and addressing issues proactively, you’ll enjoy a safer and more reliable flying experience. For additional tips, check out our guide on Advanced Drone Troubleshooting.
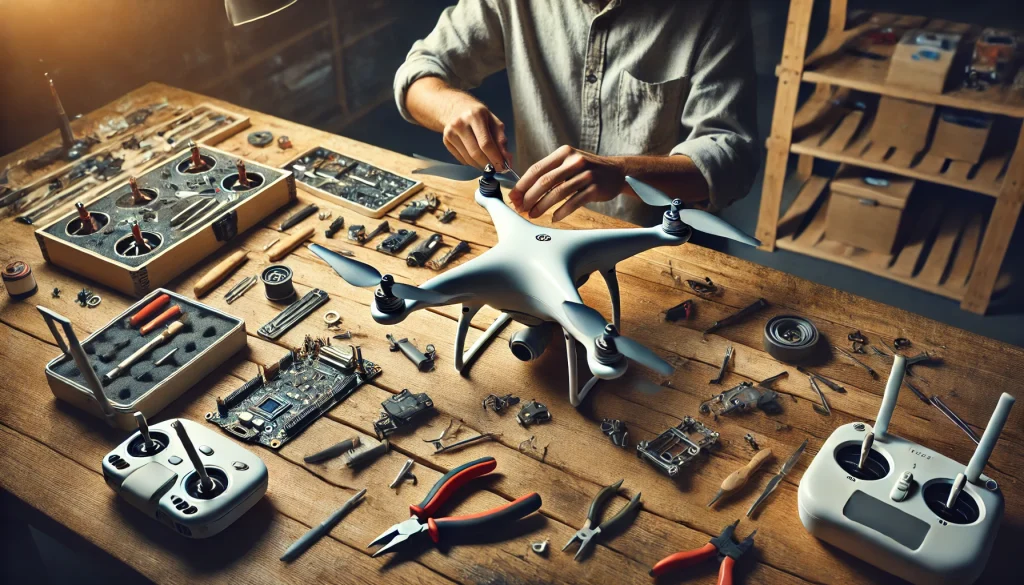
Advanced Tips for Better Flying
Once you’ve mastered the basics of flying a drone, it’s time to explore advanced techniques that can take your skills to the next level. These tips will help you unlock the full potential of your drone while ensuring safety and control.
1. Experiment with FPV (First-Person View) Mode
- What It Is: FPV mode allows you to see through the drone’s camera in real time using a smartphone or VR goggles.
- How to Use It:
- Pair your drone with an FPV-compatible app or VR headset.
- Practice flying in open areas to get comfortable with the perspective.
- Benefits:
- Provides an immersive flying experience.
- Perfect for aerial photography and exploring landscapes.
Pro Tip: Start with slow movements in FPV mode to avoid disorientation.
2. Utilize Waypoint Fly for Pre-Programmed Routes
- What It Is: Waypoint Fly enables you to set a custom flight path for the drone to follow automatically.
- How to Use It:
- Open the drone’s app and access the Waypoint Fly feature.
- Plot points on the map where you want the drone to fly.
- Start the route and let the drone navigate independently.
- Benefits:
- Great for capturing cinematic footage or surveying large areas.
3. Master Gesture Control
- What It Is: Gesture control lets you operate the drone using hand movements to perform specific actions, such as taking photos or adjusting direction.
- How to Use It:
- Activate Gesture Control in the app or settings.
- Perform predefined gestures (e.g., a hand wave for a selfie).
- Benefits:
- Hands-free operation.
- Ideal for creative selfies and group photos.
4. Practice Precision Flying
- What It Is: Precision flying involves navigating through tight spaces or performing controlled landings in specific locations.
- How to Improve:
- Use obstacles like hoops or markers to practice controlled movements.
- Start with wide gaps and gradually move to narrower spaces.
- Benefits:
- Enhances control and accuracy.
- Prepares you for challenging environments.
Pro Tip: Use drones like the Holy Stone Mini Drone, which are designed for precise indoor practice.
5. Capture Stunning Aerial Footage
- What to Do: Utilize advanced camera settings and features to improve the quality of your photos and videos:
- Adjust camera angles and lighting for the best shots.
- Use features like Optical Flow Positioning for stable footage.
- Best for: Creating travel videos, capturing landscapes, or taking real estate shots.
Pro Tip: Drones like the 4K Camera Drone are perfect for professional-quality aerial photography.
6. Learn to Fly in Different Weather Conditions
- What It Is: Flying in light wind or overcast conditions can improve your adaptability.
- How to Do It Safely:
- Use beginner-friendly drones with stable hover features, like the FREEforEXCHANGE GPS Drone.
- Start with mild weather changes and avoid extreme conditions.
- Benefits:
- Prepares you for unpredictable environments.
7. Perform Aerial Tricks and Stunts
- What to Do: Try features like 360° flips and barrel rolls for dynamic flying:
- Press the designated stunt button on your controller or app.
- Ensure the drone is at a safe altitude with no nearby obstacles.
- Benefits:
- Adds excitement to flying.
- Great for impressing friends or recording creative videos.
Pro Tip: Use drones with responsive controls, like the Brushless Motor 1080P Drones, for smooth stunts.
8. Use Follow Me Mode
- What It Is: Follow Me Mode makes the drone automatically track and follow a subject, such as yourself or a moving vehicle.
- How to Use It:
- Activate Follow Me Mode in the app.
- Select the subject the drone should follow.
- Benefits:
- Excellent for recording outdoor activities like biking or hiking.
9. Plan Your Flight Route
- What to Do: Use apps to pre-plan routes and scout locations.
- Benefits:
- Saves time and ensures better flight coverage.
- Minimizes risks by identifying obstacles in advance.
10. Use Advanced Editing for Captured Footage
- What It Is: Enhance your drone footage by editing with professional tools:
- Use software like Adobe Premiere Pro or Final Cut Pro.
- Add effects like slow motion, color grading, or transitions.
- Benefits:
- Turns raw footage into polished, shareable content.
Final Thought
By incorporating these advanced tips, you can elevate your flying experience from basic navigation to professional-level mastery. Whether you’re using FPV mode, capturing cinematic footage, or trying out aerial stunts, these techniques will unlock new possibilities and keep your flying adventures exciting!
Link to our guides like Mastering Advanced Drone Features for more in-depth tutorials.
FAQs: Common Questions About Flying Drones for Beginners
Here are answers to some of the most frequently asked questions to help you get the most out of your drone experience.
1. What is the best beginner drone to start with?
For beginners, drones like the Holy Stone Mini Drone or the DJI Mini 4 Pro are excellent choices. They are user-friendly, durable, and equipped with features like Auto Hovering and One-Key Takeoff/Landing.
2. Can kids safely fly drones?
Yes, many beginner drones are designed with kids in mind. Look for models with propeller guards and safety features like Headless Mode. Adult supervision is recommended for children under 12.
3. How do I ensure my drone doesn’t crash?
To avoid crashes:
- Practice basic maneuvers like hovering and directional control in open areas.
- Use features like Auto Hovering and One-Key Landing.
- Avoid flying in windy or rainy conditions.
4. What’s the typical battery life for drones?
Battery life depends on the model:
- Holy Stone Mini Drone: ~21 minutes (with 3 batteries).
- Foldable 1080P Drone: ~10–12 minutes per charge.
Always carry spare batteries for longer flying sessions.
5. Do I need to register my drone?
In many countries, drones weighing more than 250 grams must be registered with aviation authorities. Always check local regulations to ensure compliance.
6. What is FPV mode, and how do I use it?
FPV (First-Person View) mode lets you see through the drone’s camera in real-time. To use it:
- Pair your drone with a compatible app or VR headset.
- Practice in open areas to get comfortable with the perspective.
7. Why is my drone drifting during flight?
Drifting usually happens due to improper calibration:
- Calibrate the drone’s gyroscope and compass before flying.
- Ensure you’re flying on a flat, stable surface.
8. Can I fly my drone indoors?
Yes, lightweight drones like the DJI Neo are perfect for indoor use. However, ensure the space is free of obstacles and use propeller guards for added safety.
9. What should I do if I lose control of my drone?
If you lose control:
- Use the Return to Home feature (if available).
- Gradually reduce throttle to bring the drone down safely.
- Avoid panicking and regain visual contact as quickly as possible.
10. What are the top advanced features to try?
For advanced flying, experiment with:
- Waypoint Fly: Pre-programmed routes for cinematic shots.
- Gesture Control: Hands-free selfies and photo captures.
- 360° Flips: Fun stunts for aerial excitement.
Have More Questions?
If you’re unsure about anything or want to learn more, check out our guide on Drone Flying Tips for Beginners or feel free to leave a comment below! 😊
Conclusion
Learning how to use a drone is an exciting journey that opens up endless possibilities for creativity, exploration, and fun. By following this guide, beginners can master the basics of flying, avoid common mistakes, and gradually explore advanced features to elevate their skills. Remember to always fly responsibly, maintain your drone regularly, and embrace the learning process.
Ready to take off? Explore our Top Drones for Beginners and find the perfect drone to start your flying adventures today. Don’t forget to check out our Drone Safety Tips to ensure a safe and enjoyable experience. Happy flying! 🚁


