How to Hover a Drone: Tips for Stable Flying
Each product is chosen independently by our editors. Purchases made through our links might earn us a commission at no extra cost to you!
Introduction
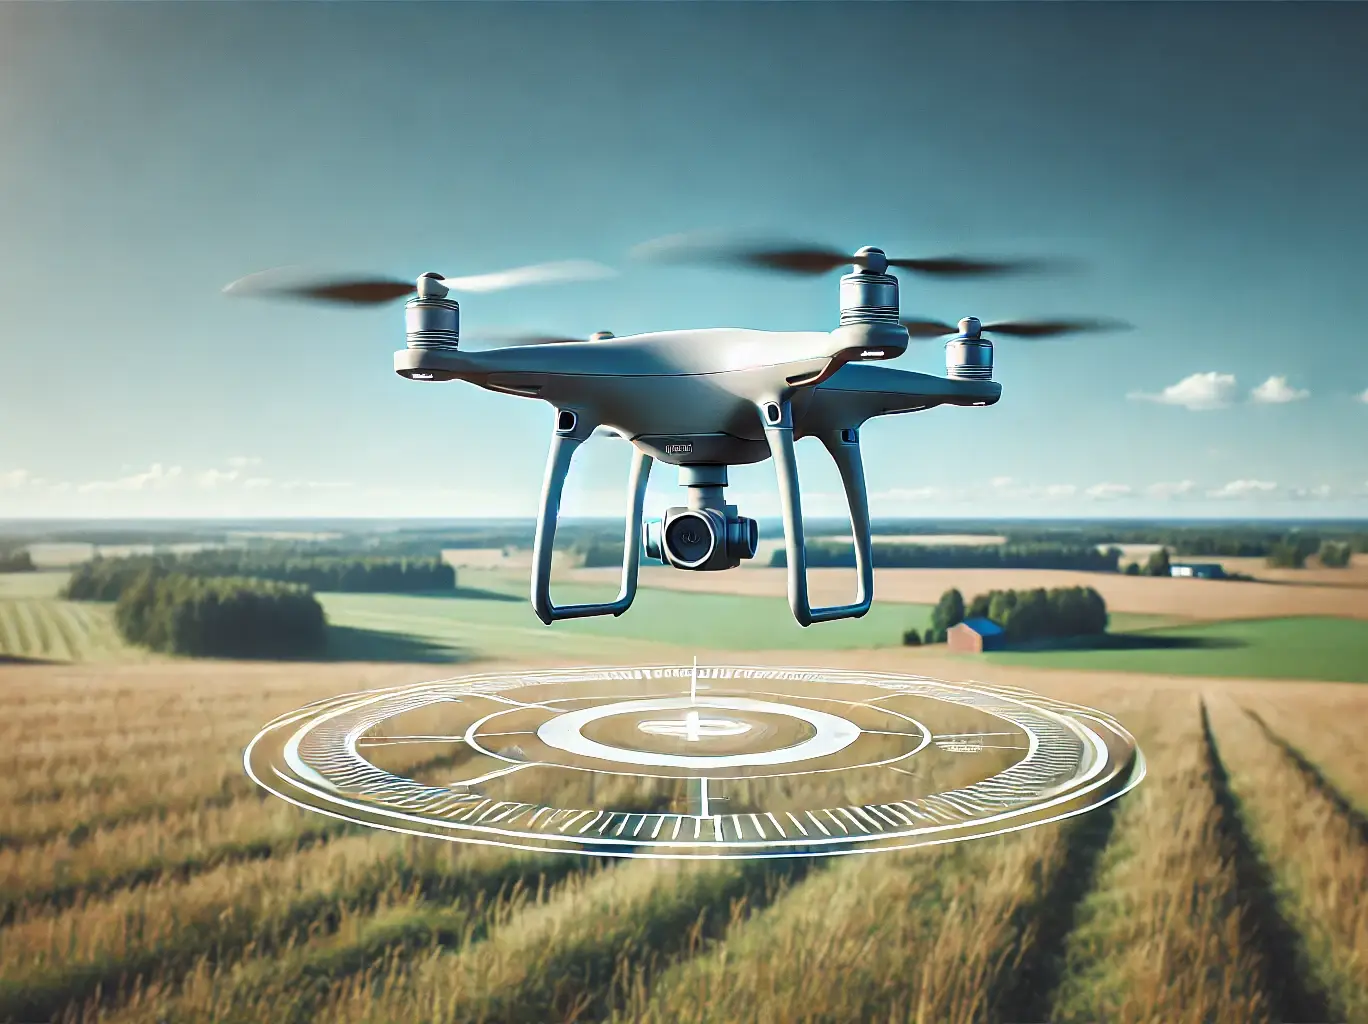
Hovering is one of the most fundamental skills for any drone pilot, especially beginners. Mastering how to hover a drone is crucial for maintaining stability, improving control, and building confidence before progressing to more advanced maneuvers. This guide will teach you the basics of hovering, including essential tips and techniques for achieving precise and stable flights.
Whether you’re flying for fun, photography, or professional purposes, learning to hover will lay the foundation for all your drone piloting skills. With practice, you’ll gain the ability to keep your drone steady in the air, even in challenging conditions.
Table of Contents
The Science Behind Drone Hovering
Hovering is not just about keeping your drone stable in one spot—it’s a combination of precise engineering, real-time sensor data, and external environmental factors working together. Understanding the science behind hovering can help beginners appreciate what makes a drone hover effectively and how to optimize their practice.
1. The Role of Propellers and Lift
How Propellers Work
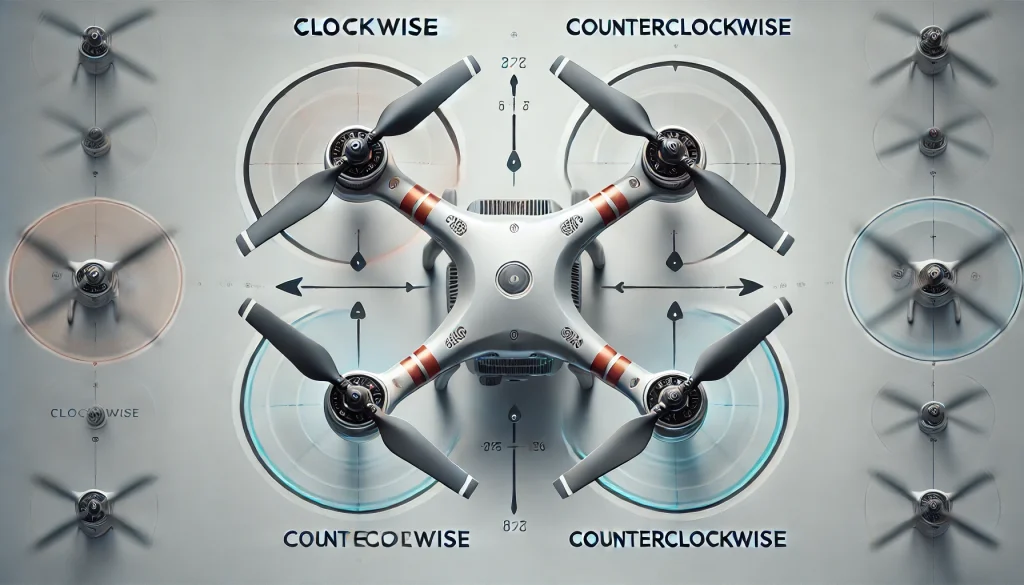
Drone propellers are responsible for generating the lift that allows the drone to hover. By spinning at high speeds, propellers push air downward, creating an upward force that counters gravity. Each drone typically has four propellers (quadcopters) or more, with pairs rotating in opposite directions to maintain stability.
- Clockwise and Counterclockwise Rotation:
Propellers are arranged in alternating pairs: two spin clockwise, and two spin counterclockwise. This configuration cancels out rotational forces, preventing the drone from spinning uncontrollably.
Balancing Lift for Hovering
Maintaining a stable hover requires balanced lift across all propellers. This is achieved by:
Adjusting Throttle:
Increasing or decreasing throttle evenly adjusts the speed of all propellers, controlling the altitude.Compensating for Drift:
If one propeller spins slower or faster than intended (due to imbalance or wind), the drone may tilt or drift. Regular calibration ensures each propeller performs optimally.
Key Tips for Optimizing Lift
Inspect Propellers Regularly:
Check for chips, cracks, or debris on the blades, as even minor damage can affect lift.Use Balanced Propellers:
Imbalanced propellers can create uneven lift, leading to instability during hovering.Practice Throttle Control:
Smooth throttle adjustments prevent sudden altitude changes, allowing for more precise hovering.
Learn more about Maintaining Drone Propellers for Optimal Performance.
2. Stability Sensors: Gyroscope and Accelerometer
The Role of Stability Sensors in Hovering
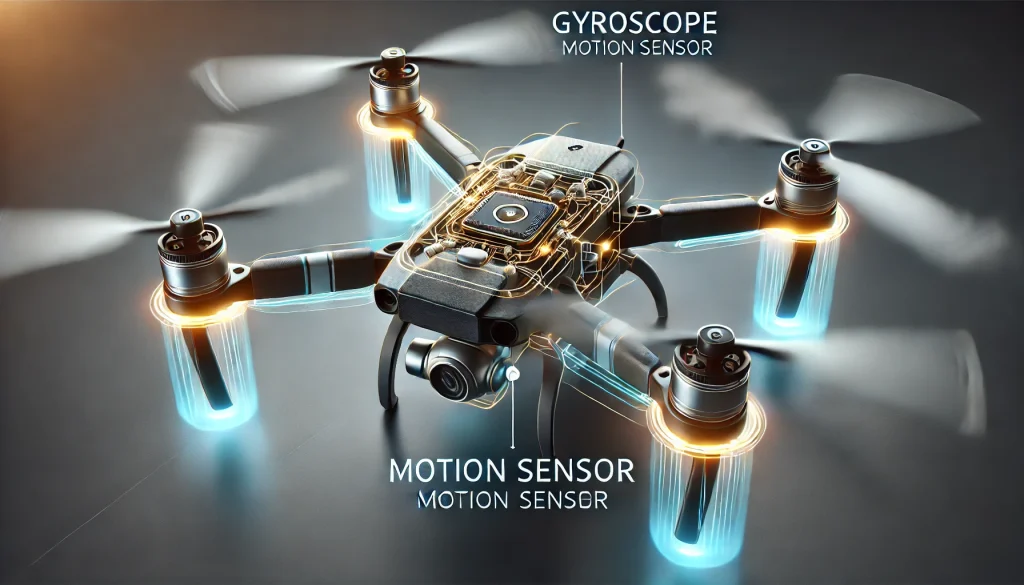
Stability sensors like the gyroscope and accelerometer work together to ensure the drone remains balanced and steady while hovering. These sensors constantly measure the drone’s movements and send feedback to its flight controller, enabling real-time adjustments to maintain stability.
How the Gyroscope Works
A gyroscope measures the angular velocity of the drone, helping it detect rotational movements such as yaw, pitch, and roll.
- Yaw: Rotation around the vertical axis (turning left or right).
- Pitch: Tilting forward or backward.
- Roll: Tilting sideways (left or right).
- Function in Hovering:
The gyroscope prevents unwanted rotations by identifying shifts in the drone’s orientation and signaling the motors to counteract these movements.
How the Accelerometer Works
An accelerometer measures changes in speed and direction, ensuring the drone doesn’t accelerate unexpectedly while hovering.
- Detecting Drifts: The accelerometer senses when the drone begins to move off its position and signals the flight controller to correct the drift using pitch and roll.
- Function in Hovering:
It helps maintain position stability, especially in environments with slight wind or uneven air pressure.
Why These Sensors Are Crucial
- Real-Time Corrections:
Gyroscopes and accelerometers work together to provide immediate feedback, keeping the drone stable even in challenging conditions. - Enhances Manual Controls:
For beginners, these sensors reduce the effort required to hover precisely, allowing more focus on learning throttle and directional control. - Foundation for Advanced Features:
These sensors enable advanced capabilities like GPS-based hovering and obstacle avoidance.
Optimizing Sensor Performance
- Calibrate Regularly:
Ensure your drone’s gyroscope and accelerometer are calibrated before each flight to maintain accurate feedback. - Keep the Drone Level:
Place the drone on a flat surface during calibration to avoid errors in sensor alignment. - Protect Against External Factors:
Vibrations or impacts can disrupt sensor accuracy. Use shock-absorbing landing pads to protect your drone.
Explore Drone Calibration Basics to ensure optimal sensor accuracy for stable flights.
3. GPS and Position Hold Features
The Role of GPS in Hovering
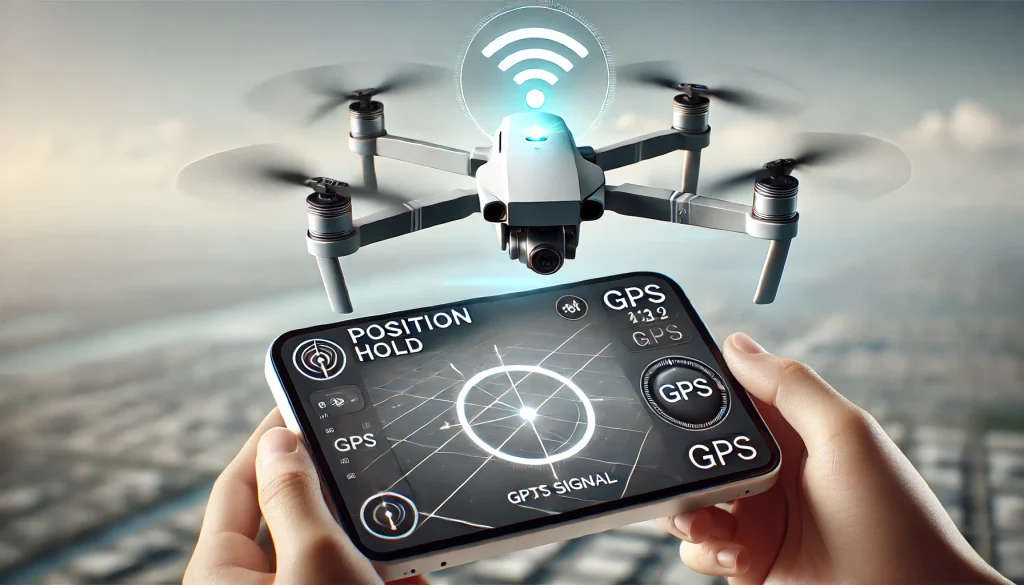
GPS (Global Positioning System) plays a vital role in modern drones, enabling them to hover in a fixed position with minimal manual adjustments. By locking onto multiple satellites, the drone determines its exact location and altitude, using this data to maintain stability.
How GPS Helps in Hovering
Position Locking:
GPS ensures that the drone stays within a specific location by making small, automatic adjustments to pitch, roll, and yaw.- Example: If a gust of wind pushes the drone, the GPS data signals the flight controller to counteract the drift.
Altitude Stability:
Many drones use GPS data in combination with barometric sensors to maintain consistent altitude, crucial for smooth hovering.Return-to-Home (RTH):
GPS is integral to features like Return-to-Home, allowing the drone to hover precisely before landing at its takeoff point.
What Happens When GPS Fails?
Hovering without GPS (e.g., indoors or in areas with poor satellite coverage) relies entirely on the drone’s internal sensors, such as the gyroscope and accelerometer. In these situations:
- The drone is more prone to drifting, requiring constant manual adjustments.
- Advanced features like position hold and RTH may be unavailable.
Tips for Maximizing GPS Performance
Fly in Open Spaces:
Ensure the drone has a clear view of the sky to connect to multiple satellites. Avoid flying near tall buildings or dense trees.Wait for GPS Lock Before Takeoff:
Always wait until the drone has locked onto a sufficient number of satellites (usually indicated by the app or controller).Use Drones with Dual GPS:
High-end drones often use both GPS and GLONASS (a Russian satellite system) for more reliable positioning.
When to Practice Without GPS
Practicing hovering without GPS helps develop manual control skills, preparing you for scenarios where GPS might be unavailable. Use visual markers on the ground to track position and improve precision.
Learn more about How to Fly Drones Indoors Without GPS for manual hovering techniques.
4. Environmental Factors Affecting Hovering
How the Environment Impacts Hovering
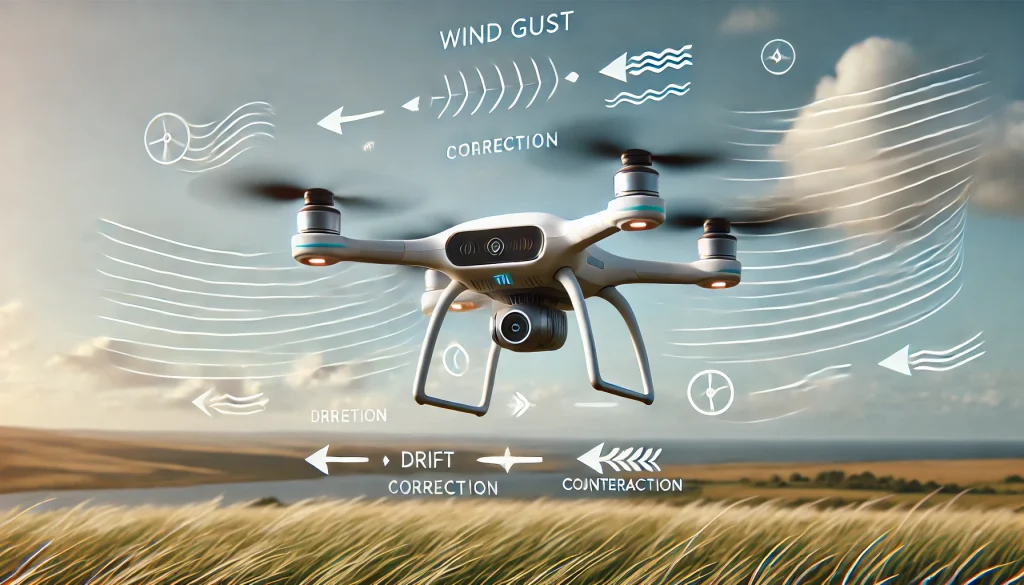
Hovering requires precision, but external factors like wind, temperature, and altitude can challenge a drone’s ability to stay stable. Understanding these elements helps pilots anticipate issues and make necessary adjustments for smoother hovering.
Key Environmental Factors
Wind
- Impact: Even light wind can push a drone off its position, causing it to drift or tilt unexpectedly. Strong winds may overwhelm the drone’s motors, making hovering unstable or even unsafe.
- Solution:
- Fly on calm days with minimal wind, especially when practicing hovering.
- Use drones designed for high-wind resistance if conditions are unavoidable.
Temperature
- Impact: Extreme cold reduces battery efficiency, leading to shorter flight times and weaker motor power. In contrast, excessive heat can cause motors to overheat or battery malfunctions.
- Solution:
- In cold weather, keep batteries warm before takeoff.
- Avoid flying in direct sunlight for extended periods during hot weather.
Altitude
- Impact: At higher altitudes, thinner air reduces propeller efficiency, making it harder for drones to maintain lift.
- Solution:
- Choose drones optimized for high-altitude flying if you live or practice in mountainous areas.
- Monitor motor performance closely during high-altitude flights.
Obstacles and Interference
- Impact: Tall buildings, dense trees, or crowded areas can disrupt GPS signals and increase the risk of collisions, complicating hovering.
- Solution:
- Practice in open areas away from obstacles.
- If GPS signal is weak, rely on manual controls and maintain visual line of sight.
How to Mitigate Environmental Challenges
Check the Weather Before Flying:
Use drone-friendly weather apps to monitor wind speed, temperature, and humidity.Adjust Hovering Techniques for Conditions:
For slight wind, make minor pitch and roll adjustments to counteract drifting.Plan Shorter Flights in Extreme Conditions:
Reduce flying time to prevent battery or motor issues when operating in challenging environments.
Explore Drone Weather Safety Tips to learn how to fly safely in different conditions.
5. The Importance of Calibration
Why Calibration Matters
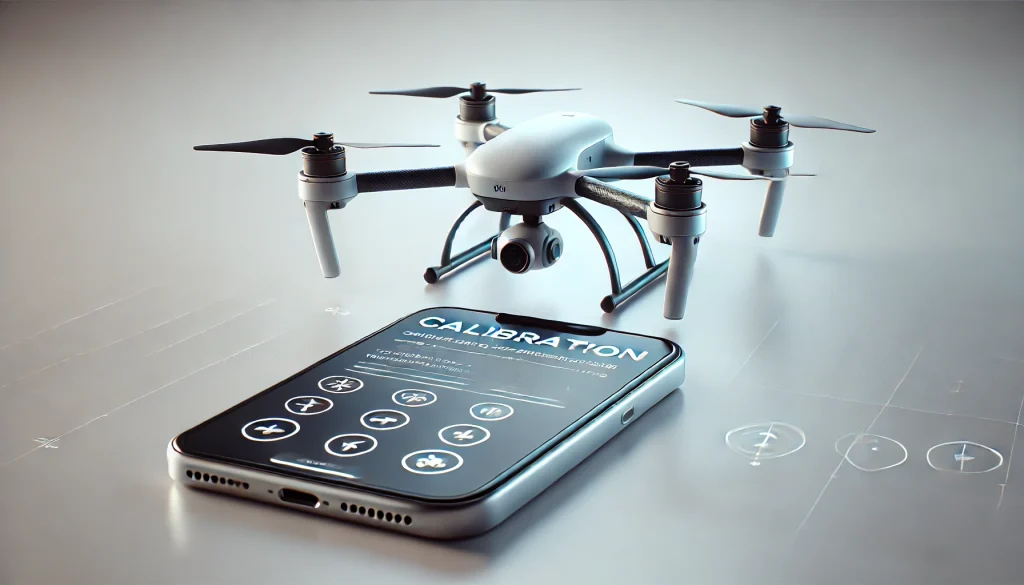
Calibration is a critical step to ensure that your drone’s sensors, such as the gyroscope, accelerometer, and compass, are functioning correctly. Proper calibration helps maintain stability during hovering, reduces drifting, and ensures accurate responsiveness to control inputs.
Key Components to Calibrate
Gyroscope and Accelerometer
- Role: These sensors detect movement and speed, ensuring the drone stays balanced while hovering.
- Why Calibrate: Without proper calibration, the drone may tilt unexpectedly or fail to stabilize.
Compass
- Role: The compass helps the drone determine its orientation and direction.
- Why Calibrate: Incorrect compass data can lead to erratic hovering or drifting, especially in GPS mode.
ESC (Electronic Speed Controller):
- Role: The ESC regulates motor speeds, ensuring smooth hovering.
- Why Calibrate: Mismatched motor speeds can cause the drone to tilt or spin unintentionally.
When to Calibrate
- Before the First Flight: Every new drone requires calibration before its initial use.
- After Moving Locations: Different magnetic fields or altitudes may affect sensor accuracy.
- After Crashes or Hard Landings: Impact can misalign sensors, making recalibration necessary.
- When the Drone Drifts or Behaves Erratically: Frequent drifting or delayed responses are signs calibration is needed.
How to Calibrate Your Drone
Find a Level Surface:
Place your drone on a flat, stable surface away from metal objects or magnetic interference.Follow On-Screen Instructions:
Most drones provide calibration steps via their mobile app or remote controller.Spin the Drone (Compass Calibration):
- Rotate the drone horizontally and vertically as instructed.
- Ensure a clear view of the sky if calibrating GPS.
Test Hovering Post-Calibration:
Perform a short hover test to verify stability. If the drone still drifts, repeat the process.
Tips for Maintaining Calibration
- Regular Maintenance: Clean the drone’s sensors and motors to prevent debris from affecting performance.
- Update Firmware: Ensure the drone’s software is up-to-date for optimal calibration and sensor management.
Visit our Drone Calibration Guide for detailed step-by-step instructions.
Step-by-Step Guide to Master Drone Hovering
Step 1: Prepare Your Drone
Why Preparation Matters
Proper preparation is the foundation for stable and successful hovering. Ensuring your drone is in optimal condition before takeoff minimizes unexpected issues, enhances safety, and allows you to focus on mastering hovering techniques.
Steps to Prepare Your Drone
Check Battery Levels:
- Ensure your drone battery is fully charged for consistent power output.
- If your drone uses a separate remote or mobile device, check their battery levels as well.
- Low battery power can lead to reduced motor efficiency, making hovering difficult.
Inspect Propellers:
- Examine all propellers for cracks, chips, or debris. Damaged propellers can create uneven lift and instability.
- Ensure each propeller is securely attached and correctly aligned for optimal performance.
Calibrate Sensors:
- Perform gyroscope and accelerometer calibration to ensure your drone’s stability and accurate responses to controls.
- Calibrate the compass to prevent orientation issues, especially if you’ve moved locations.
Choose the Right Location:
- Pick an open, obstacle-free area with minimal wind to practice hovering. Parks or empty fields are ideal for beginners.
- Avoid areas near power lines, buildings, or large metallic structures that can interfere with GPS signals.
Update Firmware:
- Check for any firmware updates for your drone or controller to ensure smooth operation and the latest stability features.
Pro Tips for Beginners
- Use a Pre-Flight Checklist: Create a simple checklist for battery levels, propeller condition, and calibration to ensure nothing is overlooked.
- Bring Spare Parts: Keep extra propellers and batteries on hand in case of unexpected issues during practice.
- Start Small: Practice hovering for a few minutes at a time to reduce wear on motors and batteries.
Visit our Drone Pre-Flight Checklist Guide to ensure your drone is always ready for flight.
Step 2: Lift Off to a Low Altitude
Why Start at a Low Altitude?
Practicing hovering at a low altitude (1-2 meters or 3-6 feet) is essential for beginners. It minimizes risks, provides better visibility, and allows you to focus on fine-tuning your control inputs without worrying about major altitude changes.
How to Execute a Smooth Lift-Off
Position the Drone:
- Place the drone on a flat and stable surface.
- Ensure the drone is facing away from you to maintain intuitive control.
Use Throttle to Ascend:
- Gently push the left joystick (throttle) upward to lift the drone off the ground.
- Avoid abrupt or excessive movements to prevent the drone from jumping too high.
Hold a Steady Altitude:
- Once the drone reaches the desired height, adjust the throttle slightly to maintain a consistent altitude.
- Focus on keeping the drone stable without letting it rise or fall.
Observe Drone Behavior:
- Watch for any drifting, wobbling, or tilting during lift-off.
- If the drone seems unstable, land it and recalibrate before trying again.
Tips for Success
- Start in Beginner Mode: Use your drone’s beginner mode to reduce control sensitivity and make altitude adjustments smoother.
- Avoid Overcompensation: Use small, controlled joystick inputs to prevent the drone from rising too quickly or dropping suddenly.
- Monitor Environmental Conditions: Wind or uneven ground can affect lift-off. Choose a calm, flat location for your first attempts.
Common Mistakes to Avoid
- Jerky Joystick Movements: Abrupt throttle changes can cause instability and make the drone harder to control.
- Skipping Calibration: An uncalibrated drone may drift or tilt unexpectedly during lift-off.
- Flying Too High Too Soon: Stay close to the ground until you’re confident with maintaining a steady hover.
Learn more about Beginner Drone Lift-Off Techniques for smoother takeoffs and better control.
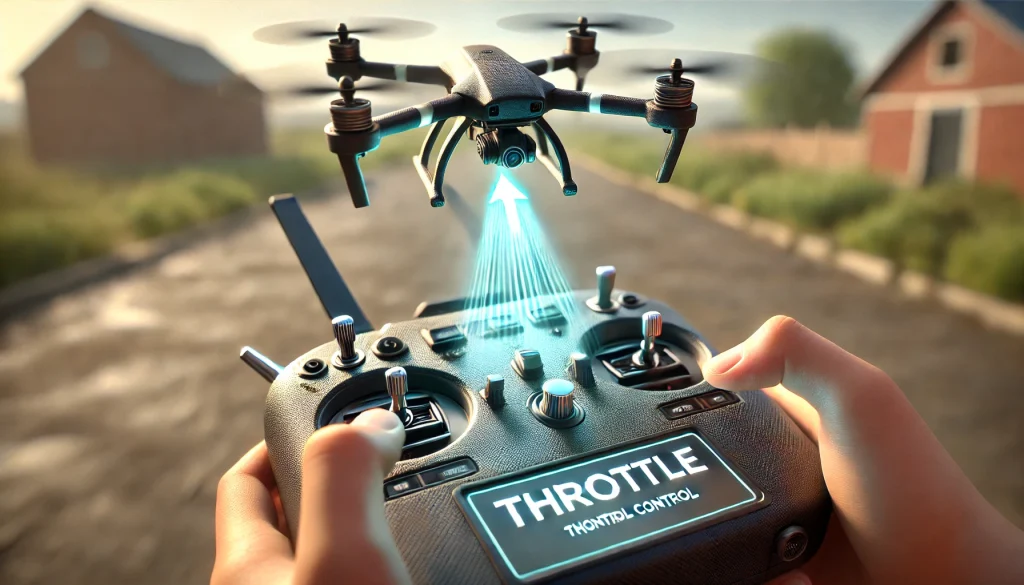
Step 3: Stabilize the Drone
Why Stabilizing Is Crucial
Once the drone has reached a low altitude, the next step is to ensure it stays steady in the air without drifting, tilting, or losing altitude. Stabilizing builds your control precision and sets the foundation for mastering hovering.
How to Stabilize the Drone
Hold the Throttle Steady:
- Keep the left joystick (throttle) in a fixed position to maintain altitude.
- Make minor adjustments to correct any unintended climbing or descending.
Correct Drifting with Pitch and Roll:
- Use the right joystick to make small corrections if the drone starts moving forward, backward, or sideways.
- Example: If the drone drifts forward, pull the joystick slightly backward to bring it back to position.
Adjust Yaw to Maintain Direction:
- If the drone begins to rotate left or right unintentionally, use the left joystick’s horizontal axis to counteract the rotation.
Monitor External Factors:
- Light wind may cause the drone to drift slightly; be ready to make quick, small corrections.
- Avoid overcompensating, as it can lead to jerky movements and instability.
Tips for Achieving Stability
- Start with Small Movements: Avoid making large joystick inputs. Subtle adjustments are key to keeping the drone stable.
- Use Visual Markers: Align the drone with objects on the ground (cones, lines, or chalk marks) to gauge its stability.
- Practice in Short Sessions: Limit each stabilization attempt to a few minutes to prevent battery drain and motor strain.
Common Mistakes to Avoid
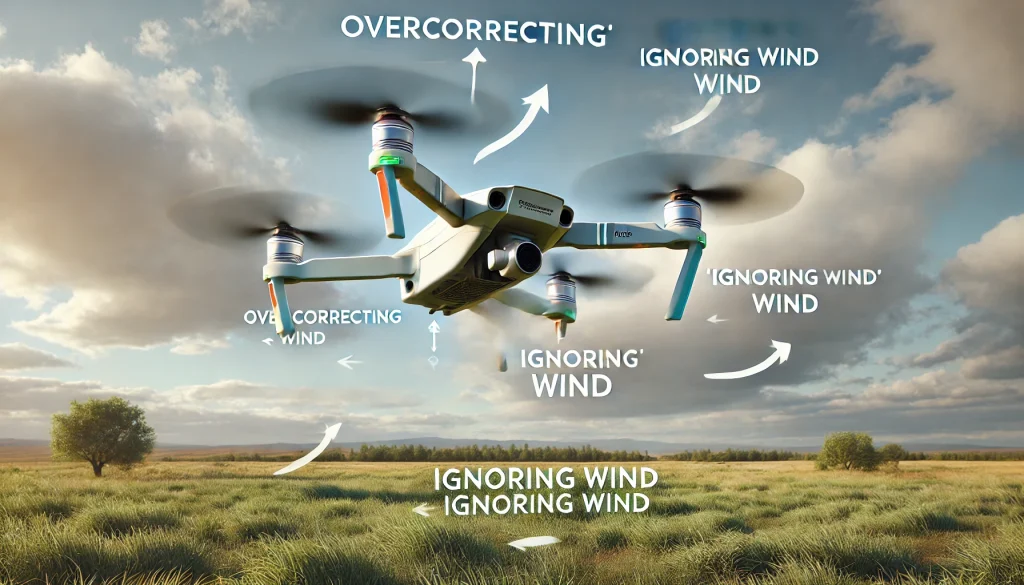
- Overcorrecting: Making excessive joystick movements can disrupt stability rather than improve it.
- Ignoring Drift: Small drifts can escalate if not corrected promptly.
- Losing Focus on Altitude: While adjusting pitch, roll, or yaw, ensure you maintain a steady throttle to avoid unintentional altitude changes.
Pro Tip:
If the drone consistently drifts in one direction, land it and recalibrate the sensors. Persistent drifting might indicate a calibration issue.
Explore our Advanced Drone Stabilization Techniques for more tips on perfecting control.
Step 4: Practice Holding Hover
Why Practice Is Essential
Holding a hover is the core skill that all drone pilots need to master. This step focuses on maintaining the drone’s position and altitude consistently over a period of time, which builds muscle memory and enhances control precision.
How to Practice Holding Hover
Set a Target Duration:
- Start by aiming to hold the drone steady for 10-15 seconds.
- Gradually increase the duration as you improve, targeting 30 seconds, then one minute or more.
Use Visual Markers:
- Place a visual marker (like a cone or chalk circle) on the ground directly below the drone.
- Keep the drone aligned with the marker to minimize drifting.
Monitor Altitude and Position:
- Use the throttle to maintain altitude and prevent the drone from climbing or descending.
- Adjust pitch and roll to correct minor movements and keep the drone centered over the marker.
Add Challenges Gradually:
- Start in no-wind conditions. Once confident, practice in light wind to improve your responsiveness to environmental factors.
- Introduce small movements, like rotating (yaw) or shifting slightly forward/backward, while still holding position.
Tips for Effective Hovering Practice
- Small Adjustments Matter: Use gentle joystick inputs to keep the drone stable. Overcorrecting can disrupt the hover.
- Stay Focused: Watch both the drone’s position in the air and its alignment with the ground marker.
- Use Beginner Mode if Available: This setting limits sensitivity, helping you maintain stability as you learn.
Common Mistakes to Avoid
- Rushing Progress: Trying to hold a hover for long durations too quickly can lead to frustration. Focus on short, successful attempts first.
- Neglecting Drift: Even minor drifts should be corrected promptly to maintain control.
- Ignoring Battery Life: Hovering consumes a significant amount of battery power, so monitor levels to ensure safe landing.
Pro Tip:
Record your practice sessions using the drone’s camera. Reviewing footage can help you identify mistakes and refine your control techniques.
Check out our Mastering Beginner Drone Hovering Techniques for detailed practice exercises.
Step 5: Combine Hovering with Controlled Movements
Why Combining Movements Is Important
Once you’ve mastered holding a steady hover, the next step is to integrate basic movements while maintaining stability. This skill transitions you from static hovering to dynamic control, enabling you to navigate more complex flight paths with confidence.
How to Combine Hovering with Movements
Start with Forward and Backward Movement:
- Use the pitch control (push the right joystick forward and backward) to move the drone slightly while maintaining altitude.
- Focus on small, smooth movements and return the drone to the original hovering position after each attempt.
Incorporate Sideways Movements:
- Use the roll control (move the right joystick left or right) to shift the drone laterally.
- Practice moving the drone to the left and right in short bursts, always bringing it back to the center.
Practice Rotating (Yaw) While Hovering:
- Use the yaw control (move the left joystick left or right) to rotate the drone while maintaining position and altitude.
- Begin with small rotations (10-20 degrees) and gradually increase as you improve.
Combine Pitch, Roll, and Yaw:
- Create simple patterns like flying in a square or circle by combining forward/backward, sideways, and rotational movements.
- Ensure the drone’s altitude remains consistent throughout the movements.
Tips for Combining Movements
- Use Markers: Place cones or markers to create a simple flight path for practicing controlled movements.
- Take It Slow: Focus on smooth, deliberate movements rather than speed.
- Monitor Stability: Always return to a steady hover before initiating the next movement.
Common Mistakes to Avoid
- Overloading Movements: Avoid trying to execute multiple inputs at once until you’re confident with individual movements.
- Neglecting Altitude Control: Maintaining a consistent altitude is key while practicing combined movements.
- Skipping Hover Recovery: If the drone becomes unstable, immediately return to a steady hover to regain control.
Pro Tip:
Practice combining movements in a simulated environment (via a drone app or flight simulator) to reduce the risk of crashes while learning.
Explore our Advanced Drone Flight Patterns for more exercises to master combined movements.

Step 6: Review and Repeat
Why Reviewing Your Practice Matters
Consistent practice is key to mastering drone hovering, but reviewing your progress ensures that each session is productive. By identifying your strengths and areas for improvement, you can focus on refining specific skills and building confidence.
How to Review Your Hovering Practice
Record Your Flights:
- Use the drone’s camera or a separate device to capture your practice sessions.
- Watching your footage helps you identify patterns of drift, overcorrection, or instability.
Assess Key Metrics:
- Duration: How long were you able to maintain a stable hover?
- Stability: Did the drone drift significantly, and how effectively did you correct it?
- Control Inputs: Were your joystick movements smooth and precise?
Analyze Challenges:
- Note specific issues like difficulty holding altitude or overcompensating for drift.
- If certain problems persist, revisit basic steps like calibration or throttle control.
Repeat for Continuous Improvement
Set Incremental Goals:
- Gradually increase your hover duration or complexity of movements.
- For example, aim to hover for 30 seconds consistently before practicing figure-eight patterns.
Practice in Varied Conditions:
- Once confident in calm environments, try hovering in light wind or slightly uneven terrain to simulate real-world scenarios.
Log Your Progress:
- Keep a practice journal to track improvements and note any recurring issues.
- Reviewing your progress over time can boost motivation and highlight achievements.
Pro Tips for Maximizing Practice
- Short, Focused Sessions: Fly for 10-15 minutes per session to maintain concentration without exhausting batteries or motors.
- Take Breaks: Allow both the drone and yourself time to cool down between sessions.
- Seek Feedback: Share your flight footage with experienced pilots for constructive advice.
Common Mistakes to Avoid
- Skipping the Review Process: Without reviewing your flights, it’s easy to repeat mistakes unknowingly.
- Practicing Without Goals: Undefined goals lead to unfocused practice and slower progress.
- Overlooking Environmental Impact: Ensure you adapt your practice to conditions like wind or limited space.
Visit our Drone Progress Tracker Template to organize and review your flight practice effectively.
Precision Tips for Beginners
1. Use Visual Markers for Positioning
Visual markers on the ground, such as cones, lines, or chalk circles, help you track the drone’s position and make precise adjustments.
- How It Helps:
- Visual references provide clear feedback on drifting or tilting.
- Markers make it easier to identify areas where corrections are needed.
- Pro Tip:
Start with wide markers for easier alignment, then transition to smaller targets for better precision.
2. Practice Gentle Joystick Movements
Beginner pilots often make abrupt joystick inputs, which can destabilize the drone. Focus on smooth, gradual movements to maintain control.
- Why It’s Important:
- Precise adjustments minimize overcorrection and improve stability.
- Gentle movements help you build muscle memory for accurate control.
- Pro Tip:
Imagine you’re drawing soft curves with the joystick instead of sharp lines.
3. Hover at Low Altitudes First
Practicing hovering at 1-2 meters (3-6 feet) reduces the risk of damage while improving control. Once confident, move to higher altitudes for more advanced practice.
- How It Helps:
- Easier recovery if something goes wrong.
- Better visibility of the drone’s movements.
- Pro Tip:
Stay within your line of sight and avoid flying too high until you’ve mastered low-altitude hovering.
4. Focus on Throttle Control
Throttle control is the foundation of stable hovering. Concentrate on keeping the drone at a consistent altitude without sudden climbs or drops.
- Why It’s Critical:
- Maintaining altitude ensures the drone remains stable while you work on other controls.
- It reduces the chance of losing control during practice.
- Pro Tip:
Practice throttle adjustments in short bursts, focusing on holding the drone at the same height for increasing intervals.
5. Use Beginner Mode
Most drones come with a beginner mode that reduces control sensitivity and limits speed. This feature is perfect for honing precision skills without overwhelming inputs.
- How It Helps:
- Beginner mode allows you to focus on stabilization without worrying about advanced maneuvers.
- It prevents the drone from drifting too quickly or reacting too sharply.
- Pro Tip:
Gradually transition out of beginner mode as your confidence and precision improve.
Check out our Beginner Drone Calibration Guide for better preparation and control.
Common Mistakes to Avoid While Hovering
1. Overcorrecting Joystick Movements
Beginners often make the mistake of overcompensating for drifting or tilting, leading to jerky movements and loss of control.
- Why It’s a Mistake:
- Overcorrecting disrupts stability and can cause the drone to veer off course.
- How to Avoid:
- Use small, gradual joystick adjustments to stabilize the drone.
- Practice holding the joystick steady to avoid unnecessary input.
2. Ignoring Pre-Flight Calibration
Skipping calibration can result in inaccurate sensor readings, causing the drone to drift or tilt unexpectedly.
- Why It’s a Mistake:
- Misaligned sensors make hovering more difficult, even with good control techniques.
- How to Avoid:
- Calibrate the drone’s gyroscope, accelerometer, and compass before every session.
- Ensure the calibration process is done on a level surface.
3. Neglecting to Monitor Wind Conditions
Even light wind can push the drone off its position, especially at higher altitudes.
- Why It’s a Mistake:
- Beginners may struggle to correct drifting caused by wind, leading to instability.
- How to Avoid:
- Start hovering practice on calm, wind-free days.
- Gradually introduce light wind conditions as you gain confidence.
4. Flying in a Crowded or Obstacle-Filled Area
Practicing in areas with obstacles like trees, buildings, or power lines increases the risk of crashes.
- Why It’s a Mistake:
- Obstacles limit your ability to focus on control precision and hovering stability.
- How to Avoid:
- Choose an open, obstacle-free location for practice.
- Maintain a safe distance from people and objects.
5. Losing Focus on Altitude
Focusing too much on directional control can cause beginners to neglect throttle, leading to unintentional climbing or descending.
- Why It’s a Mistake:
- Unstable altitude disrupts hovering and increases the risk of crashes.
- How to Avoid:
- Practice throttle control separately before combining it with other controls.
- Use visual markers to help monitor the drone’s altitude.
6. Practicing for Too Long
Extended practice sessions can lead to pilot fatigue and overheating of the drone’s motors.
- Why It’s a Mistake:
- Fatigue reduces focus, increasing the likelihood of errors.
- Overheating can cause motor inefficiency or damage.
- How to Avoid:
- Limit practice sessions to 10-15 minutes with breaks in between.
- Monitor the drone’s temperature and battery levels during practice.
Pro Tip:
If you notice consistent issues, record your practice sessions to review later. Identifying mistakes visually can help you make targeted improvements.
Learn more in our Drone Stability Tips for Beginners to avoid these common pitfalls.
FAQs for Hovering a Drone
1. How long does it take to learn hovering?
For most beginners, it takes about 1-2 hours of focused practice to master basic hovering. However, achieving precision and stability may take additional time, depending on individual skill levels.
- Tip: Start with short, consistent practice sessions of 10-15 minutes.
2. Can I hover indoors?
Yes, but only under certain conditions. Hovering indoors is best done with small or toy drones in spacious, obstacle-free areas.
- Tip: Use propeller guards and practice low-altitude hovering to reduce risks.
3. Do I need GPS to hover?
No, hovering can be done without GPS, but GPS makes it easier by locking the drone’s position automatically. Without GPS, you’ll rely more on manual controls.
- Tip: Practicing without GPS improves your skills and prepares you for flying in low-signal environments.
4. What’s the ideal altitude for practicing hovering?
Begin at a low altitude of 1-2 meters (3-6 feet) to minimize risk. As you gain confidence, you can practice at higher altitudes to improve your control.
- Tip: Always stay within your line of sight to monitor the drone’s position effectively.
5. Why does my drone drift during hovering?
Drifting can occur due to wind, uncalibrated sensors, or uneven throttle inputs.
- Solution:
- Calibrate the gyroscope, accelerometer, and compass before flying.
- Practice in calm weather conditions.
- Make small throttle adjustments to maintain stability.
6. How can I maintain altitude more effectively?
Throttle control is key to maintaining a consistent altitude.
- Tip: Use small, smooth joystick movements and focus on holding the throttle steady once the drone is at the desired height.
7. Can I practice hovering with a flight simulator?
Yes, flight simulators are excellent tools for practicing hovering without risking damage to your drone. Many drone apps offer realistic training environments.
- Tip: Use a simulator to practice advanced hovering techniques before trying them in real life.
Explore more in our Drone Beginner FAQ Guide for additional insights and solutions.
Conclusion
Hovering is an essential skill that forms the foundation of drone piloting. By mastering the basics of throttle control, combining movements, and practicing consistently, you’ll develop the precision and confidence needed for advanced maneuvers. Whether you’re capturing stunning aerial shots or simply flying for fun, stable hovering allows you to unlock your drone’s full potential.
Remember, the key to success lies in preparation, patience, and consistent practice. Avoid common mistakes, review your progress, and challenge yourself to improve gradually. With time, hovering will become second nature, paving the way for more exciting and complex drone operations.
Ready to elevate your drone skills? Explore our Advanced Hovering Techniques for Drone Pilots to take your flying to the next level. Share your hovering experiences and challenges in the comments below—we’d love to hear your story and help you along the way!


