Drone Troubleshooting Guide: Fix Common Issues Step-by-Step
Each product is chosen independently by our editors. Purchases made through our links might earn us a commission at no extra cost to you!
Introduction
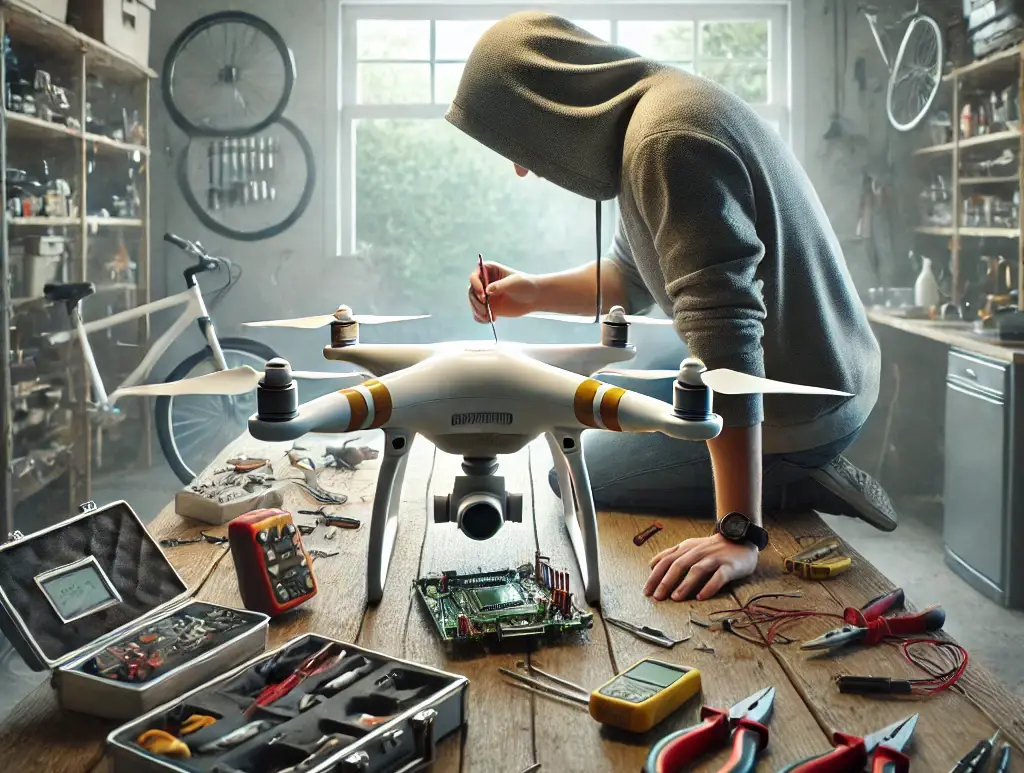
Drones have revolutionized the way we explore the skies, capture stunning visuals, and engage with technology. However, even the most advanced drones can encounter occasional hiccups that disrupt their performance. From connectivity issues to calibration errors, these challenges can be frustrating for both beginners and seasoned pilots. A comprehensive drone troubleshooting guide can help identify and resolve common problems, ensuring smoother flights and optimal performance.
In this guide, we’ll walk you through a step-by-step troubleshooting process to identify and fix common drone issues effectively. Whether you’re dealing with unresponsive controls, unstable flights, or technical glitches, this guide will help you get your drone back in the air swiftly and safely. Let’s dive in and ensure your drone adventures stay smooth and enjoyable!
Table of Contents
Common Drone Issues
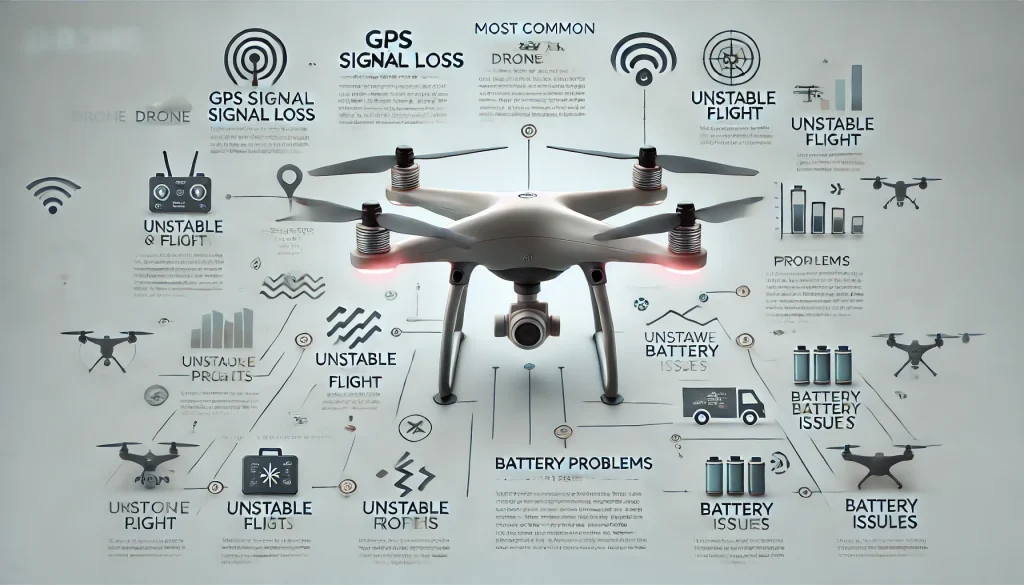
Drones are intricate machines that combine advanced technology with precision engineering. While they offer amazing capabilities, they are also prone to certain recurring issues. Here’s a breakdown of the most common drone issues and how they typically arise.
1. Drone Won’t Turn On
- Symptoms:
- The drone doesn’t power up when pressing the power button.
- No lights or sounds are emitted.
- Possible Causes:
- Battery is discharged, improperly connected, or faulty.
- Power button is malfunctioning.
- Internal wiring issues.
- Pro Tip: Always check the battery connection and ensure it’s fully charged before attempting to power up.
2. Lost GPS Signal
- Symptoms:
- The drone fails to lock onto GPS satellites.
- RTH (Return-to-Home) feature doesn’t work.
- Possible Causes:
- Flying in areas with obstructions like tall buildings or dense trees.
- Compass calibration is off.
- Weak GPS signal due to poor weather conditions.
- Pro Tip: Perform a compass calibration and fly in open areas with a clear view of the sky.
3. Camera Malfunctions
- Symptoms:
- The camera doesn’t record or displays blurry or distorted images.
- Videos are shaky or interrupted.
- Possible Causes:
- Dirty or scratched camera lens.
- Faulty gimbal stabilization.
- Firmware issues.
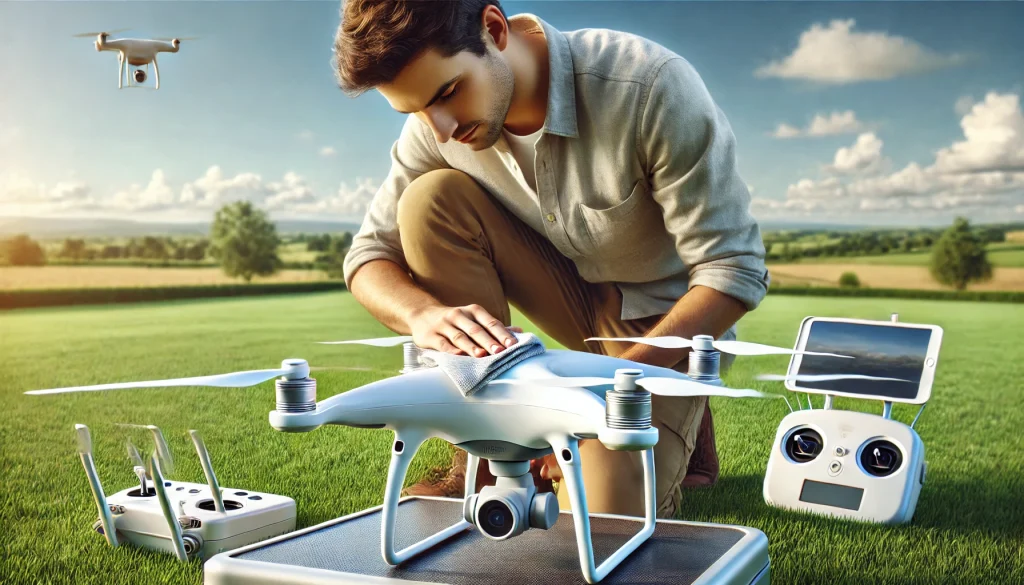
- Pro Tip: Regularly clean the camera lens with a microfiber cloth and check for firmware updates.
4. Unstable Flight or Drifting
- Symptoms:
- The drone tilts, wobbles, or drifts off course during flight.
- Possible Causes:
- Incorrectly mounted propellers or damaged blades.
- IMU (Inertial Measurement Unit) or gyroscope not calibrated.
- Windy conditions exceeding the drone’s tolerance.
- Pro Tip: Calibrate the IMU and gyroscope after every firmware update or if the drone behaves erratically.
5. Battery Drains Quickly
- Symptoms:
- Shorter flight times than expected.
- Battery percentage drops rapidly.
- Possible Causes:
- Old or degraded battery.
- Extreme temperatures affecting battery performance.
- Excessive payload increasing power consumption.
- Pro Tip: Store batteries in a cool, dry place and avoid flying in extreme heat or cold.
6. Connection Issues Between Drone and Controller
- Symptoms:
- The drone doesn’t respond to controller inputs.
- Signal cuts out frequently.
- Possible Causes:
- Interference from nearby electronics or structures.
- Outdated firmware on the controller or drone.
- Distance between the drone and controller exceeding the range limit.
- Pro Tip: Keep the firmware updated and ensure a clear line of sight between the drone and controller.
Why Identifying These Issues Matters
Recognizing these common issues early can save time, reduce frustration, and prevent potential damage to your drone. By understanding the symptoms and causes, you can take the right steps to fix the problem and get back to flying with confidence.
Visit DJI Support for Common Drone Errors for manufacturer-specific solutions.
Step-by-Step Troubleshooting Guide
When your drone encounters an issue, it’s important to approach the problem methodically. This step-by-step troubleshooting guide helps you diagnose and resolve issues effectively.
Step 1: Identify the Problem
The first step in troubleshooting your drone is identifying the root cause of the issue. Pinpointing the problem allows you to focus your efforts on resolving it efficiently.
How to Identify the Problem
Observe the Symptoms:
- Pay attention to any unusual behavior from the drone.
- Does it refuse to power on?
- Is it drifting, or are the controls unresponsive?
- Take note of error messages or warning lights on the drone or controller.
- Pay attention to any unusual behavior from the drone.
Break Down the Problem:
- Categorize the issue into key areas:
- Power Issues: The drone won’t turn on, or the battery drains quickly.
- Control Issues: The drone doesn’t respond to the controller or behaves erratically.
- Navigation Issues: GPS or compass problems affecting flight stability.
- Camera Issues: Poor video quality or the camera not functioning.
- Categorize the issue into key areas:
Use Built-in Diagnostic Tools:
- Many modern drones, like DJI models, display error messages directly in the app.
- Example: “Compass Error” or “GPS Signal Weak.”
- Use these diagnostics as a guide to pinpoint specific components causing the issue.
- Many modern drones, like DJI models, display error messages directly in the app.
Examples of Symptoms and What They Indicate
| Symptom | Likely Issue |
|---|---|
| Drone doesn’t power on | Battery or power circuit problem |
| Drone drifts in flight | Compass calibration or IMU issue |
| Weak or lost GPS signal | Poor satellite connection or compass |
| Camera displays distorted images | Dirty lens, gimbal issue, or firmware |
| Controller disconnects frequently | Signal interference or range problem |
Pro Tip:
- Always document the symptoms you observe. For example:
- “Drone drifts left during hover.”
- “The camera doesn’t connect to the app.”
These details are helpful when consulting troubleshooting resources or seeking professional support.
Why This Step Matters
Identifying the problem correctly minimizes guesswork and ensures the right solution is applied. It’s the foundation for successful troubleshooting, saving both time and effort.
Learn more about Common Drone Issues and Their Causes for additional guidance.
Visit DJI Support Error Code Guide for specific error explanations.
Step 2: Perform Basic Checks
Once the problem is identified, the next step is to perform basic checks on your drone. This process ensures that all essential components are functioning properly and eliminates obvious issues that can be resolved quickly.
How to Perform Basic Checks
- Check the Battery:
- Ensure the battery is fully charged.
- Inspect for physical damage, swelling, or loose connections.
- Test the battery in another drone (if available) to confirm functionality.
- Inspect Propellers:
- Look for cracks, bends, or signs of wear on the propellers.
- Verify that each propeller is securely attached to the correct motor.
- Replace damaged or imbalanced propellers immediately.
- Examine the Motors:
- Spin each motor manually to ensure smooth rotation.
- Listen for grinding or unusual noises, which could indicate internal damage.
- Verify Sensor and Camera Cleanliness:
- Gently clean camera lenses and obstacle sensors with a microfiber cloth.
- Check that no dirt, smudges, or debris are blocking sensors.
- Inspect Connections:
- Ensure all cables and connectors are secure, especially for the camera and GPS module.
- Check for frayed wires or loose connections.
Common Issues Identified During Basic Checks
| Check Performed | Possible Problem Found | Solution |
|---|---|---|
| Battery inspection | Swollen or dead battery | Replace battery immediately |
| Propeller examination | Cracked or unbalanced propellers | Install new propellers |
| Motor rotation test | Grinding noise or resistance | Consult professional repair services |
| Sensor cleaning | Dust or smudges on sensors | Clean sensors with microfiber cloth |
Pro Tips for Basic Checks
- Always carry spare parts like propellers and a backup battery for quick replacements.
- Use proper tools like a propeller wrench or screwdriver to avoid over-tightening or damage.
- Inspect your drone thoroughly before every flight to avoid mid-air malfunctions.
Why Basic Checks Are CrucialPerforming these checks can resolve many common issues without the need for advanced troubleshooting. It ensures your drone is in optimal condition and ready for safe operation.Visit Drone Maintenance Checklist to streamline your pre-flight inspection process.
Explore Beginner’s Guide to Drone Care for more maintenance tips.
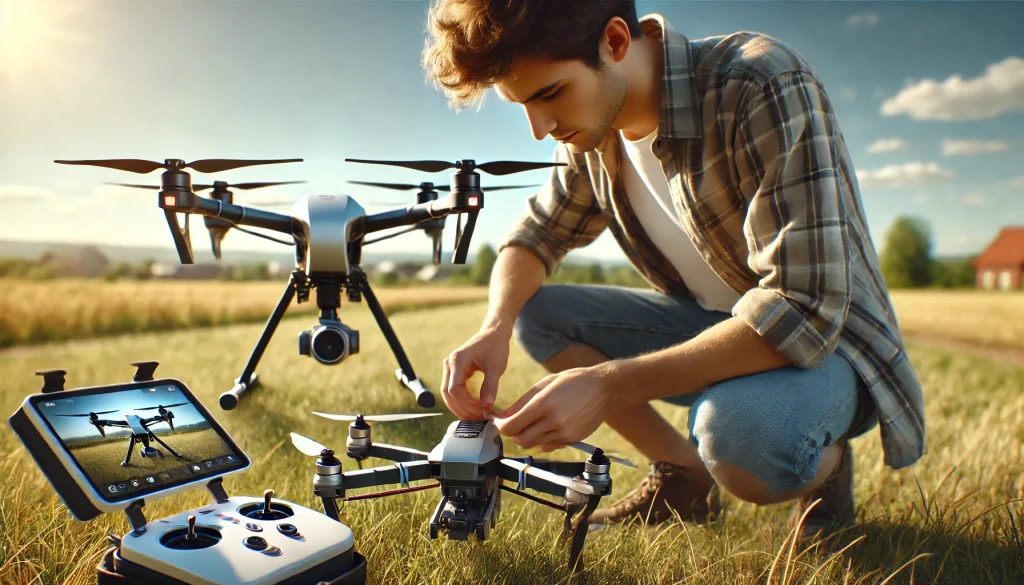
Step 3: Reset and Recalibrate
If the issue persists after performing basic checks, it may require resetting and recalibrating your drone’s critical systems. This step ensures that the drone’s internal settings and sensors are functioning correctly, restoring stability and accuracy.
How to Reset and Recalibrate Your Drone
Perform a System Reset:
- Turn off the drone and remove the battery.
- Wait for 10–15 seconds to allow residual power to dissipate.
- Reinsert the battery and power the drone back on.
- Resetting can clear minor software glitches and refresh the system.
Calibrate the Compass:
- Open the drone’s app and navigate to the calibration menu.
- Follow the on-screen instructions, typically involving rotating the drone horizontally and vertically.
- Compass calibration ensures accurate navigation and prevents drifting or flyaways.
Calibrate the IMU (Inertial Measurement Unit):
- Place the drone on a flat surface.
- Access the calibration menu in the app and initiate the IMU calibration process.
- The drone may perform slight adjustments to recalibrate its gyroscope and accelerometer.
- IMU calibration is essential for stable flight, especially after firmware updates or rough landings.
Update Firmware:
- Check the drone’s app for firmware updates.
- Update both the drone and the controller to the latest versions to fix bugs and improve performance.
- Always update in a stable network environment to prevent interruptions.
Recalibrate Camera Gimbal:
- Open the app and select the gimbal calibration option.
- Ensure the drone is placed on a flat surface for precise calibration.
- A calibrated gimbal ensures stable footage and optimal camera alignment.
When to Reset and Recalibrate
- After replacing parts like propellers, motors, or sensors.
- Following firmware updates or factory resets.
- If the drone exhibits unstable flight, drifts, or camera misalignment.
- When operating in a new location with magnetic interference.
Pro Tips:
- Perform recalibrations in open areas away from metal objects, power lines, or other sources of interference.
- Use a fully charged battery to avoid interruptions during the process.
- Avoid rushing through calibration steps; follow the instructions in the app carefully.
Why This Step Matters
Resetting and recalibrating ensures your drone’s internal systems function optimally, preventing inaccuracies during flight. These adjustments help resolve many performance issues without requiring technical repairs.
Read our Drone Compass Calibration Tips for a step-by-step guide to recalibration.
Check out Manufacturer’s Drone Firmware Updates for the latest downloads and fixes.
Step 4: Test in a Controlled Environment
After resetting and recalibrating, it’s time to test the drone in a controlled environment. This step helps you confirm whether the issue is resolved and ensures the drone is ready for more advanced operations.
What is a Controlled Environment?
A controlled environment is a safe and predictable space where you can test your drone with minimal risks. Ideal conditions include:
- Open areas with no obstructions (e.g., fields, parks).
- Low wind speeds (under 10 mph) and stable weather.
- No electromagnetic interference from power lines or metal structures.
Steps to Test Your Drone:
Perform a Pre-Flight Checklist:
- Ensure the battery is fully charged.
- Confirm propellers are securely attached and balanced.
- Verify all calibrations (compass, IMU, gimbal) are complete.
Hover Test:
- Power up the drone and lift it to a height of 3–5 meters (10–15 feet).
- Observe its stability: Does it hover in place, or does it drift?
- Listen for unusual noises from the motors or propellers.
Basic Movements:
- Test the drone’s response to commands:
- Move forward, backward, left, and right.
- Rotate (yaw) in both directions.
- Ensure smooth transitions and no delays in response.
- Test the drone’s response to commands:
Check RTH (Return-to-Home) Functionality:
- Activate the Return-to-Home feature to test if the drone returns to the correct location.
- Monitor its descent and landing accuracy.
Test Specific Features:
- Use the camera to record footage or take photos, ensuring proper stabilization and quality.
- Verify obstacle detection and avoidance systems in a low-risk scenario.
What to Observe During Testing:
- Flight Stability: Does the drone hover steadily without erratic movements?
- Controller Responsiveness: Are your commands executed promptly and accurately?
- System Performance: Does GPS signal remain stable? Are sensors working as expected?
- Landing Precision: Is the drone landing smoothly and on the desired spot?
Pro Tips for Testing Safely:
- Always keep the drone within line of sight (LOS).
- Use a spotter to monitor the drone’s movements while you operate the controller.
- Start with low altitudes and gradually increase height as confidence builds.
Why This Step is Crucial
Testing in a controlled environment allows you to evaluate the effectiveness of your troubleshooting efforts without risking damage to the drone. It also helps you gain confidence in its performance before using it in complex scenarios.
Explore Drone Pre-Flight Checklist for a thorough preparation process.
Learn more about Drone Testing Safety Guidelines to optimize your test environment.
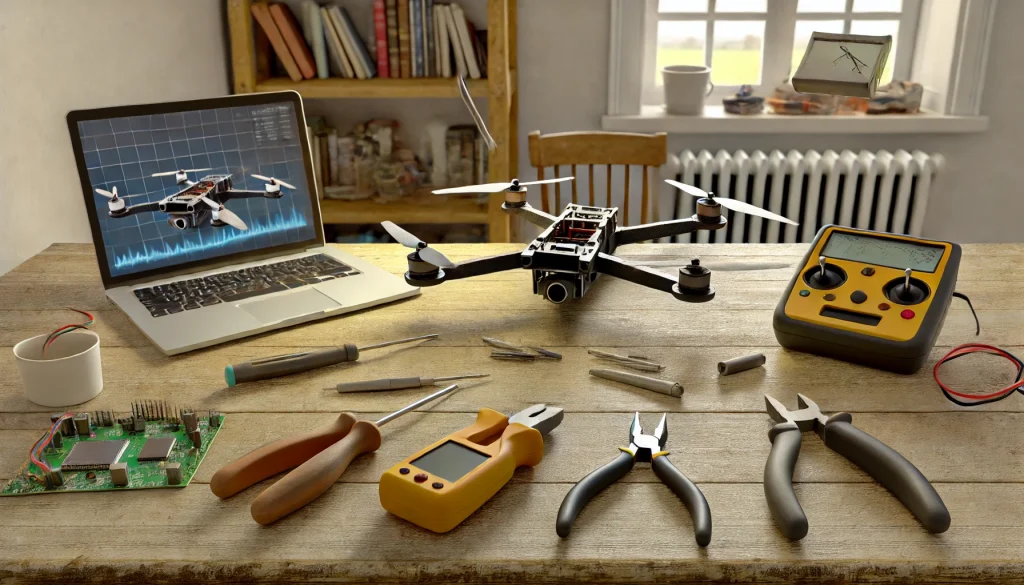
Step 5: Consult Resources and Support
If the issue persists after completing the previous steps, it’s time to leverage external resources and professional support. This step ensures you don’t waste time on unresolved issues and can access expert guidance when needed.
1. Refer to the Drone’s Manual
- Why: Most manuals include troubleshooting sections tailored to your specific drone model.
- How:
- Look up error codes and their explanations.
- Follow step-by-step solutions for common problems.
- Pro Tip: Keep the manual accessible, either in physical form or as a digital copy on your phone.
2. Explore Online Forums and Communities
- Why: Communities like Reddit, DJI Forum, and Facebook groups often have experienced users who’ve faced similar issues.
- How:
- Post your problem with detailed descriptions (e.g., symptoms, error messages).
- Search for threads discussing similar issues.
- Pro Tip: Be specific when asking questions to get more accurate advice.
3. Contact Manufacturer Support
- Why: Manufacturers like DJI, Autel Robotics, or Parrot offer direct support for troubleshooting and repairs.
- How:
- Submit a ticket through the manufacturer’s website or app.
- Provide details like serial numbers, purchase date, and issue description.
- Pro Tip: Include screenshots, photos, or videos of the issue to speed up diagnosis.
4. Visit a Professional Repair Service
- Why: If the problem involves hardware damage or requires advanced tools, professional repairs are the safest option.
- How:
- Locate authorized service centers through the manufacturer’s website.
- Request a diagnostic report and repair estimate before proceeding.
- Pro Tip: Always ask about warranty coverage to minimize repair costs.
Examples of Useful Resources:
|
|---|
Why Consulting Support is EssentialSeeking external help ensures you receive expert solutions, particularly for complex or technical issues that require specialized knowledge or equipment. It also helps you maintain your drone’s warranty and avoid further damage.Visit our Drone Repair Checklist to prepare for professional servicing.
Check out DJI Support Center for quick assistance with your DJI drone.
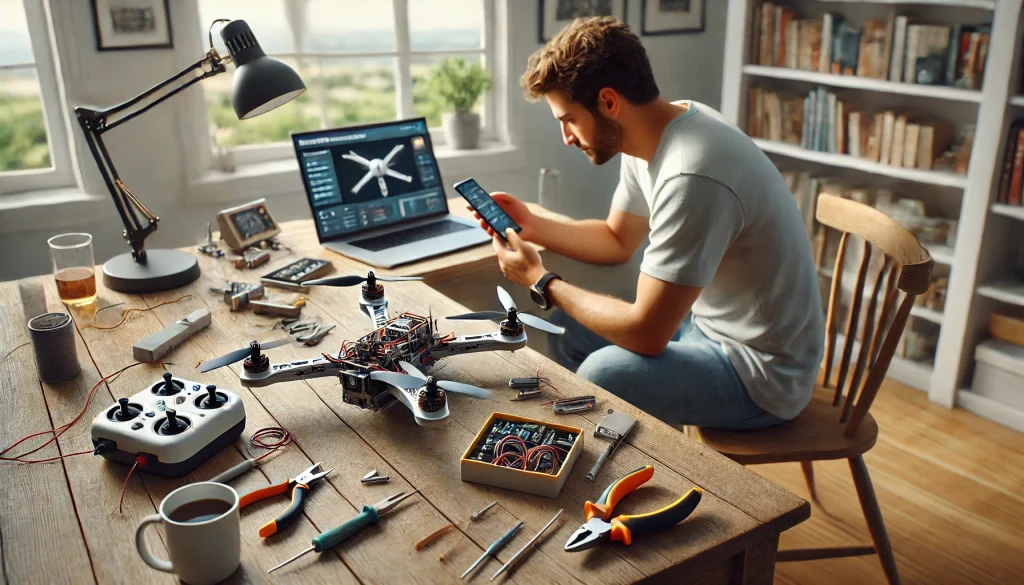
Step 6: Prevent Future Issues
The final step in troubleshooting is prevention. By implementing regular maintenance and smart flying practices, you can minimize the risk of future problems and ensure your drone operates at peak performance.
1. Perform Regular Maintenance
- Clean Key Components:
- Wipe down propellers, camera lenses, and sensors with a microfiber cloth after each flight.
- Remove dirt or debris from motors and vents.
- Inspect the Drone Thoroughly:
- Look for cracks, loose screws, or other signs of wear and tear.
- Replace damaged propellers or worn-out batteries.
- Pro Tip: Schedule a deep inspection every 10–15 flights to catch potential issues early.
2. Update Firmware Regularly
- Why: Firmware updates fix bugs, improve performance, and add new features.
- How:
- Check for updates using your drone’s mobile app.
- Always download updates on a stable network and with a fully charged battery.
3. Use a Pre-Flight Checklist
- Why: A checklist ensures that all critical components are ready before takeoff.
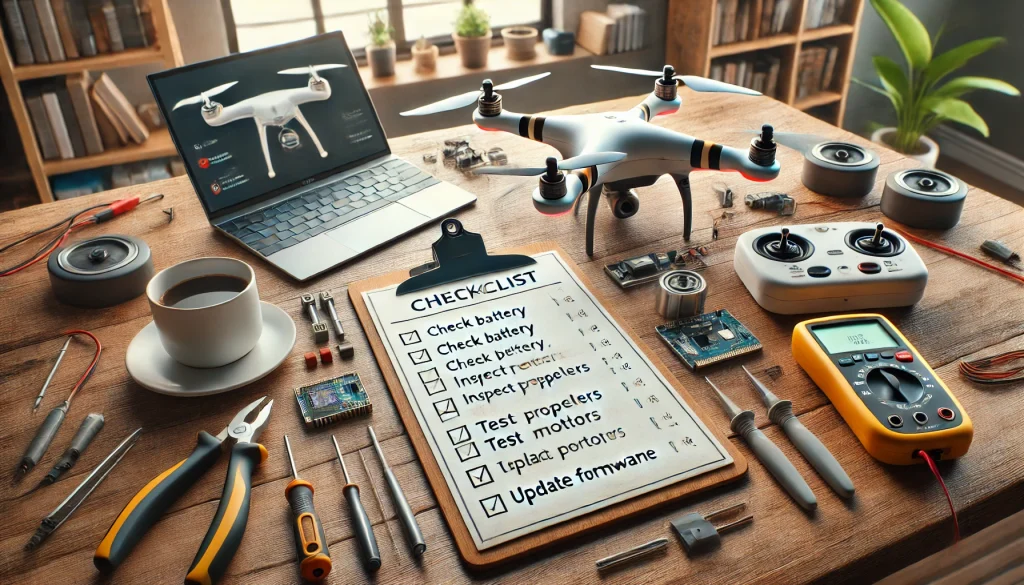
- Sample Checklist:
- Check battery level and secure connections.
- Inspect propellers and motors for damage.
- Calibrate compass and GPS if needed.
- Verify firmware is up-to-date.
4. Fly in Optimal Conditions
- Avoid Harsh Environments:
- Don’t fly in extreme temperatures, high winds, or heavy rain.
- Choose Open Spaces:
- Avoid flying near power lines, large crowds, or restricted areas.
- Pro Tip: Monitor weather conditions and check local airspace regulations before each flight.
5. Store Your Drone Properly
- How to Store:
- Keep the drone in a protective case to avoid dust and moisture.
- Store batteries at around 50% charge in a cool, dry place.
- Avoid placing heavy items on the drone during storage.
6. Practice Advanced Flying Skills
- Why: Practicing skills like controlled descents, obstacle avoidance, and precision landings helps you handle challenging scenarios.
- How:
- Practice in open areas with minimal risks.
- Gradually introduce complex maneuvers and environments.
Why Preventive Steps Matter
Preventive measures save you time and money by reducing the likelihood of unexpected malfunctions. They also extend the lifespan of your drone and ensure smoother, safer flights.
Learn about Advanced Drone Flying Techniques to improve your piloting skills.
Explore Drone Storage Best Practices for safe and secure storage tips.
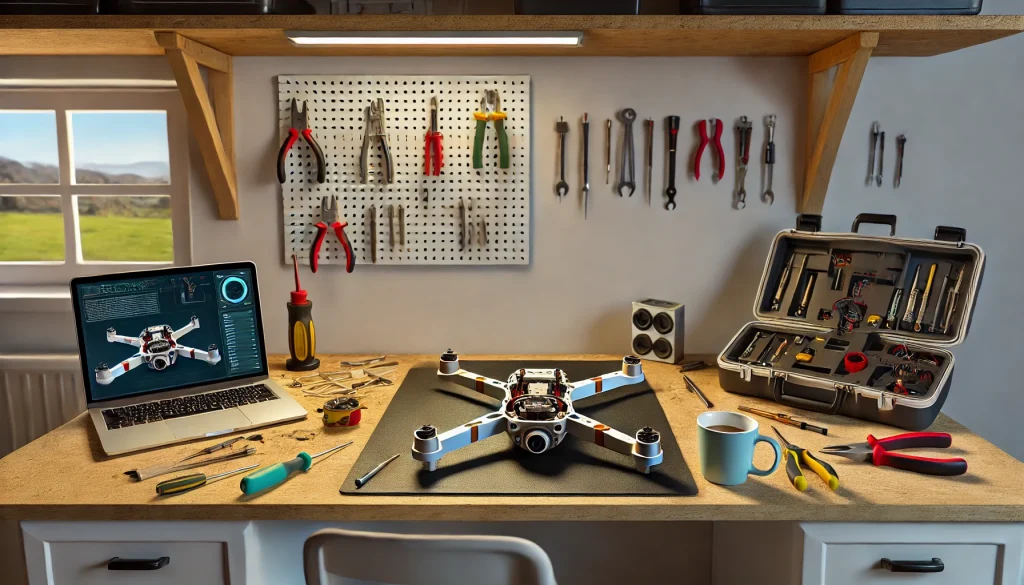
Advanced Troubleshooting Tips
Once you’ve completed the basic steps and the issue persists, it’s time to explore advanced troubleshooting methods. These tips focus on identifying and resolving more complex problems that may require deeper technical knowledge or specialized tools.
1. Diagnosing Firmware Errors
- What to Do:
- Check for compatibility between the drone, controller, and app versions.
- Roll back to a previous firmware version if the latest update introduces bugs.
- Reinstall the app or reset to factory settings if issues persist.
- Pro Tip: Always back up your settings before resetting the drone.
2. Resolving Sensor Calibration Failures
- What to Do:
- Recalibrate in an open space, away from magnetic interference or metal objects.
- Ensure the drone is placed on a perfectly level surface during calibration.
- Clean any debris or smudges on sensors, particularly for obstacle detection systems.
- Pro Tip: Restart the drone after each calibration to ensure the settings take effect.
3. Fixing Gimbal and Camera Malfunctions
- What to Do:
- Inspect the gimbal for physical damage or misalignment.
- Tighten loose screws on the gimbal assembly.
- Perform a gimbal auto-calibration through the drone’s app.
- Replace damaged cables or connectors.
- Pro Tip: Use a gimbal protector during transport to prevent future damage.
4. Addressing Persistent GPS and Signal Issues
- What to Do:
- Ensure the drone’s antenna is free of obstructions and correctly positioned.
- Move to a location with minimal electromagnetic interference and open sky.
- Update firmware to fix signal reception bugs.
- Pro Tip: Use a GPS booster if you frequently fly in areas with weak satellite coverage.
5. Identifying Motor or Propulsion Problems
- What to Do:
- Test each motor individually by spinning them manually to detect resistance.
- Replace worn-out or damaged motor bearings.
- Use a multimeter to test for electrical continuity in the motor wiring.
- Pro Tip: Replace motors in pairs to ensure balanced performance.
6. Using Diagnostic Tools
- Recommended Tools:
- Battery Tester: Check for voltage irregularities or dead cells.
- Propeller Balancer: Ensure propellers are perfectly balanced to reduce vibrations.
- Thermal Camera: Identify overheating components, such as motors or ESCs (Electronic Speed Controllers).
- Drone Simulator Software: Test controls and sensor data in a virtual environment.
When to Seek Professional Help
- If the drone shows no improvement after following these steps.
- Hardware damage, such as a cracked body or damaged motherboard, requires professional repairs.
- Persistent error codes that are not resolved through manual troubleshooting.
Pro Tips for Advanced Troubleshooting
- Document each troubleshooting step to track changes and understand what has been attempted.
- Regularly refer to your drone’s error logs (if available) for patterns in malfunctions.
- Always prioritize safety: Avoid disassembling components without proper tools or knowledge.
Why These Tips Matter
Advanced troubleshooting helps tackle more complex issues that basic checks may not resolve. It equips drone pilots with the tools and techniques needed to restore functionality and extend the lifespan of their equipment.
Explore Top Tools for Drone Troubleshooting to equip yourself for advanced repairs.
Preventive Maintenance Tips
Preventive maintenance is the key to extending your drone’s lifespan and avoiding costly repairs. Regular care and proactive practices ensure your drone remains in optimal condition for every flight.
1. Perform Routine Inspections
- Before Every Flight:
- Check propellers for cracks or wear and ensure they are securely attached.
- Inspect the battery for swelling or damage.
- Verify that all cables and connectors are secure.
- After Every Flight:
- Clean the drone to remove dust, debris, and moisture.
- Inspect the motors for dirt or unusual sounds when spun manually.
2. Clean Key Components Regularly
- Propellers and Motors:
- Use a soft brush to remove dirt and debris.
- Avoid using water or harsh chemicals.
- Camera and Sensors:
- Wipe the lens and sensors with a microfiber cloth.
- Use compressed air to clean hard-to-reach areas.
- Pro Tip: Perform deep cleaning every 10–15 flights to maintain peak performance.
3. Store Your Drone Properly
- Use a Protective Case:
- Protect your drone from dust, moisture, and physical damage during storage and transport.
- Battery Storage:
- Store batteries at 40–60% charge in a cool, dry place to prevent swelling or loss of capacity.
- Avoid Extreme Temperatures:
- Keep your drone away from direct sunlight, freezing temperatures, or humid environments.
4. Update Software and Firmware
- Why It’s Important:
- Firmware updates often include bug fixes, performance improvements, and new features.
- How to Update:
- Regularly check your drone’s app for updates to both the drone and controller.
- Ensure a stable internet connection and a fully charged battery during updates.
5. Use a Pre-Flight Checklist
- Why: A pre-flight checklist ensures all systems are functional before takeoff.
- Sample Checklist:
- Confirm the battery is fully charged and installed properly.
- Check propellers and motors for secure attachment and condition.
- Ensure compass and GPS are calibrated.
- Verify obstacle sensors and camera functionality.
6. Avoid Overloading Your Drone
- Why: Carrying excessive weight can strain motors, reduce flight time, and damage components.
- How:
- Stay within the manufacturer’s payload limits.
- Remove unnecessary accessories when not in use.
7. Fly in Safe Conditions
- Avoid High Winds and Extreme Weather:
- Strong winds can destabilize the drone and cause crashes.
- Choose Open Spaces:
- Fly in areas free of tall buildings, power lines, or heavy electromagnetic interference.
8. Regularly Calibrate Sensors
- Why: Calibration ensures accurate flight control and navigation.
- How:
- Recalibrate compass and IMU before flying in a new location or after firmware updates.
- Place the drone on a flat surface for precise calibration.
Pro Tips for Preventive Maintenance
- Keep spare parts like propellers, batteries, and tools in your kit.
- Use manufacturer-recommended cleaning supplies and accessories for the best results.
- Schedule maintenance checks after every 20 flights to address wear and tear.
Why Preventive Maintenance Matters
Consistent care not only improves the drone’s performance but also prevents unexpected malfunctions and prolongs its operational life. A well-maintained drone provides smoother, safer, and more reliable flights.
Check out Drone Pre-Flight Checklist to prepare for safe flights.
Learn about Best Practices for Drone Storage and Maintenance for long-term care tips.
FAQs About Drone Troubleshooting
Addressing frequently asked questions (FAQs) helps provide quick answers to common concerns about drone troubleshooting. Here are some of the most common queries and their solutions.
1. Why is my drone not turning on?
- Possible Causes:
- The battery is not charged or inserted correctly.
- A loose connection between the battery and the drone.
- Internal wiring issues.
- Solution:
- Ensure the battery is fully charged and securely connected.
- If the issue persists, inspect for visible damage or consult manufacturer support.
2. How do I fix a drifting drone?
- Possible Causes:
- Compass or IMU calibration is off.
- Wind conditions are affecting stability.
- Damaged or misaligned propellers.
- Solution:
- Recalibrate the IMU and compass using the drone’s app.
- Inspect and replace damaged propellers.
- Fly in calm weather conditions to minimize drift.
3. Why is my drone’s camera not working?
- Possible Causes:
- Lens is dirty or scratched.
- Gimbal is misaligned or malfunctioning.
- Firmware issues affecting the camera.
- Solution:
- Clean the lens with a microfiber cloth.
- Perform a gimbal calibration through the app.
- Check for firmware updates and install the latest version.
4. What should I do if my drone loses GPS signal?
- Possible Causes:
- Flying in areas with obstructions, like tall buildings or trees.
- Weak satellite coverage or magnetic interference.
- Solution:
- Move to an open area with a clear view of the sky.
- Calibrate the compass and ensure firmware is updated.
- Use GPS boosters if flying in challenging environments.
5. How can I prevent my drone’s battery from draining too fast?
- Tips to Extend Battery Life:
- Store batteries at 40–60% charge in a cool, dry place.
- Avoid flying in extreme temperatures.
- Remove unnecessary payloads to reduce power consumption.
- Replace old or degraded batteries.
6. How often should I calibrate my drone?
- General Recommendations:
- After firmware updates.
- When flying in a new location.
- If the drone exhibits unstable flight or navigation errors.
7. Can I fix motor issues on my own?
- What to Check:
- Inspect motors for dirt, debris, or physical damage.
- Test for smooth rotation by spinning each motor manually.
- DIY Repairs:
- Replace damaged propellers or motor bearings.
- If the motor is faulty, consider professional repairs.
8. What tools do I need for troubleshooting?
- Essential Tools:
- Battery tester to check voltage.
- Screwdrivers for tightening components.
- Propeller balancer to ensure smooth flight.
- Microfiber cloth for cleaning lenses and sensors.
9. When should I contact professional support?
- When to Seek Help:
- Persistent error codes that are not resolved with troubleshooting.
- Hardware damage, such as cracked frames or damaged cameras.
- Complex issues requiring specialized tools or expertise.
10. Can regular maintenance really prevent issues?
- Yes!
- Routine inspections and cleaning minimize wear and tear.
- Firmware updates address bugs and improve functionality.
- Proper storage prevents battery degradation and physical damage.
Why This Section Matters
Including FAQs provides readers with concise answers to common concerns, empowering them to resolve issues confidently and efficiently.
Visit our Drone Troubleshooting Checklist for a quick guide to resolving problems.
Conclusion
Drone troubleshooting doesn’t have to be overwhelming. By following this comprehensive drone troubleshooting guide, you can identify and fix most common issues, ensuring your drone operates smoothly and safely. From performing basic checks to leveraging advanced troubleshooting techniques, this guide equips you with the knowledge to tackle problems confidently.
Regular maintenance and preventive care not only minimize malfunctions but also extend your drone’s lifespan, allowing you to capture incredible moments and enjoy seamless flights. Remember, if you encounter issues beyond your expertise, seeking professional support is always a wise choice.
Key Takeaways:
- Start with a methodical approach by identifying the problem and performing basic checks.
- Don’t hesitate to recalibrate your drone and test it in a controlled environment.
- Maintain your drone regularly and keep essential troubleshooting tools handy.
Ready to take your drone troubleshooting skills to the next level?
- Bookmark this guide for future reference.
- Check out our Drone Maintenance Tips to ensure your drone stays flight-ready.
- Explore our curated Top Tools for Drone Troubleshooting to build your essential toolkit.
Top Tools for Drone Troubleshooting
Having the right tools on hand can make drone troubleshooting faster, easier, and more effective. These essential tools help diagnose issues, perform maintenance, and ensure your drone is always in top condition.
1. Battery Tester
- Why It’s Essential:
- Diagnoses battery health, checks voltage levels, and identifies dead cells.
- Recommended Tool:
- ISDT BattGo BG-8S Smart Battery Checker – Compact and user-friendly for most drone batteries.
- Affiliate Link Suggestion: Buy on Amazon.
2. Screwdriver Set
- Why It’s Essential:
- Tightens screws, removes damaged parts, and allows access to internal components.
- Recommended Tool:
- iFixit Pro Tech Toolkit – Includes precision screwdrivers for small, delicate parts.
- Affiliate Link Suggestion: Buy on iFixit.
3. Propeller Balancer
- Why It’s Essential:
- Ensures smooth and stable flight by balancing propellers.
- Recommended Tool:
- Du-Bro Tru-Spin Prop Balancer – A trusted choice for drone enthusiasts.
- Affiliate Link Suggestion: Buy on Amazon.
4. Cleaning Tools
- Why It’s Essential:
- Keeps lenses, sensors, and other components free of dirt and debris.
- Recommended Tool:
- Koala Kloth Microfiber Cloths – Ideal for cleaning sensitive surfaces.
- Affiliate Link Suggestion: Buy on Amazon.
5. Multimeter
- Why It’s Essential:
- Diagnoses electrical issues in motors, ESCs (Electronic Speed Controllers), and wiring.
- Recommended Tool:
- Fluke 117 Electrician’s Multimeter – Reliable and precise for troubleshooting electrical components.
- Affiliate Link Suggestion: Buy on Amazon.
6. Thermal Camera
- Why It’s Essential:
- Detects overheating components such as motors or ESCs.
- Recommended Tool:
- FLIR ONE Thermal Imaging Camera – A compact and powerful tool for advanced users.
- Affiliate Link Suggestion: Buy on Amazon.
7. Mobile Apps for Diagnostics
- Why It’s Essential:
- Provides error codes, flight data, and calibration tools.
- Recommended Tools:
- DJI GO 4 App for DJI drones.
- Airdata UAV for detailed flight analysis.
- Affiliate Link Suggestion: Learn More on Airdata.
8. Protective Case
- Why It’s Essential:
- Keeps your drone and tools safe during transport and storage.
- Recommended Tool:
- Nanuk 930 Waterproof Hard Case – Rugged and spacious for drones and accessories.
- Affiliate Link Suggestion: Buy on Amazon.
Why These Tools Matter
Having these tools ensures you’re prepared to handle common drone problems, saving you time and reducing downtime. They empower you to perform quick fixes and regular maintenance, keeping your drone ready for every flight.
Explore Essential Drone Maintenance Tips to complement your troubleshooting kit.
Visit Top Drone Tools and Accessories on Amazon for more recommendations.


