Drone Setup for Beginners: Everything You Need to Know
Each product is chosen independently by our editors. Purchases made through our links might earn us a commission at no extra cost to you!
Introduction
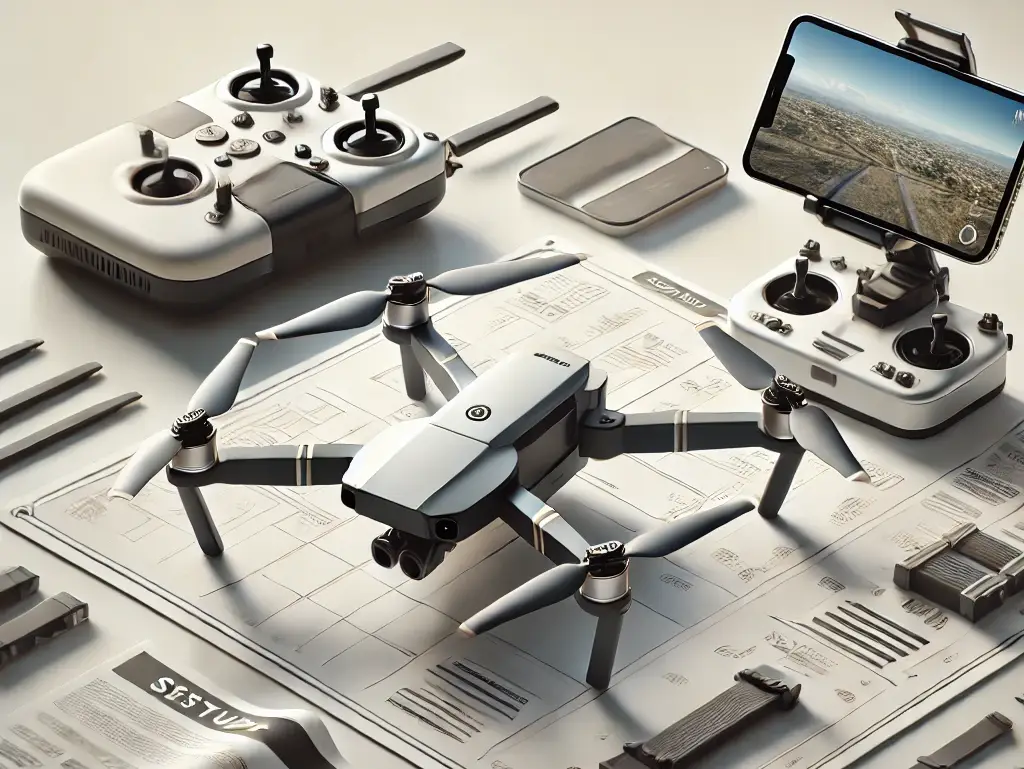
Drones have revolutionized photography, videography, and recreational flying, making it easier than ever to capture stunning aerial shots or simply enjoy flying through the skies. However, drone setup for beginners can feel daunting. From unboxing the components to ensuring the device is calibrated correctly, there’s a lot to learn before your drone takes its first flight.
This guide, “Drone Setup for Beginners: Everything You Need to Know,” is tailored for first-time users. We’ll walk you through the essential steps to get your drone ready, troubleshoot common issues, and ensure a safe and enjoyable flying experience.
Why this guide is important:
- Proper setup prevents connection issues, crashes, and damage to your drone.
- Following these steps ensures your drone operates smoothly and safely.
Who is this guide for?
- First-time drone owners.
- Beginners who want a step-by-step tutorial on setting up and testing their drone.
Whether you’ve purchased a high-end drone like the DJI Mini 4 Pro or a beginner-friendly model like the DJI Neo, this guide is designed to help you succeed from day one.
Table of Contents
Identifying the Problem
Setting up a drone for the first time may seem simple, but beginners often encounter several challenges that can hinder their flying experience. Recognizing these problems early will help you address them effectively and avoid unnecessary frustrations.
Common Problems When Setting Up a Drone
- Connection Issues:
Many users struggle to connect the drone to the remote controller or companion app. This can happen due to outdated firmware, incompatible devices, or incorrect pairing procedures. - Improper Assembly:
Components like propellers or batteries may not be installed correctly, leading to instability or the drone failing to power on. - Calibration Errors:
A poorly calibrated drone can behave erratically during flight. Sensors such as the compass or IMU (Inertial Measurement Unit) must be aligned correctly for the drone to perform optimally. - Overlooking Safety Checks:
Beginners may skip essential pre-flight checks, such as ensuring the battery is fully charged or the flying area is clear, increasing the risk of accidents.
Why Do These Problems Occur?
- Skipping the User Manual:
Many users dive straight into flying without referring to the manufacturer’s instructions, missing critical setup steps. - Lack of Knowledge About Drone Parts:
Without understanding the role of components like propellers, batteries, and sensors, beginners may assemble the drone incorrectly. - Using Outdated Software:
Drone apps and firmware require regular updates to ensure compatibility and fix bugs. Neglecting these updates can result in connection failures.
Learn more about avoiding these pitfalls in our Beginner Drone Setup Mistakes to Avoid guide.
Consequences of Improper Setup
Failing to address these issues can have serious implications:
- The Drone May Not Fly:
Missteps during assembly or calibration can prevent your drone from taking off entirely. - Potential Damage to Your Drone:
Improper setup increases the likelihood of crashes, causing physical damage to the drone or its camera. - Safety Hazards:
Flying a poorly calibrated drone can lead to accidents, especially in crowded or restricted areas.
You can check DJI’s Troubleshooting Guide for official tips on resolving common setup problems.
What You Need to Prepare
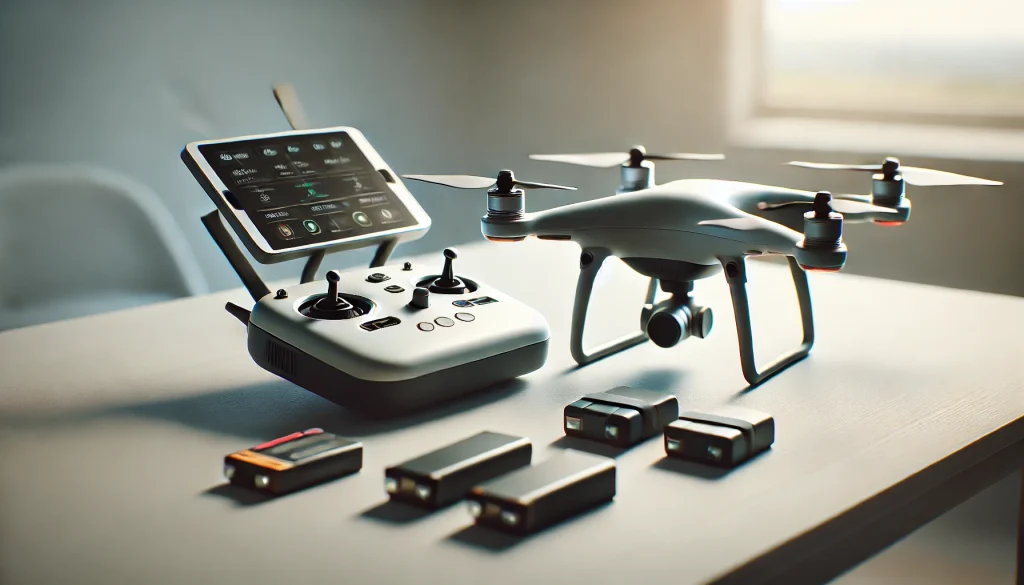
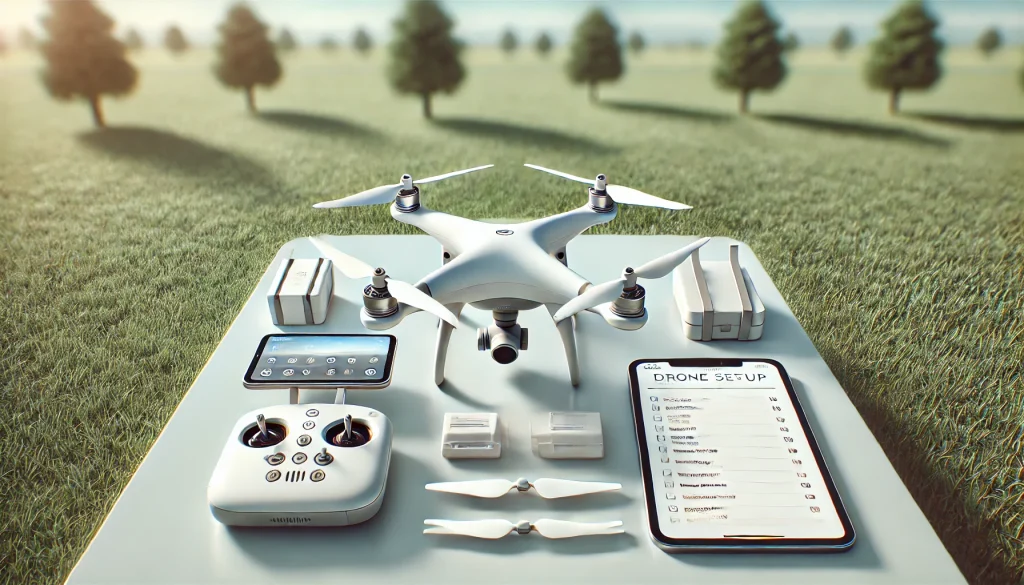
Proper preparation is the foundation of a successful drone setup for beginners. Ensuring you have everything ready before you start will save time and prevent errors. Here’s a comprehensive checklist to guide you:
1. Your Drone and Controller
- Unbox your drone and remote controller carefully, ensuring all components are present.
- Cross-check the package contents with the list provided in the user manual.
- Inspect the drone for visible damage, such as cracks, loose parts, or missing components.
If you haven’t purchased your drone yet, check out our How to Buy the Right Drone for Beginners guide to make an informed decision.
Tip: Contact the manufacturer or retailer immediately if you notice missing or damaged parts.
2. Fully Charged Batteries
- Charge the drone’s battery and the remote controller battery using the provided charger.
- Allow the batteries to charge fully before proceeding; partially charged batteries can interrupt the setup or test flight.
- Tip: Always have an extra battery fully charged for backup during extended flights.
3. Mobile Device with Installed App
- Download the recommended app for your drone (e.g., DJI Fly, Tello) from the App Store (iOS) or Google Play (Android).
- Check that your mobile device is compatible with the app and has sufficient storage space.
- Keep your phone or tablet charged to at least 50% to avoid disconnection during setup.
- Explore our Top Apps for Drone Pilots guide to enhance your flying experience.
4. Open Space for Testing
- Choose a wide-open area free from obstacles like trees, buildings, or power lines.
- Avoid busy or crowded places to minimize risks during the first test flight.
- Ensure the area has good GPS signal strength, as weak signals can affect the drone’s performance.
5. Weather Conditions
- Check the weather forecast for the day of your test flight.
- Ideal conditions include clear skies and light winds. Avoid flying in rain, strong winds, or fog.
- Tip: Use weather apps specifically designed for drone pilots to monitor wind speed and visibility.
6. Instruction Manual
- Keep the user manual handy for quick reference.
- It contains critical information about your drone’s components, setup process, and troubleshooting steps.
- If you’ve misplaced your manual, find digital copies on the DJI Support Page.
7. Accessories and Spare Parts
- Carry extra propellers, screws, and a small toolkit for on-the-spot adjustments if needed.
- Use a protective case to store and transport your drone safely.
Step-by-Step Instructions
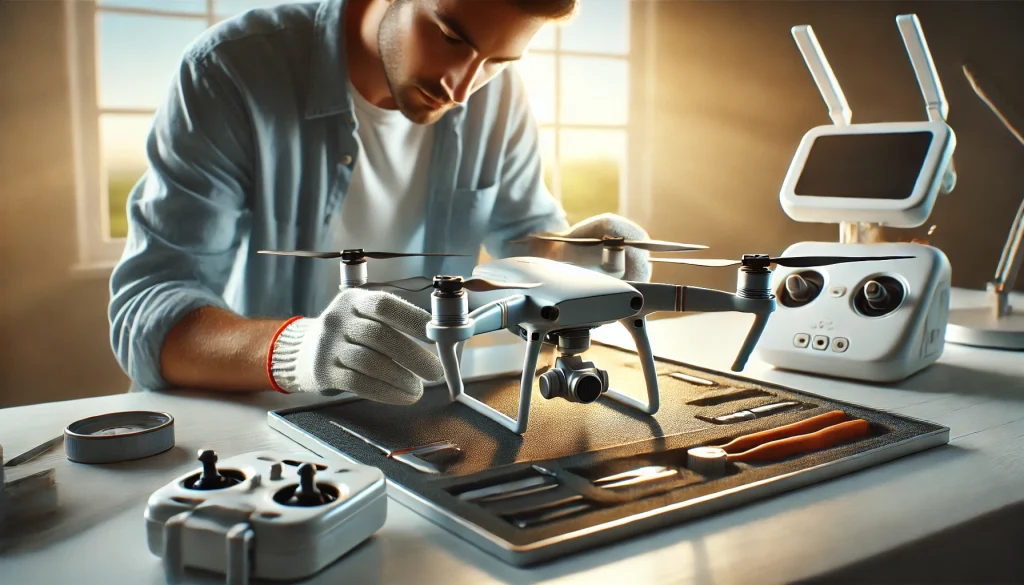
Step 1: Inspect Your Drone
Inspecting your drone before setup is a crucial first step to ensure all components are in good condition and ready for use. Here’s a detailed breakdown of how to inspect and prepare your drone:
1. Unbox and Organize
- Carefully Remove All Items:
Unbox the drone and its accessories, placing each item on a clean, flat surface to avoid losing small components. - Check the Contents:
Cross-reference the items with the list provided in the user manual. A typical drone package should include:- The drone body.
- Remote controller.
- Propellers (including spares, if provided).
- Batteries and charger.
- Additional accessories like cables, gimbal covers, or carrying cases.
Example: For a DJI Mini 4 Pro, the package typically includes a charging hub, spare propellers, and connection cables.
2. Inspect the Drone Body
- Examine the Frame:
Look for visible damage, scratches, or loose parts on the drone body. Pay special attention to the arms and motor mounts. - Check the Gimbal and Camera:
Ensure the gimbal and camera are securely attached and free from scratches or dirt.- Gently move the gimbal to confirm it’s not stuck or overly loose.
- Inspect Battery Slots and Connectors:
Verify that the battery slot and connectors are clean and free of debris. Damaged connectors can disrupt power flow.
3. Inspect the Propellers
- Match the Propellers:
Identify which propeller belongs to each motor. Most drones use color-coded markings (e.g., black and white dots) to help with alignment. - Check for Damage:
Examine each propeller for cracks, bends, or missing pieces. Damaged propellers can cause instability during flight. - Attach or Adjust:
If the propellers are not pre-attached, install them by aligning them with the corresponding motor and twisting them into place. Ensure they are secured but not overtightened.
Tip: Always keep spare propellers in case of damage during transport or flight.
4. Insert the Battery
- Check the Battery:
Inspect the battery for any swelling, leaks, or cracks. Damaged batteries should not be used. - Install the Battery:
Slide the battery into its slot until you hear a click, indicating it is securely in place.
Note: A loose battery connection can result in the drone shutting down mid-flight.
5. Power On for a Quick Check
- Turn On the Drone:
Briefly power on the drone by pressing and holding the power button. Check that the LED lights illuminate correctly, indicating the drone is operational. - Power Off After Verification:
Turn off the drone to conserve battery for the setup process.
Checklist for Step 1
- All items from the package are present and undamaged.
- The drone body is free of visible damage or defects.
- The propellers are intact and securely attached.
- The battery is installed correctly and securely.
- The drone powers on and displays operational LED indicators.
Step 2: Install the Mobile App and Connect
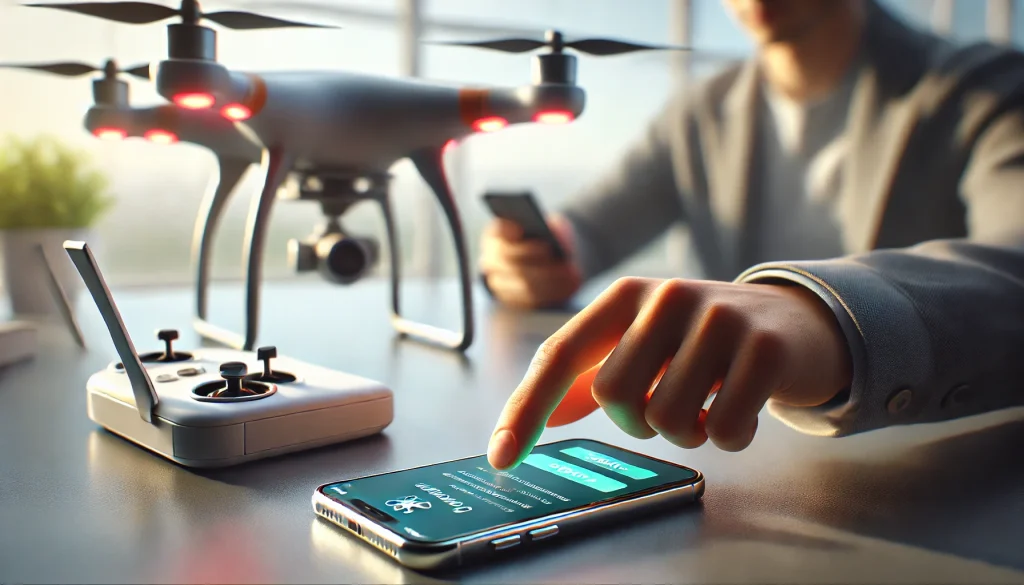
Setting up the companion app and connecting your drone to the controller is a crucial step in any drone setup for beginners, ensuring access to its full range of features. Follow these steps carefully to ensure a seamless connection.
1. Download the Recommended App
- Identify the App for Your Drone:
- Refer to the user manual to determine the official app required for your drone model.
- For DJI drones: Use the DJI Fly app.
- For Ryze Tello drones: Use the Tello app.
- Refer to the user manual to determine the official app required for your drone model.
- Visit the App Store or Google Play:
- Search for the recommended app on your smartphone’s app store.
- Download and install the app.
- Ensure Compatibility:
- Check your phone’s operating system version and storage space.
- Close unnecessary background apps to improve performance during setup.
Explore our Top Apps for Drone Pilots guide for additional features and tools.
2. Set Up Your Mobile Device
- Adjust Device Settings:
- Enable Bluetooth and Wi-Fi on your smartphone.
- Turn on “Do Not Disturb” mode to prevent interruptions during setup.
- Charge Your Device:
- Ensure your phone has at least 50% battery to avoid disconnection during the process.
- Prepare the Cable (if required):
- For certain models, you may need to connect the controller to your phone using a USB-C, micro-USB, or lightning cable.
3. Power On the Devices
- Turn On the Controller:
- Press and hold the power button on the controller until the LED lights activate.
- Turn On the Drone:
- Press and hold the power button on the drone until it powers on and the LED lights flash.
- Ensure Proximity:
- Place the drone and controller within 1-2 meters (3-6 feet) of each other for a stable connection.
4. Connect the Drone to the App
- Open the Companion App:
- Launch the app you installed and log in or create an account if prompted.
- Pair the Controller:
- Follow the on-screen instructions to pair the controller with the app.
- The app will search for nearby drones; select your drone from the list.
- Complete the Pairing Process:
- Some drones require a unique PIN code displayed on your phone screen. Enter the code to complete the connection.
- Verify the Connection:
- The app should display a message confirming that the drone and controller are successfully connected.
- Check the live camera feed from the drone to ensure full functionality.
Example: For DJI Mini 3 Pro, the app provides a detailed step-by-step guide during the pairing process, including firmware update prompts if needed.
5. Troubleshooting Tips
- If the Connection Fails:
- Restart both the drone and controller and attempt the pairing process again.
- Ensure both devices are fully charged.
- Update the app and firmware to the latest version.
- Check Compatibility:
- Confirm that your phone supports the app and has the required specifications (e.g., iOS 11+ or Android 6.0+ for DJI Fly).
For detailed troubleshooting, refer to our Article Official Troubleshooting Guide
Checklist for Step 2
- The official app is downloaded and installed on your phone.
- Bluetooth and Wi-Fi are enabled, and the phone is adequately charged.
- The drone and controller are powered on and placed within range.
- The app confirms a successful connection with the drone and displays the live camera feed.
Step 3: Calibrate the Sensors and Gimbal
Calibration ensures your drone operates accurately and remains stable during flight. This step is essential for any drone setup for beginners, especially if you’re flying in a new location or setting up your drone for the first time.
1. Why Calibration is Important
Calibration aligns your drone’s sensors, compass, and gimbal for optimal performance. Without proper calibration:
- The drone may drift uncontrollably during flight.
- The camera gimbal may not stabilize correctly, resulting in shaky footage.
- Compass errors could lead to inaccurate GPS navigation.
2. Access the Calibration Menu
- Launch the Companion App:
Open the app installed in Step 2 and ensure your drone is connected. - Navigate to Settings:
- Go to the Settings or Control menu in the app.
- Locate the options for Compass Calibration and IMU Calibration.
- Follow On-Screen Instructions:
- Each drone model may have slightly different calibration procedures.
- The app will guide you step by step through the calibration process.
3. Calibrate the Compass
- Why Compass Calibration is Needed:
The compass ensures the drone can navigate accurately based on GPS. It’s especially important when flying in a new location with different magnetic fields. - How to Calibrate the Compass:
- Place the drone on a flat surface in an open area, away from metallic objects or interference.
- Follow the app’s instructions, which may involve:
- Rotating the drone horizontally (360 degrees).
- Rotating the drone vertically (360 degrees).
Tip: Ensure smooth, steady movements during rotation to avoid calibration errors.
4. Calibrate the IMU (Inertial Measurement Unit)
- What is the IMU?
The IMU measures motion, acceleration, and orientation, ensuring smooth flight and stable hovering. - How to Calibrate the IMU:
- Place the drone on a level surface where it remains completely stationary.
- Follow the app’s prompts to complete the calibration. The process typically involves the drone resetting itself after calibration.
Note: IMU calibration is necessary if the drone has experienced hard impacts or unusual movement.
5. Calibrate the Gimbal
- Why Gimbal Calibration is Important:
The gimbal stabilizes the camera, ensuring clear photos and videos without vibrations. - How to Calibrate the Gimbal:
- Access the Gimbal Settings in the app.
- Choose the Auto Calibration option.
- The gimbal will move through its range of motion and return to its default position.
Example: For DJI drones, the app provides a live progress bar during gimbal calibration.
6. Troubleshooting Calibration Issues
- Compass Calibration Fails:
- Move the drone away from metal structures or power lines and try again.
- Restart the drone and controller before retrying.
- IMU Calibration Takes Too Long:
- Ensure the drone is on a completely flat and stable surface.
- Gimbal Doesn’t Respond:
- Check for physical obstructions or damage to the gimbal.
- Update the firmware to the latest version.
Checklist for Step 3
- The compass is successfully calibrated, with no interference warnings.
- The IMU calibration is complete, and the drone’s movements are stable.
- The gimbal calibration ensures smooth camera stabilization.
- All calibration settings are saved in the app.
Step 4: Test Basic Functions
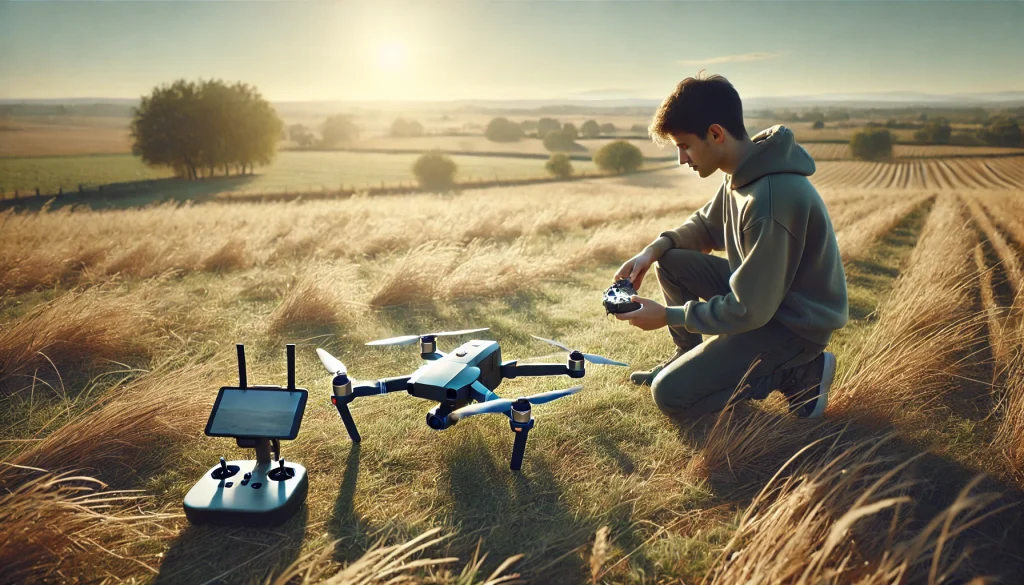
Testing your drone’s basic functions ensures everything is working correctly before your first flight. For a successful drone setup for beginners, this step helps identify any potential issues and verifies that all settings and connections are configured properly.
1. Prepare for Testing
- Choose a Testing Area:
- Find an open, flat area with minimal obstacles.
- Ensure the area is free from strong winds or interference from metal objects or power lines.
- Power On the Devices:
- Turn on the remote controller and then the drone.
- Confirm the devices are connected and the app displays no error messages.
- Check Battery Levels:
- Ensure the drone’s and controller’s batteries are sufficiently charged for the test.
- Verify the app shows adequate battery levels for both devices.
2. Test the Camera
- Access the Live Feed:
- Open the app and view the drone’s camera feed.
- Check for clear, stable images with no distortion or lag.
- Adjust the Gimbal:
- Use the controller or app to tilt the gimbal up and down.
- Verify the gimbal responds smoothly and stabilizes correctly.
Tip: Take a test photo or video to ensure the camera is recording properly.
3. Verify the GPS and Compass
- Check GPS Signal Strength:
- Ensure the app displays a strong GPS signal (typically indicated by green status bars).
- Verify that the home point is set correctly to ensure safe return-to-home functionality.
- Test Compass Accuracy:
- Rotate the drone slowly using the controller and ensure the drone responds correctly on the app’s map.
Note: If the app shows compass or GPS errors, recalibrate as needed (refer to Step 3).
4. Perform a Low-Speed Test Flight
- Take Off Safely:
- Place the drone on a flat surface and use the app or controller’s auto take-off function.
- Allow the drone to hover at a low altitude (1-2 meters or 3-6 feet).
- Test Basic Movements:
- Use the control sticks to move the drone forward, backward, and side to side.
- Rotate the drone (yaw) and check its stability.
- Land the Drone:
- Use the auto-landing feature or manually lower the drone to a smooth landing.
Example: For DJI Mini 3 Pro, the Beginner Mode limits speed and altitude, making it ideal for testing basic controls.
5. Review App Data
- Analyze Flight Data:
- Check the app for logs or data from the test flight.
- Look for any warnings or errors during the flight.
- Verify Recorded Media:
- Play back the test photos or videos to confirm the camera’s functionality.
Checklist for Step 4
- The camera feed is clear, and the gimbal moves smoothly.
- The GPS signal is strong, and the home point is set correctly.
- The drone hovers stably during take-off and responds accurately to commands.
- No errors or warnings appear in the app.
- The drone lands smoothly without sudden movements.
Tips & Notes
To ensure your drone setup for beginners and flight experience go as smoothly as possible, here are some practical tips and key notes to keep in mind:
1. Double-Check All Connections
- Before every flight, verify that the battery, propellers, and other components are securely attached.
- Loose connections can lead to mid-flight issues, such as power loss or instability.
2. Update Firmware Regularly
- Always check for firmware updates in the companion app before flying.
- Firmware updates often fix bugs, improve performance, and ensure compatibility with the latest devices.
Tip: Enable automatic update notifications in your app to stay up-to-date effortlessly.
3. Start in Beginner Mode
- Many drones have a Beginner Mode that limits speed, altitude, and range.
- Use this mode during your initial flights to familiarize yourself with the controls in a safe environment.
4. Monitor Weather Conditions
- Avoid flying in strong winds, rain, or fog, as these conditions can destabilize your drone.
- Use weather apps designed for drone pilots to check for wind speed and visibility before every flight.
Explore weather tools for drone pilots on the UAV Forecast Website.
5. Use a Pre-Flight Checklist
- Create a checklist to review before every flight. Key items to include:
- Battery levels for the drone and controller.
- GPS signal strength.
- Clear and open flying area.
- Proper calibration of sensors and gimbal.
6. Practice in Open Areas
- Choose a wide, obstacle-free location for your first flights, such as an open field or park.
- Avoid flying near buildings, trees, or power lines until you gain confidence in controlling the drone.
7. Carry Spare Accessories
- Always have extra propellers, batteries, and tools handy for on-the-spot replacements or adjustments.
- Store your drone and accessories in a protective carrying case to prevent damage during transport.
8. Save Media Smartly
- After flights, back up your photos and videos to avoid losing important data.
- Use a high-speed memory card to ensure smooth recording and data transfer.
9. Respect No-Fly Zones
- Research local drone regulations and avoid flying in restricted areas such as airports, government facilities, or crowded public spaces.
- Use the app to check for geo-fencing alerts in real time.
Learn more about drone regulations in our Drone Safety and Legal Guide.
Quick Notes for a Seamless Experience
- Battery Tip: Always carry a fully charged spare battery to extend your flying time.
- Propeller Care: Replace damaged or worn propellers immediately to maintain stability.
- Avoid Overloading: Do not attach heavy payloads unless the drone is designed to handle them.
- Calibrate Often: Recalibrate your drone when flying in new locations or after impacts.
Conclusion
Congratulations! You’ve successfully completed the drone setup for beginners process for your drone. By following this guide, you’ve learned how to:
- Inspect your drone and ensure all components are in perfect condition.
- Install the companion app and establish a stable connection between your drone and controller.
- Calibrate the sensors and gimbal for smooth, precise operation.
- Test basic functions to confirm your drone is ready for flight.
- Proper preparation and calibration are essential for a safe and enjoyable flying experience.
- Regularly updating your firmware and performing pre-flight checks will keep your drone in optimal condition.
- Starting with beginner-friendly settings helps build confidence and reduces the risk of accidents.
Now that your drone setup for beginners is fully complete, it’s time to take to the skies! Begin with short, controlled flights in open areas to practice the basic controls. Once you’re comfortable, you can explore advanced features like camera settings, waypoint flying, and tracking modes.
Ready to fly? Check out our Beginner Drone Flying Tips to master your first flight.
FAQs: Frequently Asked Questions
Here are answers to some of the most common questions beginners have about drone setup for beginners and flying their drones.
1. Why won’t my drone connect to the controller?
- Possible Reasons:
- The controller or drone is not powered on.
- The firmware is outdated.
- Bluetooth or Wi-Fi settings on your phone are not enabled.
- The drone is out of range of the controller.
Solution:
- Restart both the drone and the controller.
- Update the app and firmware to the latest versions.
- Ensure your phone’s Bluetooth and Wi-Fi are activated and within the drone’s range.
2. How often should I calibrate my drone?
- Calibration Frequency:
- Calibrate the compass and IMU before your first flight.
- Recalibrate when flying in a new location or after a firmware update.
- Calibrate if the drone shows erratic behavior, such as drifting or spinning.
Tip: Regular calibration ensures your drone operates smoothly and accurately.
3. What should I do if my drone doesn’t take off?
- Possible Reasons:
- The battery is not properly inserted or is not charged.
- The propellers are not attached securely.
- The app shows errors related to GPS, sensors, or calibration.
Solution:
- Check the battery and propeller installation.
- Address any error messages in the app, such as recalibrating the compass or IMU.
- Ensure you’re using the correct take-off command.
4. How do I know my drone is ready to fly?
- Indicators of Readiness:
- The app shows no error messages or warnings.
- GPS signal is strong, and the home point is set.
- The drone powers on and responds to controller commands.
Note: Always perform a pre-flight checklist before take-off to ensure everything is in order.
5. What should I do if my drone crashes?
- Steps After a Crash:
- Turn off the drone immediately to prevent further damage.
- Inspect the drone for any visible damage, especially to the propellers, gimbal, and frame.
- Check the app for error messages related to sensors or calibration.
- Replace damaged parts, such as propellers, before attempting another flight.
Tip: Keep spare parts, such as propellers and batteries, on hand for quick replacements.
6. Can I fly my drone anywhere?
- Flying Regulations:
- No, drones cannot be flown in restricted areas such as airports, government facilities, or crowded public spaces.
- Use your app to check for geo-fenced zones or local restrictions.
- Always follow local drone laws to avoid penalties.
Refer to the FAA’s Drone Safety Guidelines for specific rules and regulations in your area.
7. How long can my drone fly on a full charge?
- Flight Time:
- Most beginner drones have a flight time of 20-30 minutes on a full charge.
- Factors like wind, speed, and additional payloads can reduce flight time.
Tip: Always carry a spare battery to extend your flying sessions.
Didn’t find your question?
If you have additional questions, feel free to reach out or explore our Complete Drone Beginner’s Guide for more information.
What's Next?
Master Your Skills:
Ready to elevate your drone flying experience? Explore our Beginner Drone Flying Tips to learn how to maneuver your drone with confidence and safety.Discover Advanced Features:
Take your drone usage to the next level by exploring advanced camera settings, waypoint flying, and tracking modes.Share Your Journey:
Don’t keep your amazing experiences to yourself! Share your photos, videos, and tips with the drone community. Tag us on social media or join our [[#Drone Enthusiasts Forum]] to connect with fellow flyers.
Explore More
Need More Accessories?
Check out our Top Drone Accessories for Beginners to make your flights more convenient and enjoyable.Flying in New Locations?
Stay compliant and safe by reviewing our Drone Laws and Regulations Guide.


